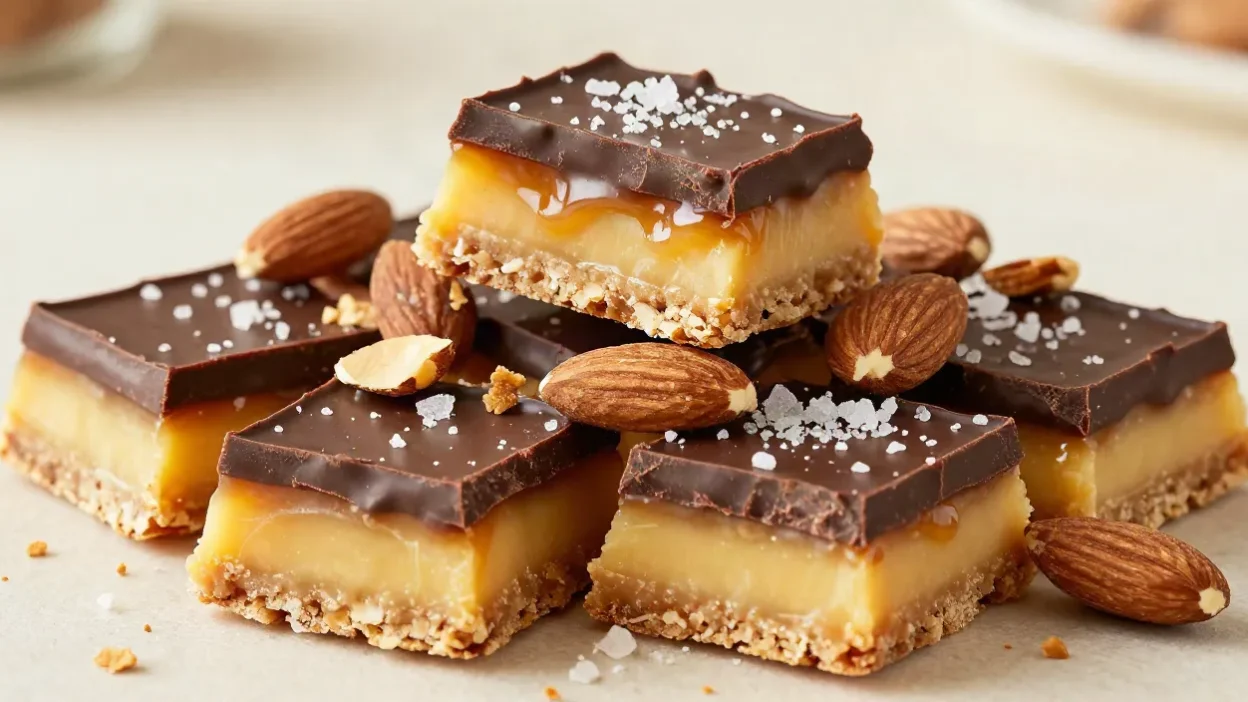
There is something almost magical about homemade toffee. You start with a few very ordinary ingredients — butter, sugar, a little water, salt, and vanilla — and somehow they turn into something completely different. The mixture bubbles away in the pan, slowly changing from pale and buttery to deep golden brown, and the kitchen starts smelling like caramel. It is one of those cooking moments where you can actually see and smell the recipe coming together.
Once the toffee reaches the right stage, it has that beautiful glossy look that tells you something good is about to happen. Pour it into the prepared pan and it begins to settle into a thin, even layer. A few minutes later, chocolate goes over the warm surface and melts almost on contact. Spread it gently from edge to edge, scatter over the chopped nuts, and finish everything with a little flaky sea salt. Suddenly, what started as butter and sugar looks like something you would happily find in a little candy shop.
The texture is probably my favorite part. Good toffee should be firm and crisp, not sticky or chewy, and it should break cleanly rather than pulling at your teeth. There is something ridiculously satisfying about picking up a piece and hearing that little crack as it breaks. The caramel itself has a deep buttery flavor, while the chocolate softens the sweetness and the nuts give you that extra crunch. Every part of the candy has a slightly different texture, which is what makes it so difficult to stop at just one piece.
And there is a nice contrast between the way toffee looks and how little effort it actually requires. It has that homemade, gift-worthy appearance, with its shiny chocolate top, scattered nuts, and little flakes of salt, but the recipe does not involve complicated decoration. You are not piping anything, shaping individual candies, or trying to make every piece identical. Once the mixture is cooked properly, most of the magic happens on its own.
This is also one of those sweets that feels especially good to make when the weather turns colder. The warm buttery aroma filling the kitchen, the deep caramel color, the chocolate slowly melting over the hot candy — it all feels a little cozy. Make a batch for a holiday dessert table, keep some beside your afternoon coffee, or break it into pieces and package it up for someone you want to make happy.
And homemade toffee has a way of creating that little “I made this myself” feeling without requiring an entire afternoon in the kitchen. You can make a batch, let it cool while you get on with the rest of your day, and come back to a slab of crisp, chocolate-covered candy ready to break into pieces. There is something wonderfully old-fashioned about that.
It is also the sort of treat where imperfections are completely welcome. Maybe one piece is larger than another. Maybe a few nuts gather more heavily in one corner. Maybe the chocolate does not spread perfectly evenly. None of that really matters. In fact, those little irregularities make it look more homemade, and somehow make the pieces even more tempting.
The best part comes when the toffee has completely set and you finally get to break it apart. The chocolate cracks, the caramel snaps underneath, and the nuts add one last bit of crunch. You can make the pieces as large or as small as you like, but personally, I would recommend making a few different sizes. The small pieces are perfect when you only want a bite, while the larger ones are for those moments when you have already decided that one bite was never going to be enough. 😄
And then there is that familiar problem: you make a full batch thinking it will last for several days, only to discover that every time you walk past the container, somehow one more piece disappears. Homemade toffee is just like that. It looks impressive enough to save for a special occasion, but tastes far too good to leave untouched for long. 🍫
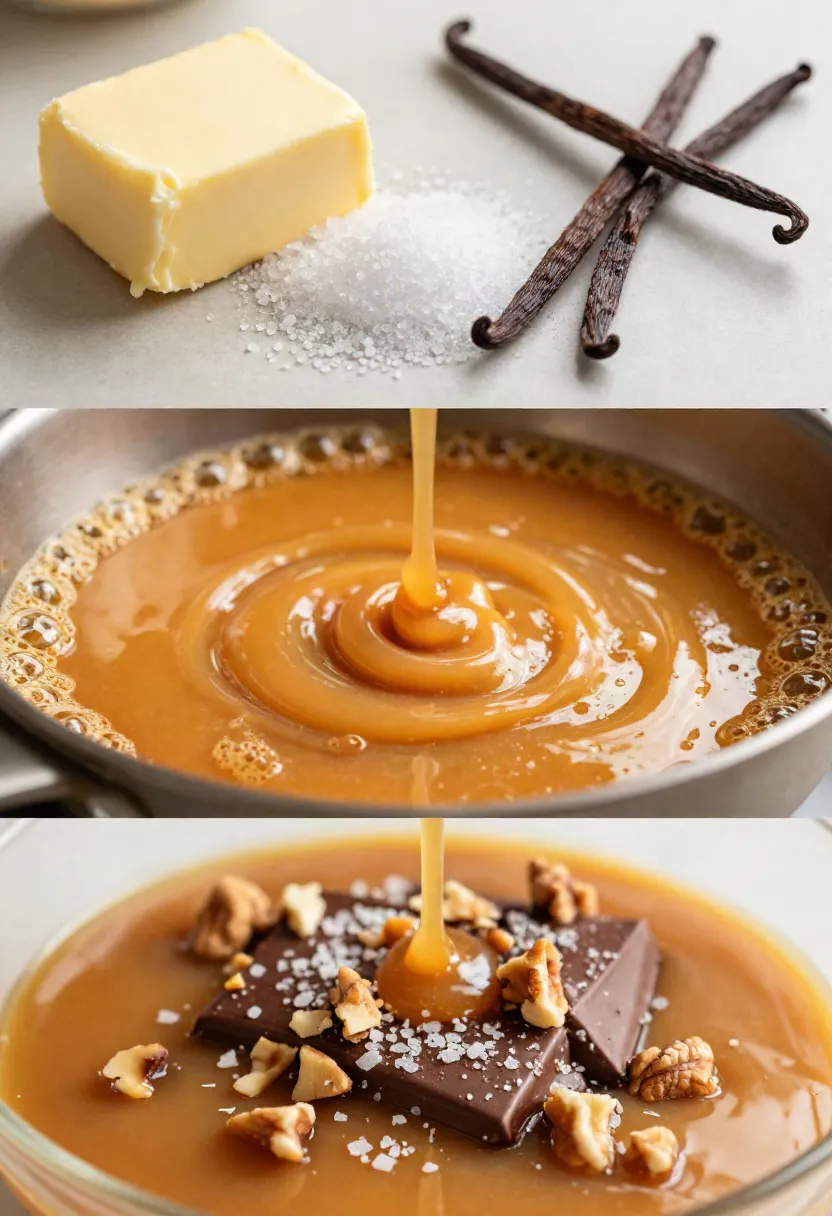
This homemade toffee is the kind of candy that feels much more complicated than it really is. At first, you are simply melting butter with sugar, water, and salt in a saucepan. Nothing particularly exciting seems to be happening. Then the mixture starts bubbling, the color slowly deepens, and that unmistakable buttery caramel aroma fills the kitchen. This is the moment when you realize that a few very basic ingredients are turning into something seriously good.
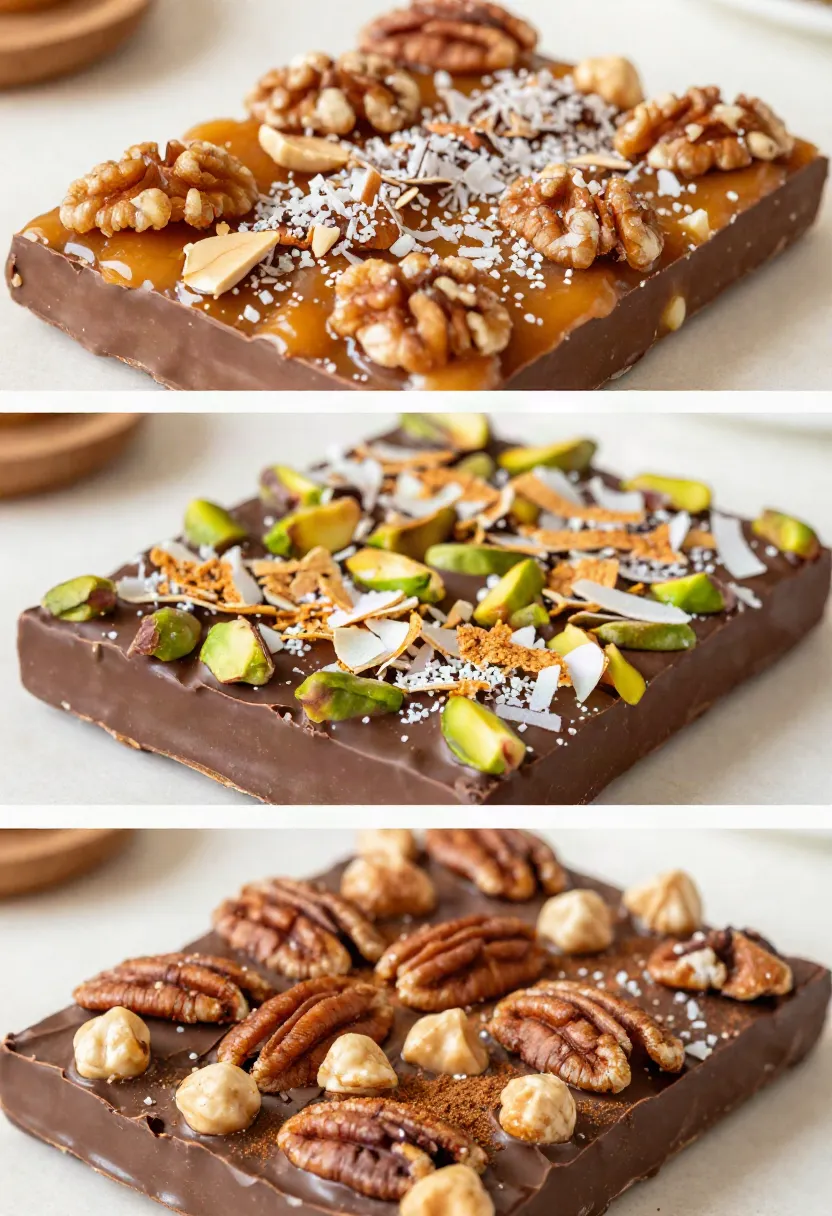
Once the toffee reaches that deep golden color and the proper hard-crack stage, it is poured into a lined pan and left to settle into a thin, crisp layer. A few minutes later, chocolate chips go over the warm surface and melt into a glossy layer that can be spread from edge to edge. Finish it with finely chopped almonds or walnuts and a little flaky sea salt, and you have a homemade candy that looks almost too pretty to break apart.
Almost.
The texture is what makes this recipe especially satisfying. The base should be crisp and snappy rather than chewy, with a rich buttery caramel flavor that melts slightly as you eat it. The chocolate adds a smooth, creamy contrast, while the nuts bring another layer of crunch. A few flakes of sea salt on top make the sweetness feel more balanced and bring out the flavor of both the caramel and chocolate.
There is also something wonderfully homemade about breaking the finished slab into pieces by hand. You do not need every piece to be the same size or shape. Some will be small and delicate, others will be larger and chunky, and that is part of the charm. The uneven edges catch the light, the chocolate cracks as you break it, and the nuts end up scattered differently across every piece.
This recipe makes about 16–20 pieces and takes around 40 minutes in total, although most of that time is simply letting the candy cook and then cool. The actual ingredient list is short, but because the sugar mixture needs to reach the hard-crack stage, this is one of those recipes where having your equipment ready before you begin makes everything easier. A candy thermometer is especially useful because the toffee needs to reach 305°F (151°C) to develop that classic crisp texture.
Ingredients
For the toffee:
- 1 cup (226 g) unsalted butter, cut into pieces
- 1 cup (200 g) granulated sugar
- ¼ cup water
- 1 teaspoon fine sea salt
- 1 teaspoon vanilla extract
For the topping:
- 1 cup semisweet chocolate chips
- 2 tablespoons finely chopped almonds or walnuts, optional
- Flaky sea salt, optional
Equipment
- Candy thermometer
- 9 × 9-inch baking pan
- Parchment paper
- Heavy-bottomed medium saucepan
- Wooden spoon or heatproof spatula
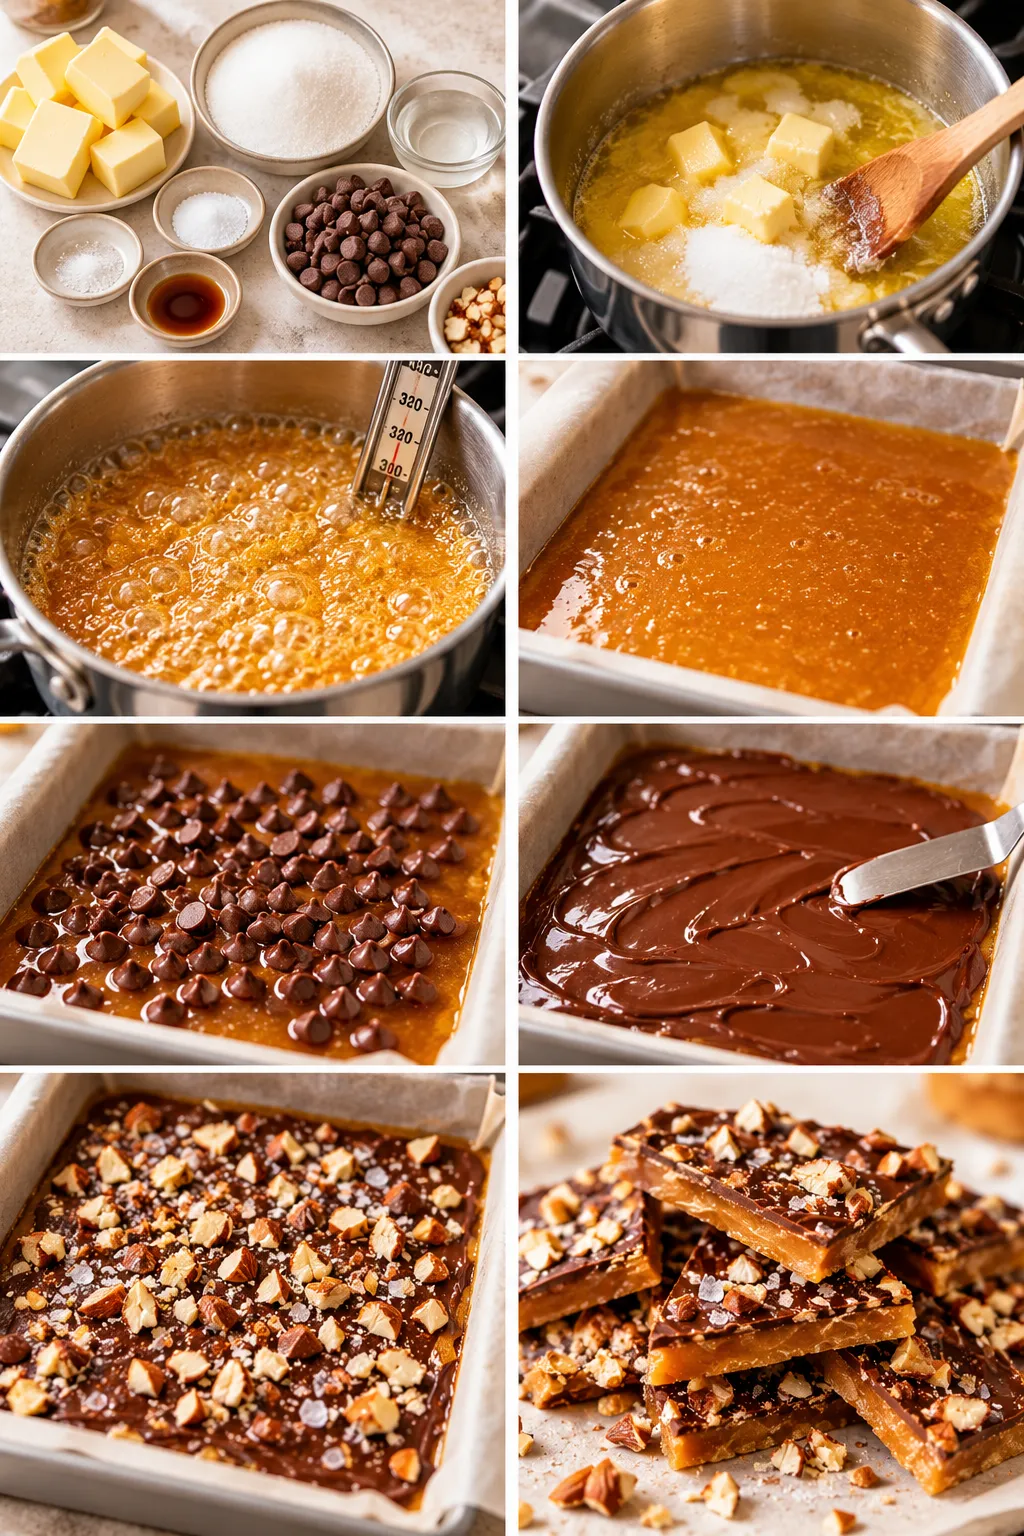
How to make it
- Prepare the pan. Line a 9 × 9-inch baking pan with parchment paper, leaving a little overhang on two sides. This will make it much easier to lift the finished toffee out once it has completely set.
- Start the toffee base. Add the butter, granulated sugar, water, and fine sea salt to a heavy-bottomed saucepan. Place the pan over low heat and stir gently and frequently until the butter has completely melted and the mixture looks smooth.
- Brush down the sides. Before the mixture begins boiling, dip a pastry brush in warm water and gently brush away any sugar crystals clinging to the sides of the pan. This small step helps keep the finished toffee smooth instead of grainy.
- Bring the mixture to a steady boil. Increase the heat to medium and continue stirring gently as the mixture begins to bubble. Keep the heat steady rather than turning it up aggressively. The goal is to cook the sugar and butter evenly without scorching the bottom.
- Cook until hard-crack stage. Attach a candy thermometer to the saucepan, making sure the tip does not touch the bottom of the pan. Continue cooking and stirring occasionally until the mixture becomes thicker, turns a deep golden color, and reaches 305°F (151°C). This usually takes around 10–15 minutes.
- Add the vanilla. Once the mixture reaches the correct temperature, immediately remove the saucepan from the heat. Carefully stir in the vanilla extract. Be prepared for the mixture to bubble quite vigorously when the vanilla hits the hot caramel.
- Pour the toffee. Quickly pour the hot mixture into the prepared parchment-lined pan. Tilt the pan gently or use a heatproof spatula to spread the toffee into an even layer. Work fairly quickly because the candy begins firming up soon after it leaves the saucepan.
- Add the chocolate. Let the toffee sit undisturbed for about 5 minutes. Sprinkle the chocolate chips evenly over the warm surface. Cover the pan loosely with foil or an upside-down baking sheet for another 5 minutes. The trapped heat will help the chocolate melt evenly.
- Spread the chocolate layer. Remove the cover and use a spatula or offset knife to spread the melted chocolate into a smooth layer across the top of the toffee. Try not to press too firmly, especially if the caramel underneath is still very soft.
- Finish with toppings. While the chocolate is still melted, sprinkle the chopped almonds or walnuts over the surface. Add a light scattering of flaky sea salt if you like that sweet-and-salty combination.
- Let it cool completely. Leave the toffee at room temperature until the chocolate is firm and the candy underneath has completely set. You can briefly refrigerate it to speed things up, but allowing it to cool naturally helps preserve that crisp snap.
- Break and serve. Use the parchment overhang to lift the solid toffee from the pan. Break it into pieces with your hands and serve. The pieces do not need to be perfectly even — those irregular, jagged edges are part of what makes homemade toffee so appealing.
A few helpful tips 💡
- Use a heavy-bottomed pan: It helps distribute the heat more evenly and reduces the chance of scorching.
- Do not stir aggressively: Gentle, occasional stirring is enough. Vigorous stirring can encourage unwanted sugar crystallization.
- Trust the thermometer: Reaching 305°F is what gives the toffee its characteristic hard, crisp texture.
- Have everything ready: Once the caramel reaches temperature, the vanilla, prepared pan, and toppings should all be within easy reach.
- Keep an eye on the color: You want a deep golden caramel, not a pale mixture and not a burnt one.
- Let the chocolate set properly: The toffee should be completely firm before you break it apart.
- Choose a dry day if possible: Humidity can soften finished toffee slightly, so dry conditions are helpful when making candy.
The sweet little luxury of homemade candy 🍫
There is something about homemade toffee that makes an ordinary afternoon feel a little more special. You do not need a celebration, a holiday table, or a house full of guests to make it. Put a few pieces on a small plate next to your coffee, and suddenly your regular coffee break feels like an actual event.
Maybe it is the combination of textures. The caramel snaps when you bite into it, the chocolate softens almost immediately, and the nuts add that final bit of crunch. Or maybe it is simply the fact that homemade candy feels a little unexpected. We are so used to grabbing a packaged sweet from a cupboard that seeing a container full of irregular pieces of chocolate-covered toffee feels almost nostalgic.
There is also something about the smell that makes homemade toffee different. That buttery caramel aroma stays around for a while after you finish cooking, and it makes the whole kitchen feel warm and inviting. Even before the candy has completely set, you already know what is waiting for you. The golden edges, melted chocolate, and little pieces of nuts are difficult to ignore.
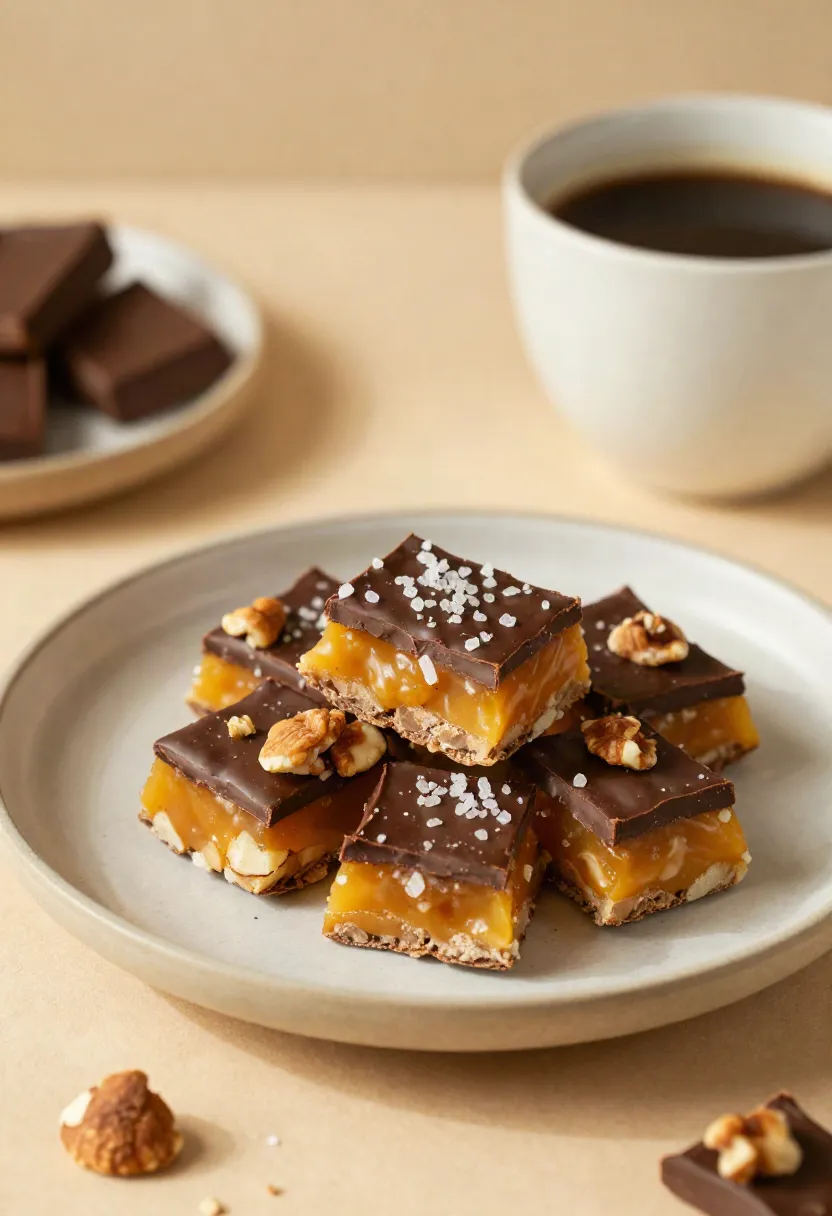
It is surprisingly good with a few different drinks, too. A strong cup of coffee works beautifully because the bitterness cuts through the sweetness. Black tea is another easy match, especially if you like a slightly lighter pairing. And for a cozy evening, a mug of hot chocolate with a small piece of toffee on the side is definitely not a bad idea.
I would keep the pieces relatively small when serving them this way. Toffee is rich, and a little piece goes a surprisingly long way. You get the buttery caramel, chocolate, nuts, and salt in one bite without feeling like you need an entire slab of candy. It is the kind of dessert where one or two pieces are usually enough to make you happy.
Unless you are standing in the kitchen next to the container. Then all bets are off.
And honestly, there is something satisfying about serving homemade candy without making a big production out of it. Put it in a little bowl, let everyone help themselves, and watch the pieces slowly disappear. No fancy dessert plates required. Sometimes the simplest presentation is the most inviting one.
Turn one batch into a very good gift 🎁
Homemade toffee is one of those recipes that makes an excellent edible gift because it looks beautiful without needing much decoration. Once the candy has completely cooled and been broken into pieces, you can simply arrange it in a small box or clear bag, add a ribbon, and you are basically done.
The uneven pieces actually work in your favor here. They make the candy look handmade rather than factory-produced, especially when some pieces have more nuts or chocolate than others. A few flakes of sea salt catching the light on top make it look even more tempting. You do not need perfect squares or carefully measured portions. The more natural it looks, the more homemade charm it has.
It is also a lovely recipe to make when you want to bring something to a dinner, holiday gathering, office, or weekend visit. Instead of arriving with another bottle of wine or a store-bought box of chocolates, you can show up with a little container of something you actually made. It does not have to be a huge gift. Even a handful of pieces wrapped in parchment and tied with a simple ribbon can feel thoughtful.
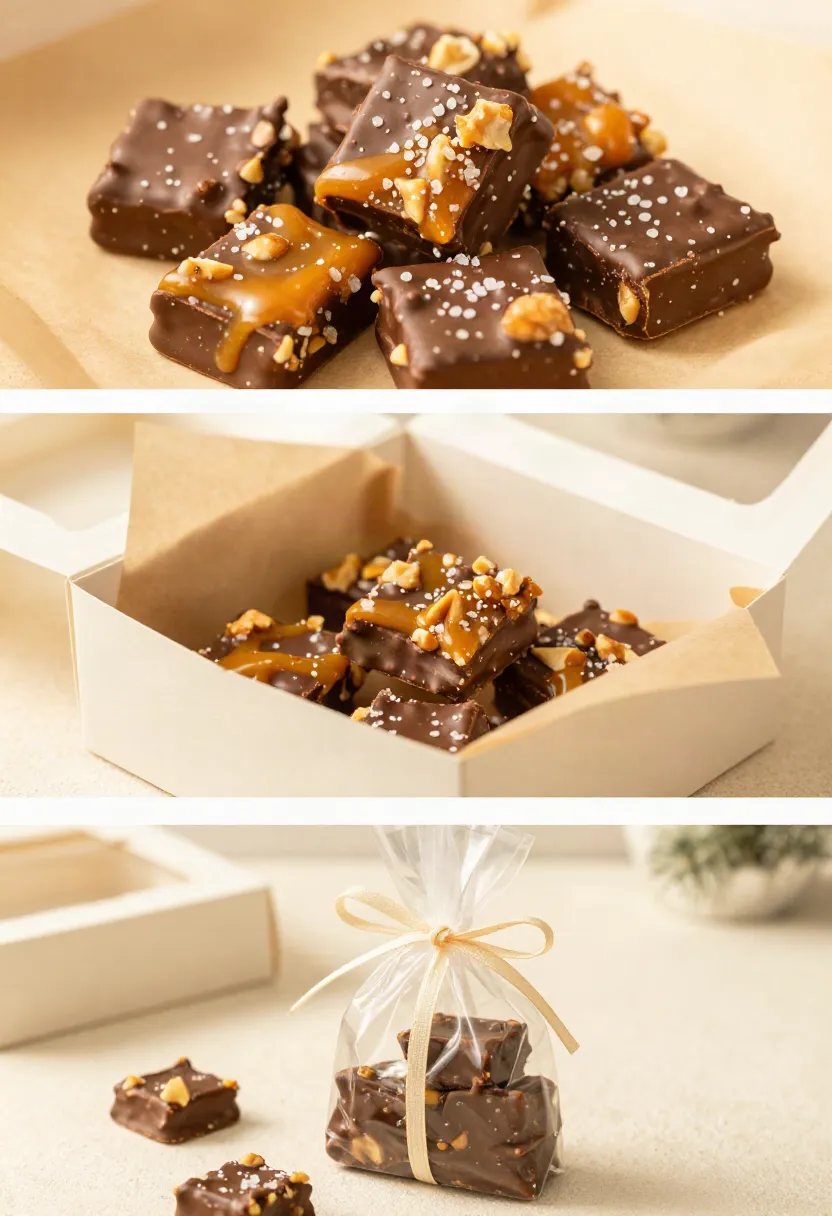
You can also make small variations for different people. If someone loves dark chocolate, use bittersweet chocolate instead of semisweet. For a nut lover, add extra toasted almonds or pecans. If you are making a batch for someone who likes sweet-and-salty flavors, be a little more generous with the flaky salt.
A few simple ways to package it:
- Stack small pieces between sheets of parchment paper.
- Place the toffee in a clear cellophane bag and tie it with a simple ribbon.
- Fill a small gift box with assorted pieces of different sizes.
- Add a handwritten note with the date you made it.
- Keep the packaging simple so the chocolate and golden caramel remain the focus.
The nice thing is that the gift does not need to look overly polished. A little paper, ribbon, and a handful of homemade candy already feels thoughtful. The person receiving it can enjoy a piece with their morning coffee, put a few aside for later, or share it with family.
And if you make an extra batch while you are already in the kitchen, I certainly would not call that a problem. In fact, having a little extra tucked away is probably a very sensible decision.
When one piece is never really one piece ❤️
There is a particular moment with homemade toffee that I think everyone recognizes. You break off a small piece just to check the texture. It snaps perfectly. You taste it. Then you think, “Okay, that turned out really well.”
So you take another piece.
This time you notice the toasted nuts. Then another because the chocolate and caramel combination is too good. Suddenly you are standing in the kitchen holding a suspiciously large piece of toffee, wondering where the first few pieces went.
That is probably the best compliment a homemade candy can get.
Toffee does not need to be complicated to feel special. The recipe is built around a handful of simple ingredients, but temperature, timing, and a few finishing touches turn them into something with a completely different character. You get deep buttery caramel, crisp texture, smooth chocolate, crunchy nuts, and little flashes of sea salt all in the same bite.
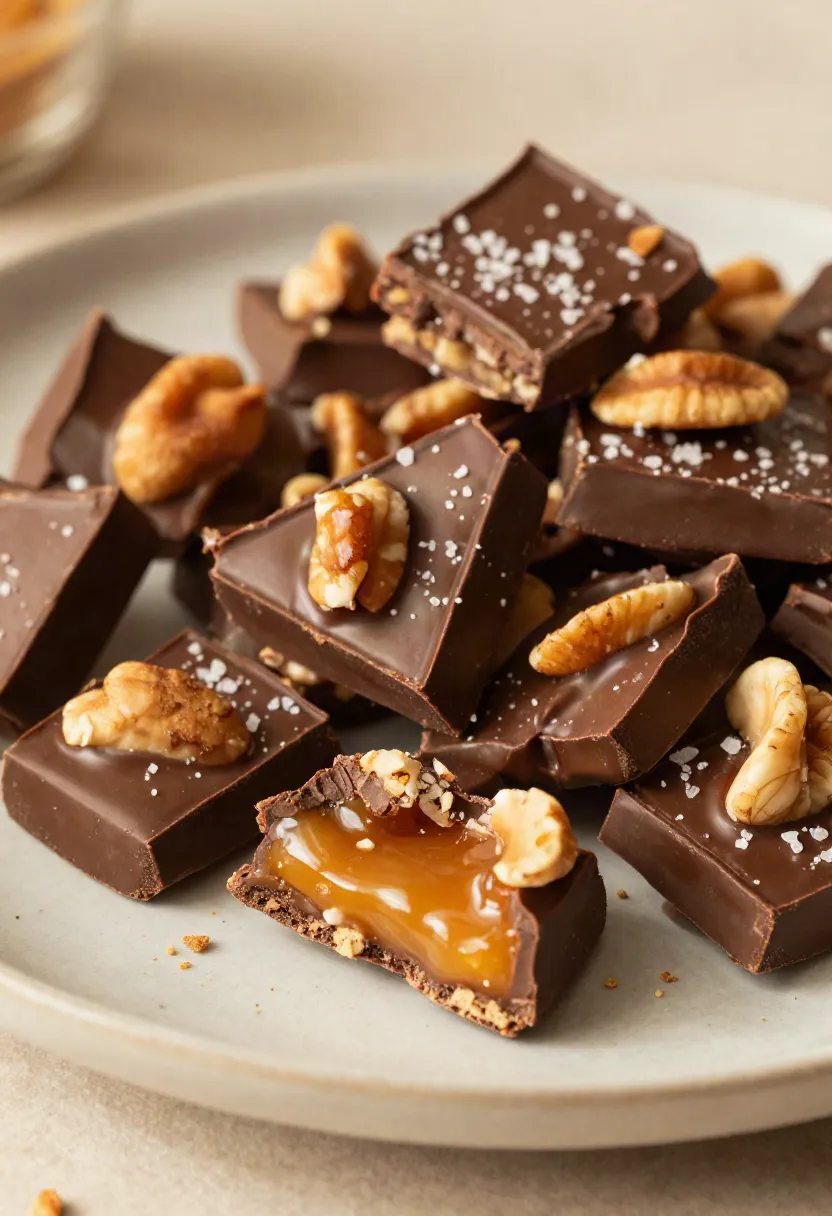
And because the finished candy is so easy to break into pieces, you can decide what kind of treat you want it to be. Keep the pieces tiny for little after-dinner bites, make them larger for a proper dessert, or package them up and give most of the batch away. You can even break a few pieces into smaller shards and sprinkle them over ice cream, brownies, cheesecake, or another dessert when you want an extra layer of crunch.
Although, between us, I would probably hide a few pieces first.
There is something wonderfully old-fashioned about making a batch of candy at home and hearing that first crisp crack when you break it apart. No complicated decoration, no perfect shapes, no need to make every piece identical. Just golden caramel, glossy chocolate, crunchy nuts, and that unmistakable homemade sweetness.
And perhaps that is why recipes like this stick around. They do not require much from you once you understand the important part. Get the caramel to the right temperature, let the chocolate melt over the warm surface, add your favorite finishing touches, and then give it enough time to set properly. The rest is simply enjoying what you made.
So let it cool completely, break it into pieces, make yourself a cup of coffee, and enjoy the first one while it is still feeling like a little reward. Take your time with it. Notice the snap of the caramel, the softness of the chocolate, the crunch of the nuts, and that tiny hit of salt at the end.
The rest can wait.
Probably.
But if you find yourself going back to the container five minutes later, nobody needs to know. 🍫❤️