Contents
Chicken often gets a bad reputation—and not without reason. Cook it wrong, and it turns dry, stringy, and about as appetizing as cardboard. But the solution isn’t drowning it in oil, soaking it in marinade, or relying on fancy gadgets. The real secret is surprisingly simple: start cold.
That’s right—placing chicken straight into a room-temperature skillet, skin-on or skinless, sets it up for success. As the pan gradually heats, the meat cooks evenly and stays juicy, while frequent flipping prevents scorching. Skin-on pieces reward you with shatteringly crisp, golden skin; skinless cuts get a beautifully even sear and tender bite. It’s an approach that flips the usual wisdom on its head, and it delivers far more consistent results than the traditional “blast it with high heat” method.
Why Cold-Start Searing Works
Conventional cooking wisdom says to crank up the heat, sear the chicken hard, flip once, and cross your fingers that it cooks through before drying out. The problem? High heat is a blunt instrument, especially with lean cuts like chicken breasts. Instead of gently cooking, the meat seizes up, squeezing out precious juices and leaving behind a rubbery, dry result.
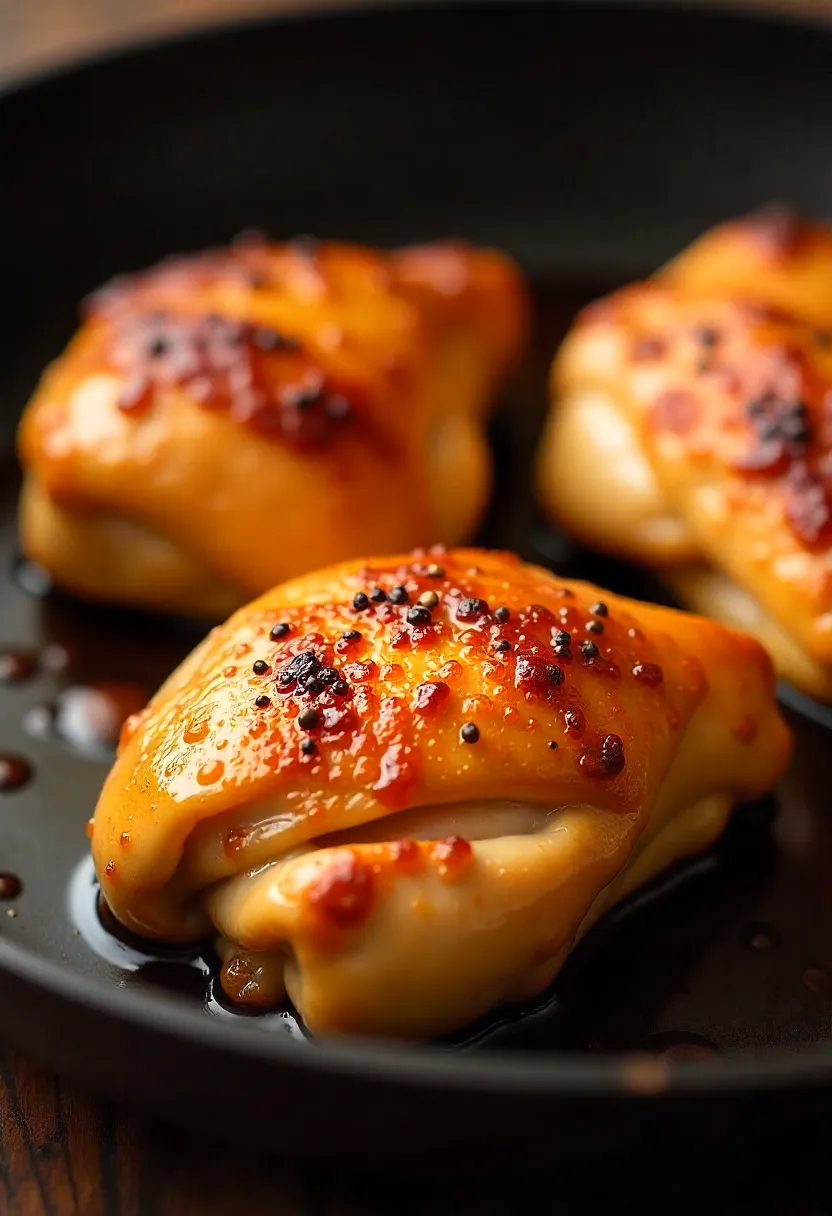
Cold-start searing flips that logic. By placing the chicken skin-side down in a cold, dry skillet and letting the heat rise gradually, the fat under the skin renders slowly and evenly. The skin almost “confits” in its own fat, crisping up into a golden, shattering crust while the meat inside cooks gently and stays moist.
The final trick is frequent flipping. Turning the chicken every few minutes keeps both sides from overheating, regulates surface temperature, and ensures the meat cooks evenly. No scorched outsides, no undercooked centers—just juicy chicken with perfectly crisp skin.
Science in Action: Moisture, Maillard, and Muscle Fibers
What makes the cold-start method so effective comes down to a few core principles of food science:
- Moisture retention: By letting the heat build gradually, the muscle fibers don’t panic and squeeze out liquid all at once. Instead, they hold onto their water, giving you juicy meat from edge to center.
- Even browning: As the fat slowly renders, it bastes the chicken in its own flavor, crisping the skin evenly without scorching. This is where the Maillard reaction kicks in—proteins and amino acids caramelize into that gorgeous, golden crust.
- Gentle protein denaturing: Rather than tightening up under sudden, high heat, the proteins ease into their final form. The result is meat that’s tender and flavorful, not tough or stringy.
Together, these processes turn a simple chicken breast or thigh into something that tastes like it came out of a pro kitchen—all by starting from a cold pan.
Step-by-Step: How to Cold-Sear Chicken
This technique works beautifully for both breasts and thighs—skin-on or skinless—with just a few tweaks depending on the cut.
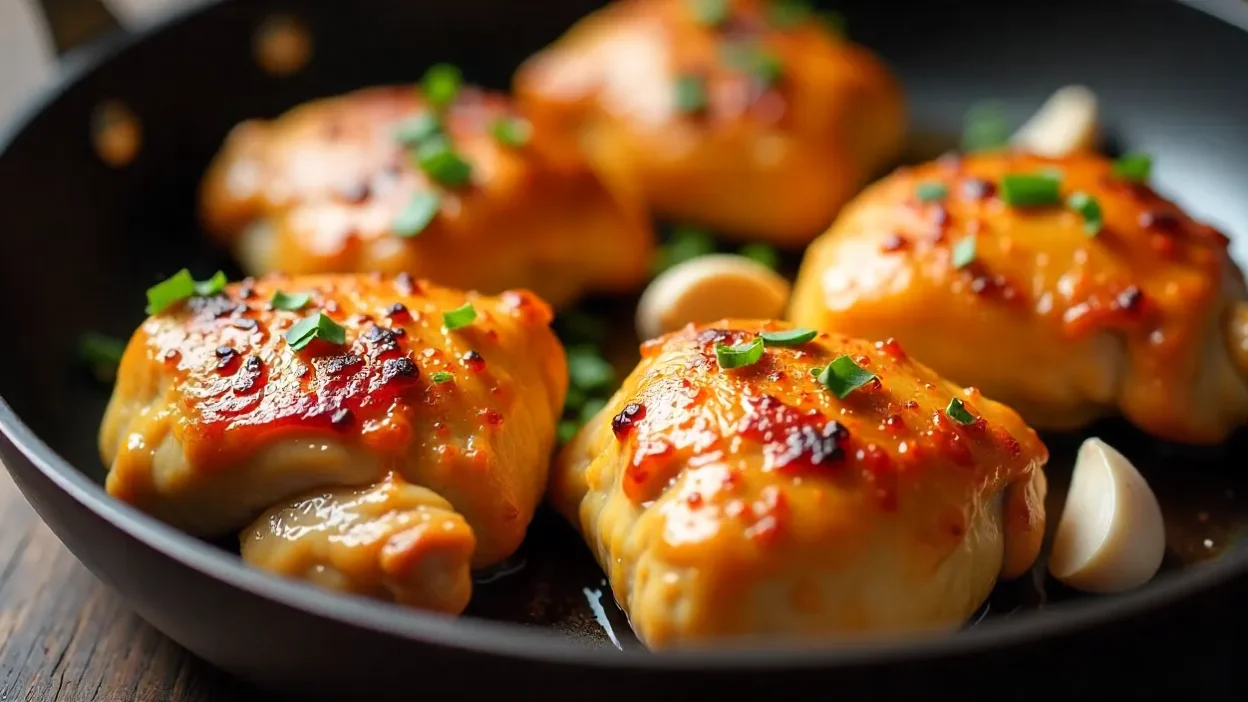
For Skin-On Chicken Thighs (Bone-In or Boneless):
- Skip the oil. The skin will render out plenty of fat as it cooks.
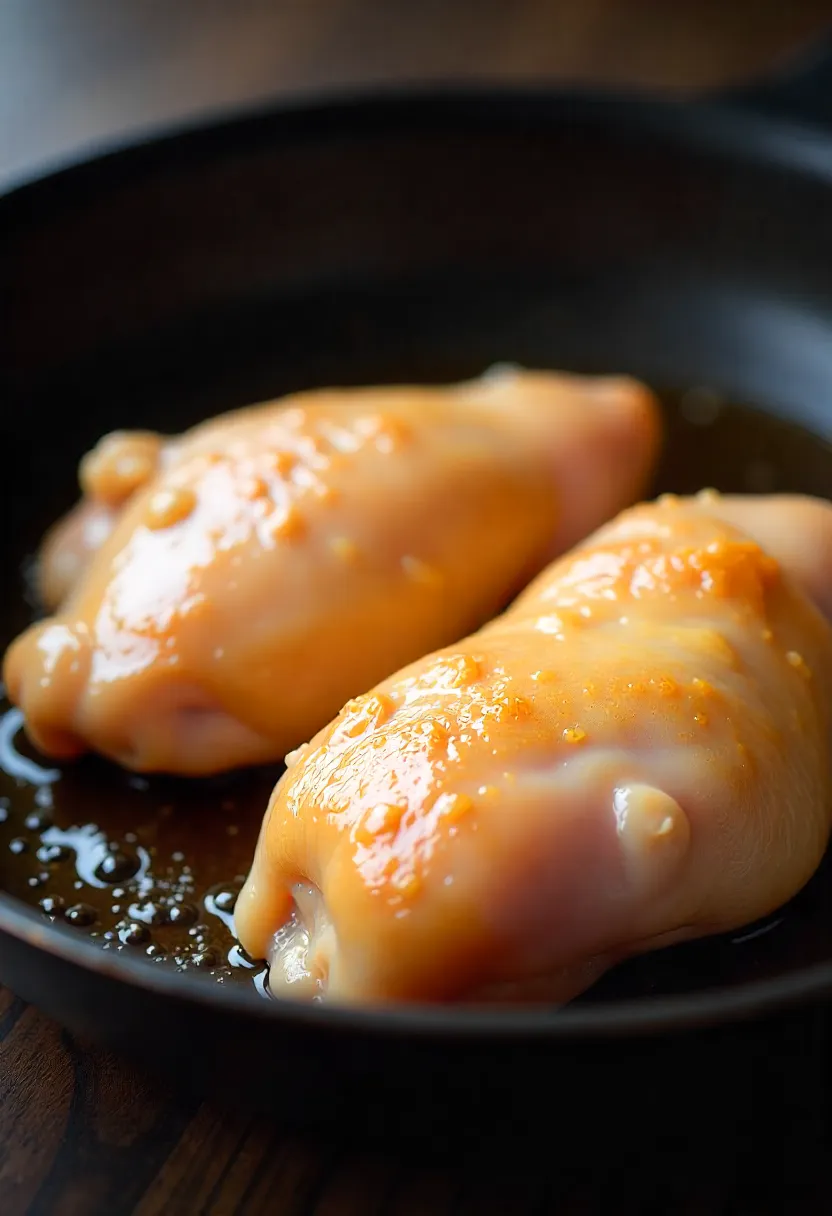
- Start cold. Place the thighs skin-side down in a dry, room-temperature skillet.
- Bring up the heat. Turn the burner to medium-high and cook undisturbed for 8 to 10 minutes, until the fat has mostly rendered and the skin turns light golden. Then reduce the heat to medium.
- Flip often. Continue cooking, turning every 2 to 3 minutes, until the thighs are deeply golden and reach at least 175°F internally.
- Optional finish. For a more hands-off approach, once the skin is crisp, transfer the skillet to a 375°F oven and roast skin-side up until cooked through.
For Skin-On Chicken Breasts
- Add oil. Brush the chicken all over with about 2 tablespoons of oil for every 2 pounds of meat, skin included. Unlike thighs, breasts don’t release much fat, so the oil helps them crisp.
- Start cold. Place the breasts skin-side down in a dry, room-temperature skillet.
- Crisp the skin. Turn the heat to medium-high and cook for 3 to 5 minutes until the skin begins to brown and crisp.
- Flip once. Cook the other side for about 3 minutes, until lightly browned.
- Finish gently. Reduce the heat to medium and continue flipping every 2 minutes until the thickest part reaches 150–155°F. Rest for 5 minutes before slicing so the juices redistribute.
For Skinless Chicken (Breasts or Thighs)

- Oil is a must. With no skin to render fat, brushing the meat with oil prevents sticking and promotes browning.
- Cold start again. Place the oiled chicken in a cold skillet, then bring the heat up gradually.
- Initial sear. Cook both sides for about 3 minutes each over medium-high heat.
- Cook through. Lower the heat to medium and flip every couple of minutes until done:
- Breasts: 150–155°F, about 15–18 minutes total.
- Thighs: at least 175°F, about 20–22 minutes total.
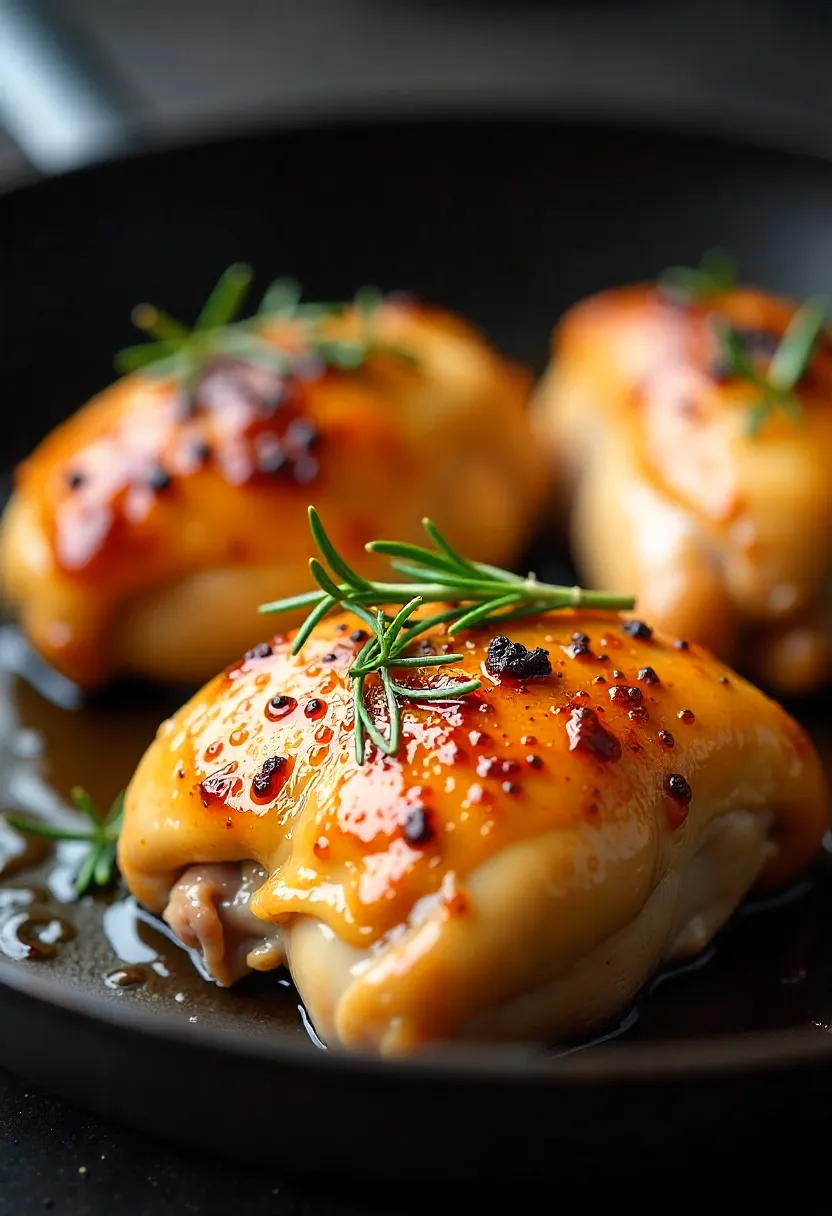
- Flavor boost. In the last few minutes, add a knob of butter, smashed garlic cloves, or fresh herbs. Baste the meat with the sizzling fat for a glossy, aromatic finish.
Why You’ll Never Go Back—Plus Recipes to Get You Started

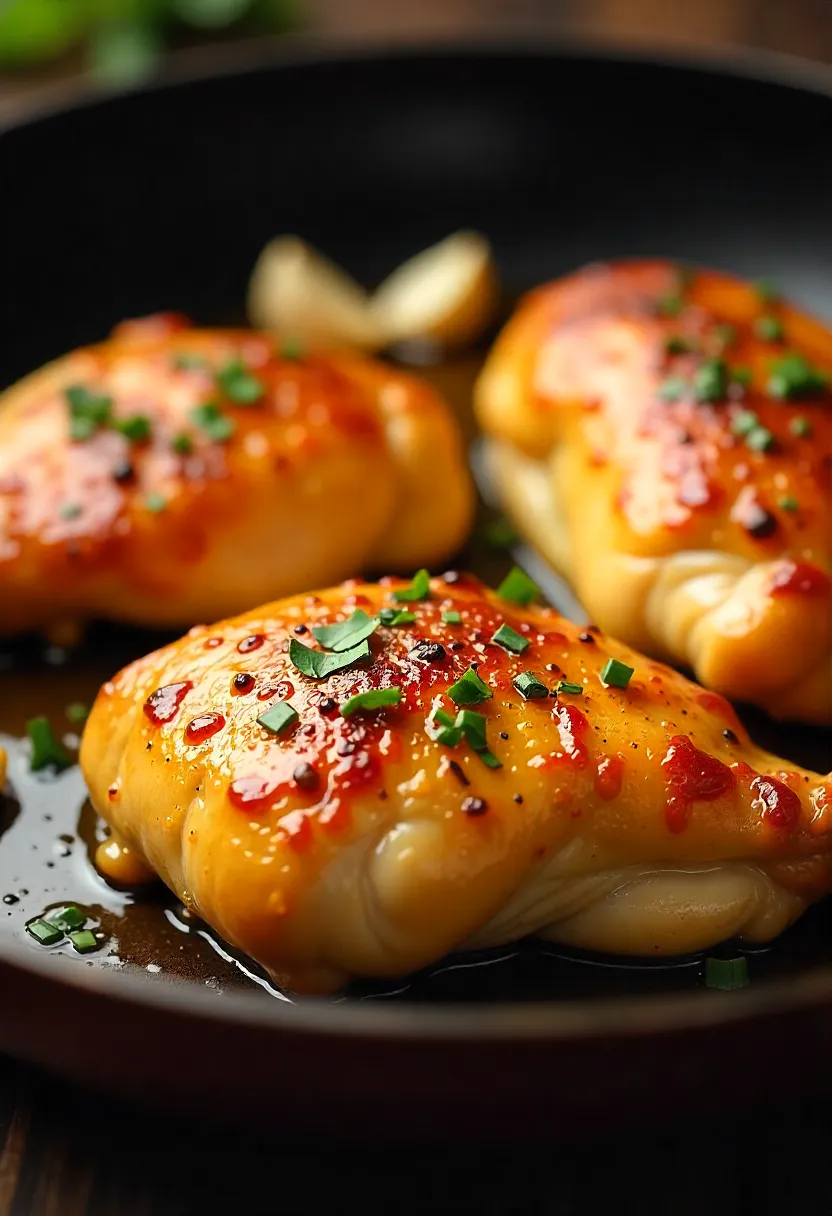
This cold-start method checks every box: crisp, golden skin; juicy, tender meat; and a slow, controlled cook that works for any cut, skin-on or skinless. No fancy gadgets, no complicated steps—just a skillet, patience, and a flip every few minutes. Use the oven if you want, but you don’t need it.
Want proof? Try it out with a recipe for boneless chicken breasts paired with bulgur salad, or go for one-pan Mediterranean chicken thighs with chickpeas. Both show off just how versatile this technique can be.
Once you cook chicken this way, you won’t just taste the difference—you’ll feel it: that rare kitchen win when a simple technique transforms an everyday dinner into something worth celebrating. Turns out, starting cold might just be the hottest trick in chicken cookery.