Contents
I’ve always felt that making ice cream at home is less about following a recipe and more about creating a small, edible love letter to dessert. You don’t just toss ingredients together — you think about them, one by one, like picking the right words for a note you hope will make someone smile. You choose the tone you want to set: will it be bright and zesty with lemon, deep and moody with dark chocolate, or playful with chunks of cookies? And then there’s the final touch — how you present it, the way you swirl it into the container, maybe sprinkle something on top. Instead of sealing it in an envelope, you slide it into the freezer, like sending it off into a quiet, frozen post office. Hours later, you open the lid and there it is — a gift to yourself, a scoop of happiness you can taste. 🍦
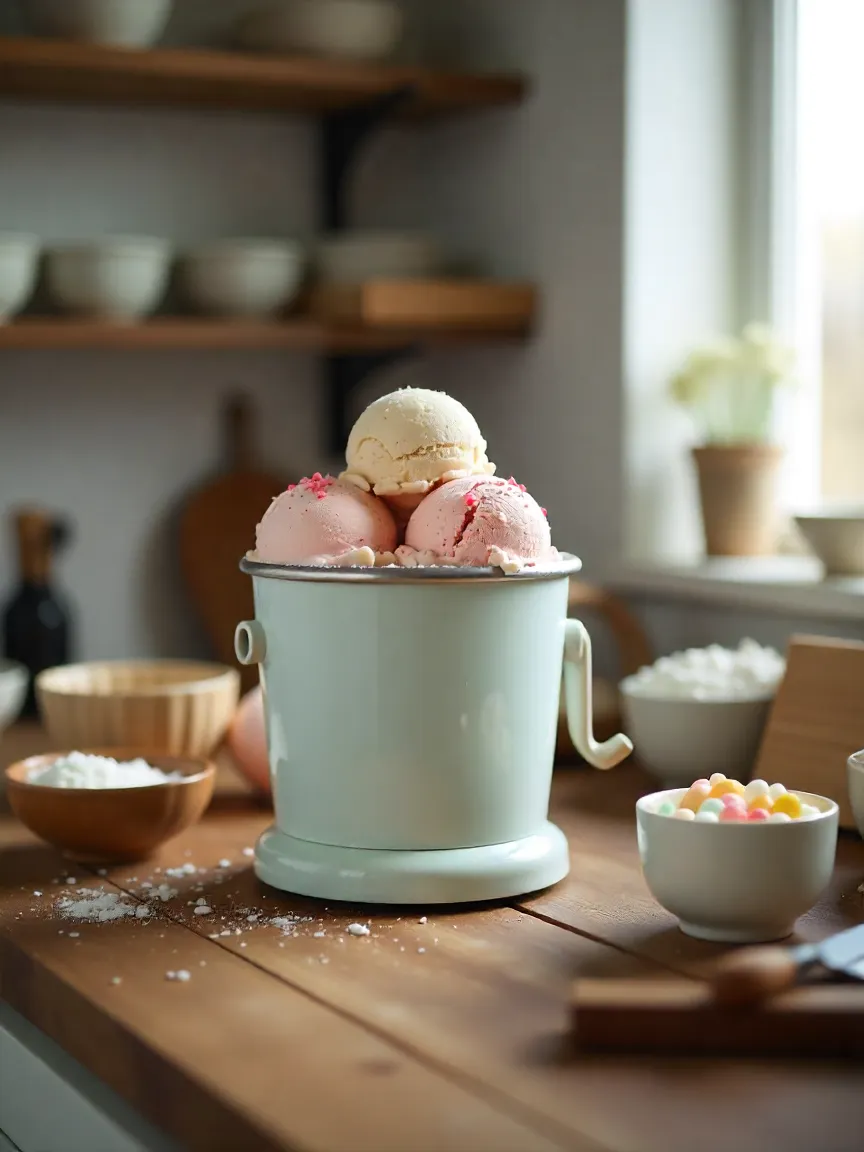
When I think about ice cream, I can’t help but go back to my childhood. My grandmother had one of those heavy, old-fashioned hand-crank ice cream makers — the kind built from wood and metal, with a handle that never turned smoothly. It squeaked with every push, as if complaining about the work, but we loved it. The air in her kitchen would grow thick with the warm, sweet smell of cream and sugar heating on the stove. We would all gather around, each person taking a turn at the crank, our arms growing tired but our faces lighting up with anticipation. It wasn’t just “making dessert” — it was a family ritual. We told stories, we teased each other, we guessed how much longer it would take. By the time we finally dug into that first spoonful, the ice cream tasted like more than just frozen sweetness. It tasted like togetherness, like summer afternoons that seemed to stretch on forever, like something you knew you’d remember years later.
If you’ve never made your own ice cream, don’t let that stop you. I’ll take you through the process step by step, with all the small tricks and little details I’ve learned along the way. By the end, you won’t just know how to make ice cream — you’ll know how to make ice cream that feels like yours. Flavors that fit your mood, textures you love, little surprises tucked into every bite.
🌞 Why homemade ice cream is worth every minute
People often ask me, half-joking, “Why go through the trouble when you can just buy a tub from the store?” And yes, technically, that’s faster. But the thing about homemade ice cream is that it’s never just about speed. It’s about slowing down. It’s about the choices you get to make, the fun you get to have experimenting, and the moments you create while doing it.
- Flavor control 🎨 — Want rosemary-lemon, smoky vanilla bourbon, or black sesame with honey? You probably won’t find that in the freezer aisle. Here, you’re the one calling the shots.
- Ingredient honesty 🧾 — You know exactly what’s going in. No artificial flavorings that taste “almost” like vanilla. No additives you can’t pronounce. Just real, simple ingredients.
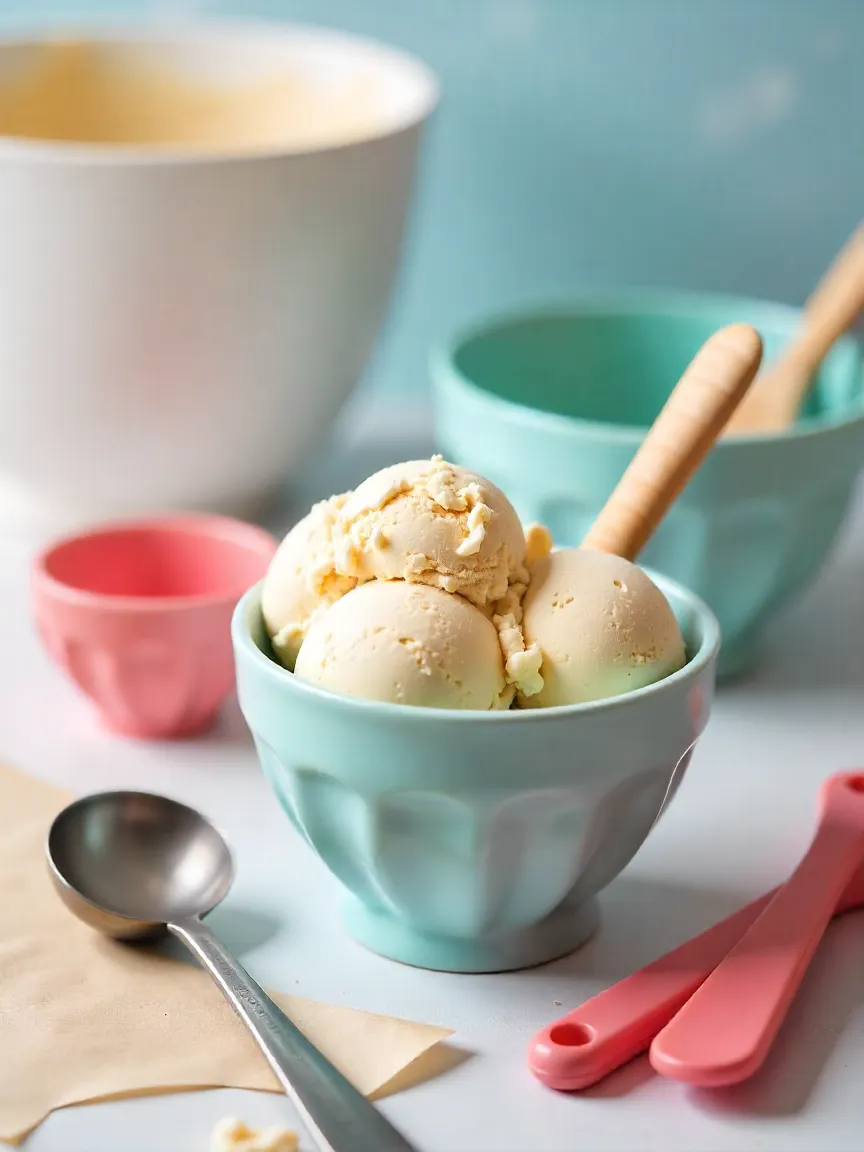
- Texture magic ✨ — Freshly churned ice cream is softer, silkier, and somehow feels more alive, almost as if it hasn’t yet realized it’s supposed to be frozen.
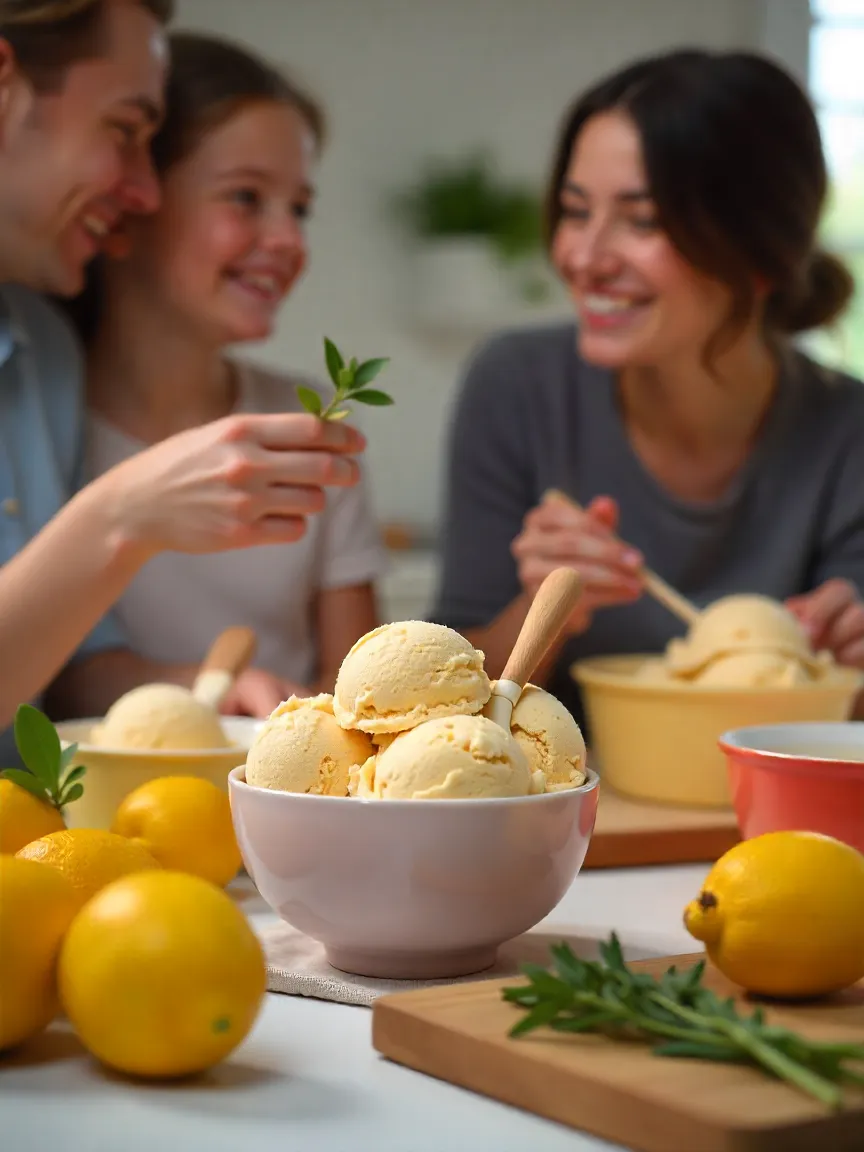
- Shared moments 👨👩👧 — Making ice cream can be a solo hobby, but it’s even better when shared. Invite friends or family, give everyone a role, and turn it into an event worth remembering.
And here’s something I’ve noticed over the years: when you hand someone a bowl and say, “I made this,” you’re not simply giving them something sweet to eat. You’re handing over a piece of your afternoon, a bit of your creativity, and a whole lot of your joy.
🛠 Gear up: tools you’ll need
The good news? You don’t need a fancy kitchen to make great ice cream. A few essentials will do the job, and a couple of optional extras can make things even smoother.
Essentials:
- Large mixing bowls — one for your ice cream base, one for your mix-ins.
- Whisk or electric mixer — your arms will thank you.
- Measuring cups & spoons — because getting the balance right means your recipe will turn out the same every time.
- Rubber spatula — perfect for scraping down the sides and making sure nothing gets wasted.
- Freezer-safe shallow container — helps the mixture freeze more quickly and evenly.
- Ice cream scoop — solid, sturdy, and ideally with a release lever for those perfect, round scoops.
Nice-to-have:
- Fine sieve — gives you an ultra-smooth texture, especially with custard bases.
- Candy thermometer — takes the guesswork out of heating custards.
- Parchment or cling film — keeps ice crystals from forming on top.
💡 No-machine hack: If you don’t have an ice cream maker, you can still do this. Chill your base, pour it into a shallow metal dish, and pop it in the freezer. Every 30 minutes, give it a vigorous stir with a fork or hand mixer, breaking up the icy edges and mixing them back in. Keep going until you reach that creamy, scoopable texture — it might take a couple of hours, but it’s worth every stir.
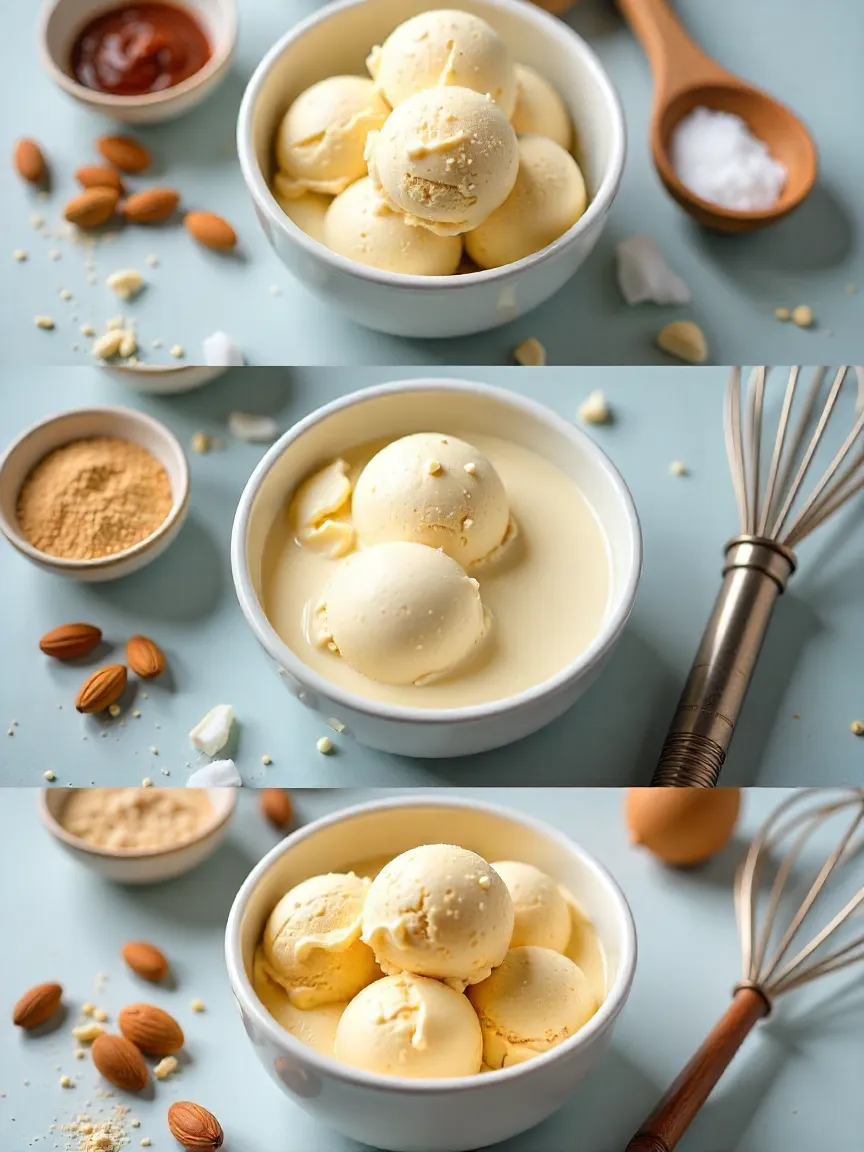
🥛 Building the perfect base
Every scoop of ice cream starts with the same thing — a good base. Think of it as the foundation of a house: if it’s solid, everything you build on top will stand tall and taste amazing. Get it right, and your flavors will sing. Get it wrong, and no amount of chocolate chunks or swirls will save it.
Classic Philadelphia-style base (no eggs):
This one is all about fresh, clean flavor and a texture that feels light yet indulgent. It’s quick to make and perfect for those days when you want ice cream without too much fuss.
- Heavy cream — gives richness and body, that full, luscious mouthfeel.
- Whole milk — balances the fat so it’s not overly heavy.
- Sugar — for sweetness, but also for texture; it keeps the ice cream from freezing rock-solid.
- Pinch of salt — a tiny bit goes a long way in making flavors pop.
- Vanilla extract or bean — the classic aroma that makes the kitchen smell like happiness.
French-style custard base:
This is the luxurious cousin — richer, smoother, and more decadent. The egg yolks give it that velvety texture that clings to your spoon.
- Everything from the Philadelphia base, plus egg yolks — for creaminess that feels like silk melting on your tongue.
Vegan/dairy-free:
Going dairy-free doesn’t mean missing out on creaminess. In fact, these bases can be just as indulgent.
- Coconut cream, oat cream, or almond milk — each adds its own subtle flavor and works beautifully as a foundation.
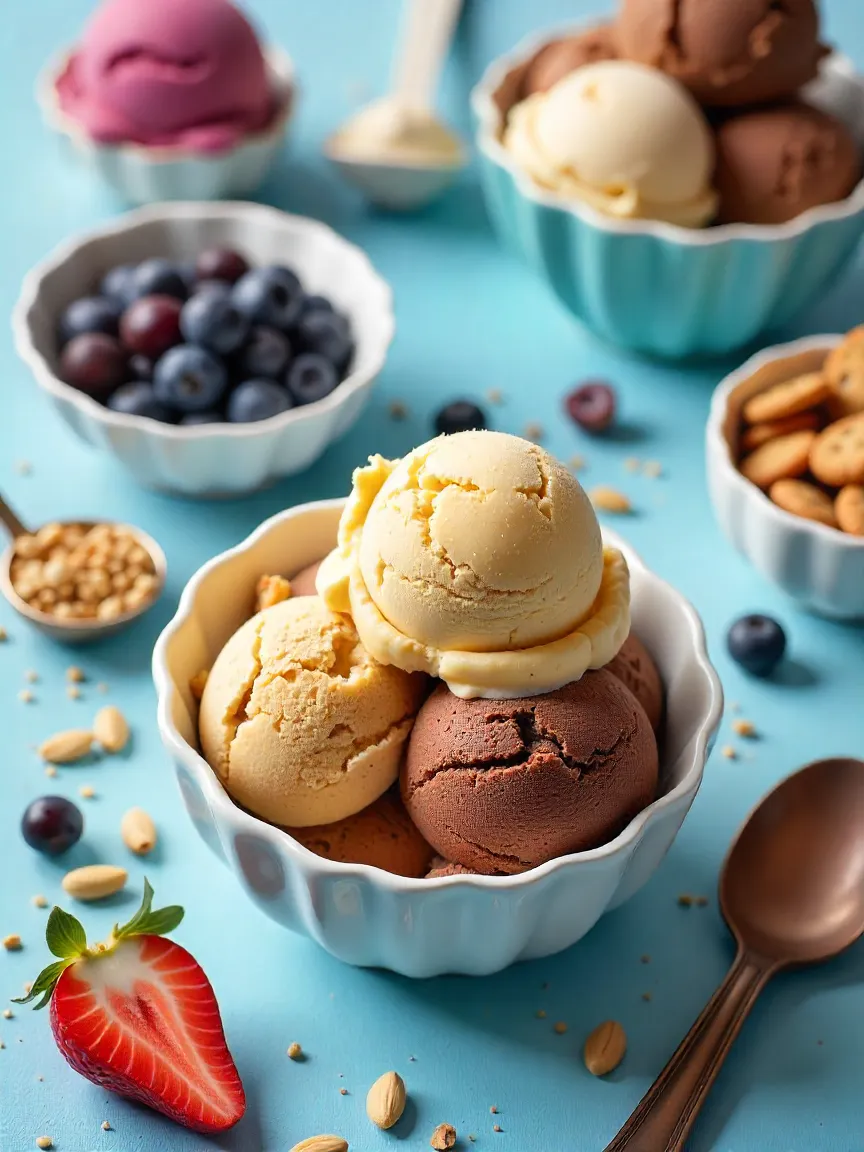
🎨 Flavor experiments that actually work
One of the real joys of making ice cream at home is that you’re not stuck with the same three choices you see at the store. Your only limit is your imagination — and maybe the size of your freezer.
- 🍓 Berry ribbon — swirl in raspberries or strawberries you’ve cooked down until thick and jammy. The tart-sweet ribbons cut through the creaminess in the best way.
- 🍫 Triple chocolate — cocoa in the base for depth, melted chocolate swirled in for drama, and chocolate chunks folded through for crunch.
- 🌰 Maple walnut — toasted walnuts add warmth and bite, maple syrup brings cozy sweetness.
- 🥭 Mango coconut — tropical, sunny, and so smooth it feels like summer in a bowl.
- 🌿 Herbal elegance — try basil with lemon zest for something bright, or lavender with honey for a floral, almost romantic flavor.
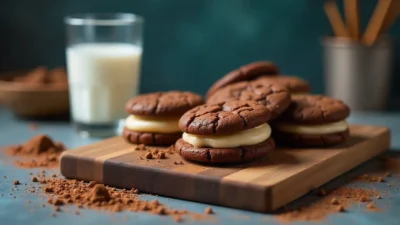
- 🍪 Cookie overload — crushed cookies stirred through and ribbons of caramel for pure indulgence.
💡 Pro tip: Always cook fresh fruit down before adding it to your ice cream. It keeps the flavors concentrated and prevents icy pockets from ruining that smooth texture.
👩🍳 Step-by-step method
Making ice cream isn’t just about combining milk, cream, and sugar — it’s more like going on a little kitchen adventure. Every stage has its own rhythm, its own small reward, and if you pay attention, you’ll notice how it changes in smell, texture, and even sound as you go.
- Step 1 — Heat & mix
Start by pouring your cream, milk, sugar, and just a pinch of salt into a medium saucepan. Keep the heat low — you don’t want boiling bubbles here, just gentle warmth. Stir slowly, letting the sugar dissolve. You’ll notice the mixture turning silkier, and the air filling with that faint, comforting sweetness that reminds me of warm vanilla milk on a winter night. This is not a step to rush; the base is already beginning to build its personality. - Step 2 — For custard style
If you’re aiming for the French-style custard base — the one with that extra velvety richness — now’s the time for the eggs. Crack your yolks into a bowl and whisk them until they’re pale, creamy, and almost doubled in volume. Then, slowly ladle in a little of the warm cream mixture while whisking. This is called “tempering,” and it’s basically teaching the eggs not to freak out and scramble when they meet heat. Once they’re ready, pour everything back into the saucepan and cook on the gentlest heat you can manage. Stir constantly, watching for the moment it thickens just enough to coat the back of your spoon. Run your finger through it — if the line stays clear, you’re there.
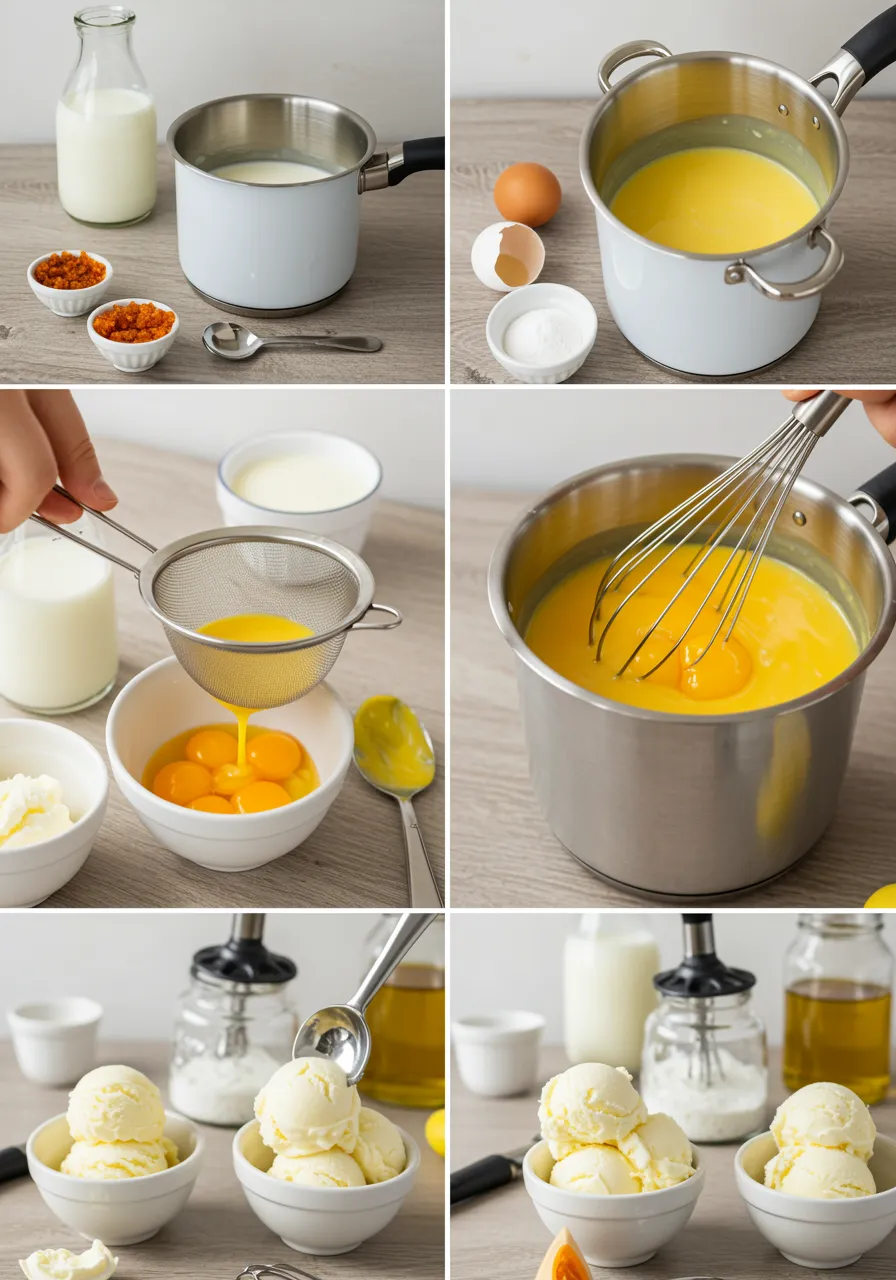
- Step 3 — Strain & chill
This step is like giving your ice cream a spa treatment. Pour the mixture through a fine sieve into a clean bowl to catch any lumps or stray bits of egg. Let it cool down to room temperature — you can speed this up by setting the bowl in an ice bath if you’re impatient like me. Then cover and refrigerate for at least 4 hours. Overnight is even better because the flavors settle in, deepen, and get ready to shine. - Step 4 — Churn or stir
- With a machine: Pour your chilled base into the ice cream maker and let it churn. The soft whirring is oddly satisfying, and within 20–30 minutes, you’ll see it transform from liquid to something that looks like soft-serve.
- Without a machine: Spread the base in a shallow metal container and pop it in the freezer for about 45 minutes. When the edges start to firm up, stir the whole thing vigorously with a fork or hand mixer. Keep doing this every 30–45 minutes, breaking up icy bits and mixing them back in. After 2–3 hours, you’ll have a texture so creamy, you’ll wonder why you ever thought you needed fancy equipment.
- Step 5 — Freeze to finish
Transfer your nearly finished ice cream into a freezer-safe container. Press cling film or parchment directly on the surface — this stops ice crystals from forming — then put the lid on. Let it freeze for another 4–6 hours, or until it’s firm enough to scoop. If you can manage to wait that long without “testing” it three times, you’re stronger than I am.
❄ Storage tips
Storing ice cream properly is just as important as making it — a little care will keep it tasting fresh and silky for days.
- Use shallow containers — The more surface area your ice cream has, the faster and more evenly it freezes. Deep containers tend to leave the middle softer and the edges too hard. I like using wide, flat tubs because they make scooping a breeze.

- Keep it away from the freezer door — Every time you open the door, warm air rushes in, creating small temperature swings that can cause ice crystals to form. Those crystals dull the flavor and ruin the creamy texture you worked so hard for. The back of the freezer is your safest spot.
- Cover it well — Press a sheet of cling film or parchment directly onto the surface before sealing with a lid. This keeps freezer odors out and prevents that “frosty” layer from forming.
- Eat within 1–2 weeks — Ice cream technically lasts longer, but its flavor and texture start to fade. Freshly made ice cream is like fresh bread — it’s at its best right after you make it. Plus, let’s be honest, no one really struggles to finish a batch within two weeks.
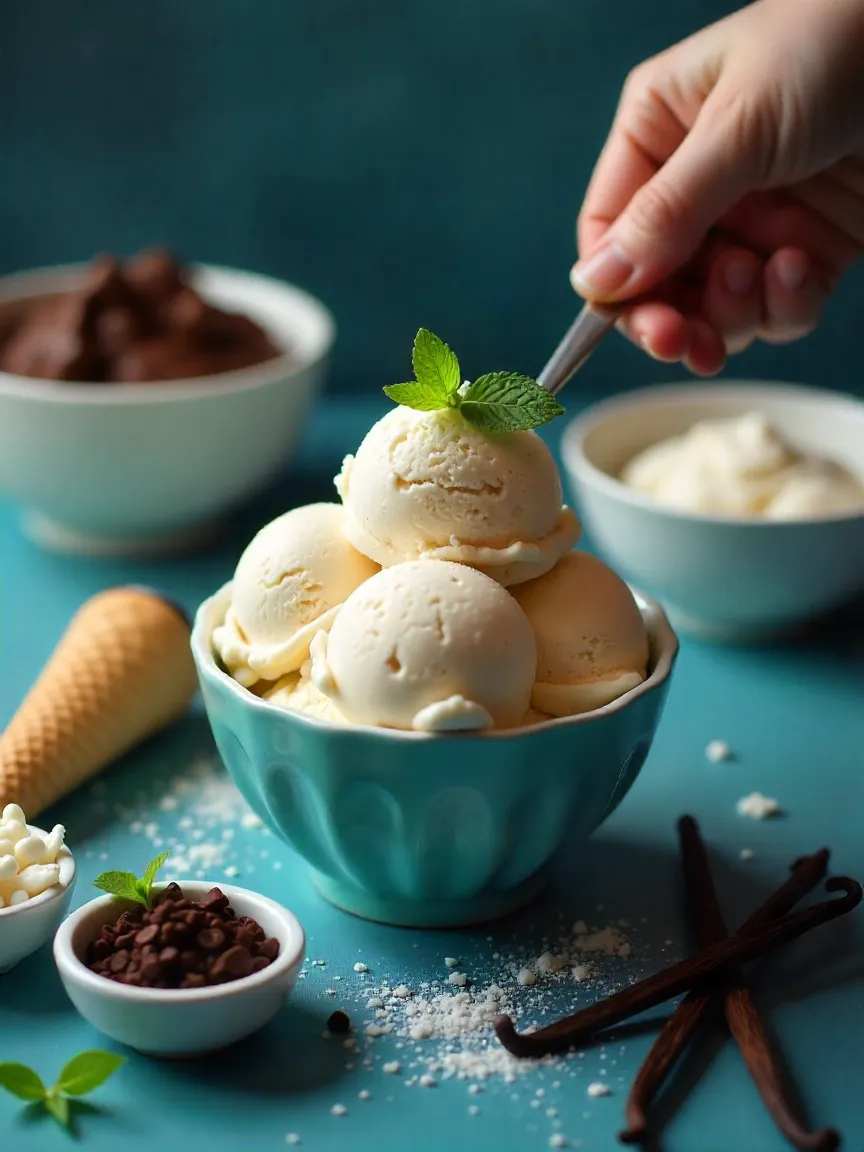
🍽 Serving like a pro
Serving ice cream isn’t just about scooping it into a bowl — it’s about turning dessert into a little moment worth remembering.
- Chill your bowls — Pop them into the fridge or freezer for 10–15 minutes before serving. Cold bowls keep the scoops firm for longer, especially if it’s warm out.
- Think beyond plain bowls — Serve ice cream in martini glasses, coupes, or even espresso cups for a touch of charm. The right vessel can make even a simple vanilla look like it belongs in a fine restaurant 🍸.
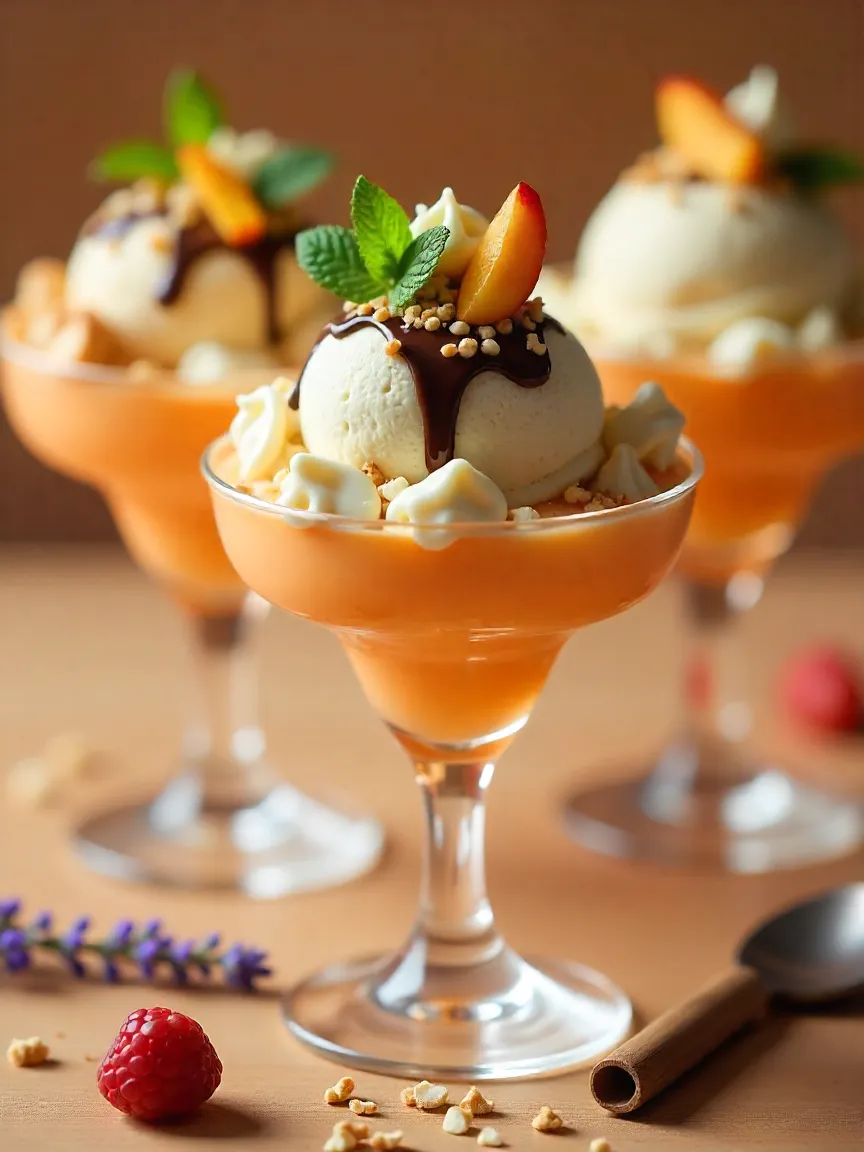
- Garnish thoughtfully — Fresh mint sprigs, delicate chocolate curls, toasted nuts, fruit slices, edible flowers — these little touches signal that you’ve put care into every detail.
- Play with textures — A drizzle of warm fudge, a sprinkle of granola, or a shard of brittle can make each bite exciting.
- Serve at the right temperature — Let the ice cream sit at room temperature for 2–3 minutes before scooping. It softens slightly, making for smoother, neater scoops.
🚫 Common mistakes (and how to avoid them)
Even experienced ice cream makers can stumble on a few classic pitfalls. Here’s what to watch out for — and how to sidestep them:
- Boiling the base — High heat can cause proteins to curdle and give your ice cream a grainy texture. Always keep the heat gentle, stirring often, and remove from the stove as soon as the sugar dissolves or the custard thickens.
- Skipping the chill time — Chilling isn’t optional; it’s the step where the flavors meld and the fat firms up. Churning a warm base traps water into ice crystals, leading to a rough, icy texture.
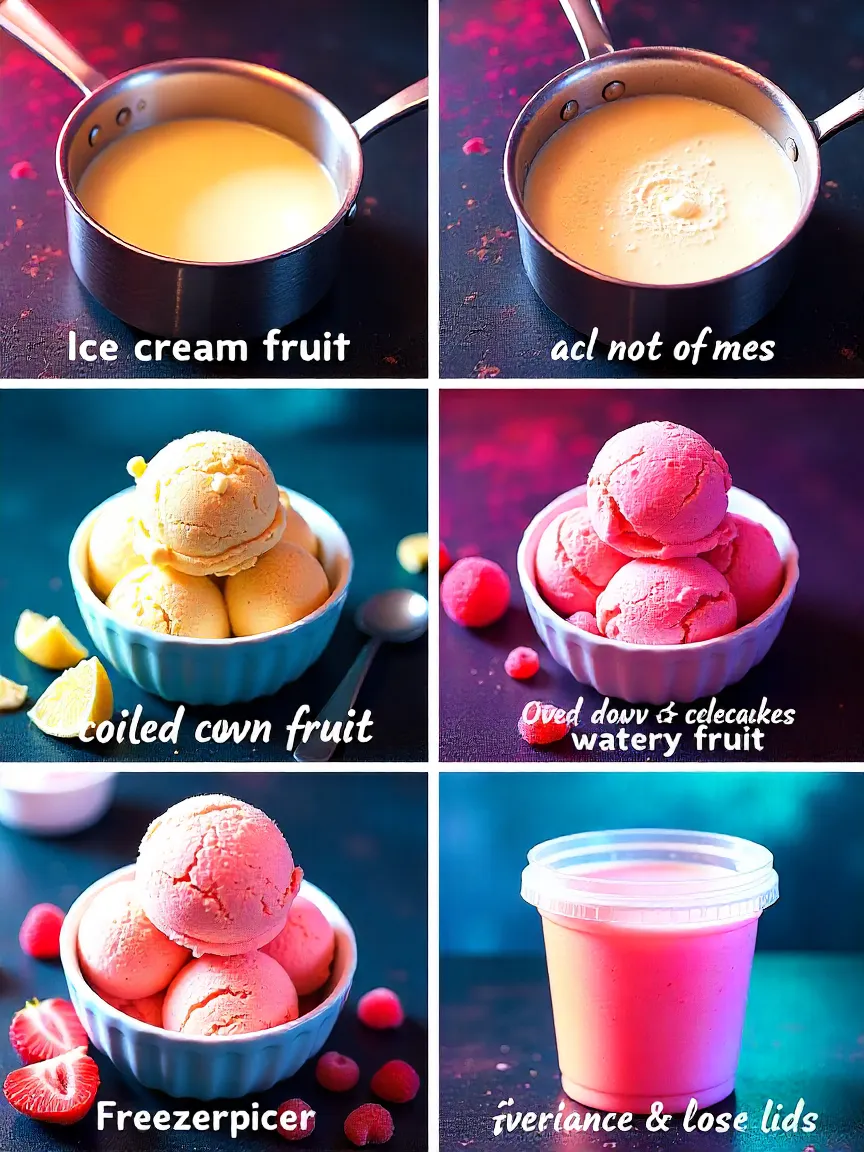
- Too much water in fruit — Fresh fruit is wonderful, but its natural water content freezes into hard shards. Always cook fruit down into a thick, jammy texture before adding — it keeps the flavor concentrated and the texture smooth.
- Over-churning — Once your ice cream reaches soft-serve consistency, stop. Churning too long whips out too much air and can even churn butter out of the fat, leaving you with something dense and greasy.
- Not sealing properly — A loose lid or no inner wrap invites freezer burn and strange odors. Always double up with cling film or parchment plus a tight-fitting lid.
🔟 Ten flavor combos to try next
- Roasted banana + cinnamon — Roasting the bananas intensifies their natural sweetness and brings out caramel notes. A sprinkle of cinnamon adds warmth and a subtle spice that makes this flavor feel cozy and nostalgic. Try topping with toasted coconut for extra crunch.
- Espresso + chocolate chunks — The bitterness of espresso pairs beautifully with the sweetness of chocolate. Use dark chocolate chunks for a satisfying texture contrast, and consider adding a pinch of sea salt to elevate the depth of flavor.
- Peanut butter + pretzel pieces — Creamy peanut butter swirled into your base meets the salty crunch of pretzels — a perfect sweet-and-salty balance. Add a drizzle of melted chocolate on top for an indulgent finish.
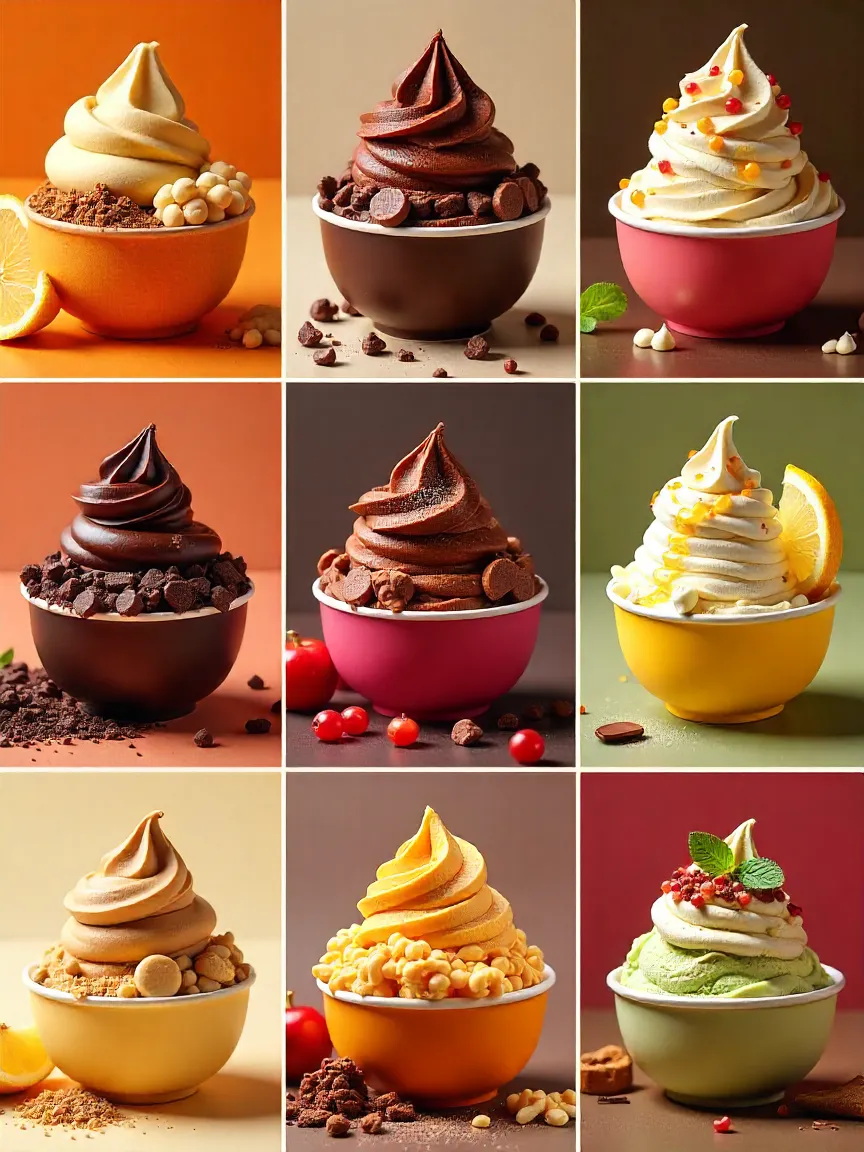
- Cherry + dark chocolate — Tart, juicy cherries meet rich, slightly bitter dark chocolate. Cook the cherries down slightly to avoid icy pockets, and fold in chocolate chunks at the end for melty pockets of goodness.
- Lemon curd + crushed meringue — Tart and creamy lemon curd swirled through soft ice cream, with sweet, crunchy meringue pieces sprinkled throughout, creates a textural and flavor contrast reminiscent of lemon meringue pie.
- Pomegranate + mint — Bright, slightly tart pomegranate seeds paired with refreshing mint make for a vibrant, almost sparkling dessert. This combo works especially well in a lighter, cream or yogurt-based ice cream.
- Gingerbread spice — Cinnamon, nutmeg, ginger, and cloves — all the cozy spices of winter in every bite. Try adding small molasses-soaked cookie pieces for an extra festive twist.
- Matcha + white chocolate — The earthy, slightly bitter taste of matcha balances beautifully with sweet, creamy white chocolate. Fold in chocolate chunks sparingly so the green tea flavor shines.
- Honey + fig — Sweet honey blended into the base with chunks of chewy, luscious figs creates a rich, sophisticated flavor. Toasted nuts like almonds or pistachios make a lovely textural addition.
- Salted caramel + brownie chunks — A decadent favorite: silky caramel with a pinch of salt and chewy, chocolatey brownie chunks. For extra flair, swirl in ribbons of caramel just before serving.
💬 Final scoop
Homemade ice cream is more than just a dessert — it’s a small project, a creative outlet, and a gift all rolled into one. Each batch is an opportunity to experiment, to surprise yourself with new flavor combinations, and to share something truly special.
Every time you scoop a bowl for a friend or family member, you’re giving more than just ice cream — you’re giving your time, your care, and a little moment of joy. And the best part? You can always tweak, swirl, or sprinkle differently next time.
So the next time you crave something cold, creamy, and sweet, skip the store-bought tub. Make your own masterpiece. Serve it with a smile, maybe a sprig of mint, or a drizzle of chocolate, and definitely a second scoop — because one is never enough. 🍨