Contents
- ☕ Why bother making caramel from scratch?
- 🧂 Just 5 main ingredients (and you probably already have them)
- 🍳Gear you’ll actually use (no candy thermometer required)
- ⚗️ Let’s talk caramel methods: wet vs dry (both involve hot sugar drama)
- 🌡️ The color trick (because temperature is kinda boring)
- 😬 Mistakes I’ve made (so you don’t have to)
- 🌈 Fun ways to mix things up
- 🧊 Storage: keep it smooth, not rock-hard
- 🍰 Serving ideas (aka what to drizzle this magic on)
- 🎉 Final thoughts: is making caramel worth it?
You know those moments when you’re halfway through dessert and think, “Wow, I really should learn how to make this myself”? That’s exactly how my caramel journey began. It wasn’t fancy. I just wanted something to pour on pancakes that didn’t taste like plastic and didn’t come from a squeeze bottle.
Honestly, I used to think making caramel was some high-level baking sorcery only grandmas or trained chefs could pull off. I mean, you’re literally melting sugar in a pan and hoping it doesn’t burn your kitchen down, right?
Turns out, it’s not that scary. And once you get the hang of it? Game. Changer. Let me walk you through everything I’ve learned, burned (yes, literally), and now swear by when it comes to this golden, sticky goodness we call caramel.
☕ Why bother making caramel from scratch?
Okay, I get it. You’re probably thinking: Why should I spend 20 minutes standing over bubbling sugar when I can just buy it pre-made?
Here’s the thing.
Store-bought caramel is mid. It’s usually overly sweet, kinda one-dimensional, and full of ingredients you can’t pronounce. Homemade caramel? It’s creamy, warm, rich, and you can tweak it however you like. Want it saltier? Done. Want it with a hint of cinnamon or orange? Go wild. Want it dairy-free and still delicious? Totally doable.
Plus, there’s something very main character about casually telling people, “Oh yeah, I made that caramel myself.”
🧂 Just 5 main ingredients (and you probably already have them)
Let’s not overcomplicate things. Making caramel starts with the basics. If you’ve got these at home, you’re 90% ready to roll.
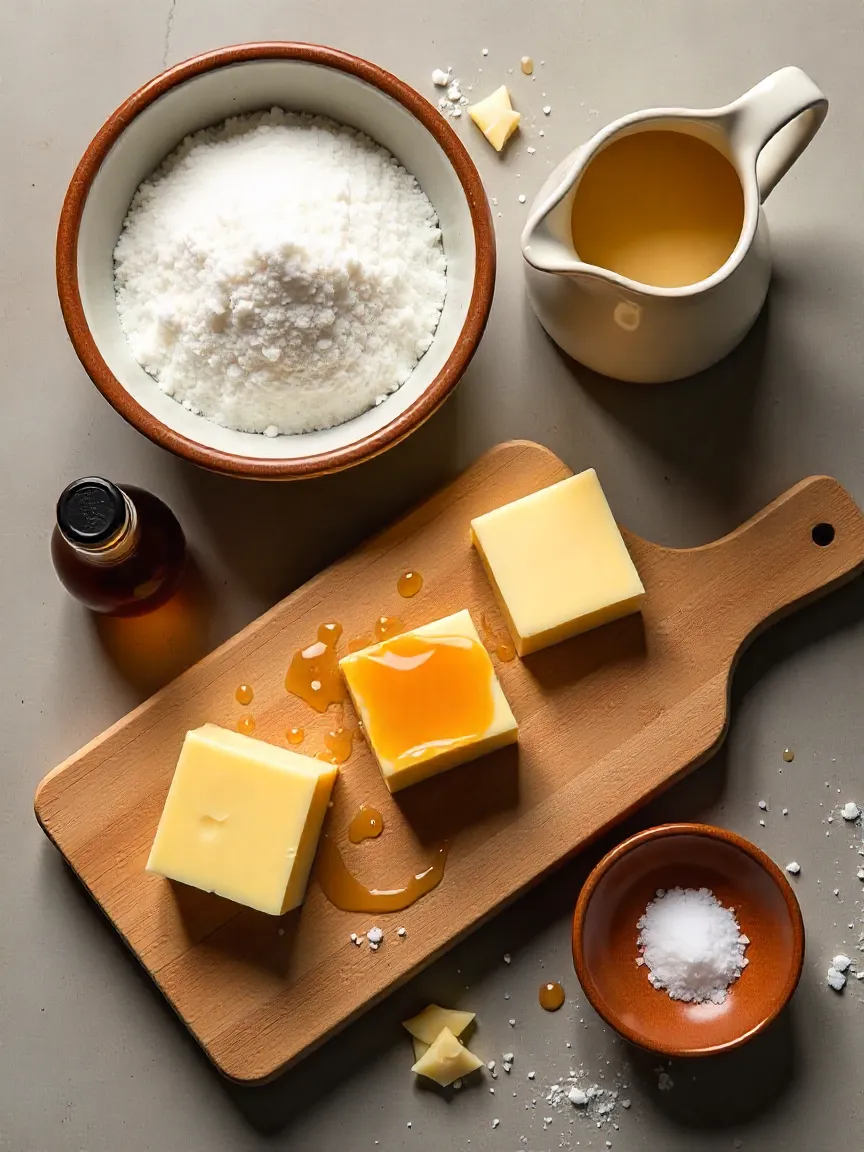
What you’ll need:
- White granulated sugar – Trust me, keep it classic. Don’t mess with brown sugar unless you’re going for something more molasses-y.
- Heavy cream – Full-fat, rich and velvety. The good stuff.
- Unsalted butter – You’ll want to control the saltiness yourself.
- A splash of water (optional, but helpful if you’re new to this)
- Vanilla extract – Not required, but highly recommended. Adds warmth and that nostalgic “dessert” vibe.
Optional:
- Sea salt if you’re into that salted caramel life.
- Cinnamon, cardamom, espresso powder, chili flakes — for the adventurous ones.
No corn syrup. No weird stabilizers. No mystery goo. Just real stuff. 🧴❌
🍳Gear you’ll actually use (no candy thermometer required)
I’m not going to tell you to go buy a candy thermometer (unless you want to feel super official). You really don’t need much:
- A medium or small heavy-bottomed saucepan (thin pans burn sugar fast)
- A wooden spoon or heatproof silicone spatula
- Measuring cups/spoons
- A pastry brush (optional, for brushing down sugar crystals)
- Oven mitts — unless you enjoy sugar burns (you don’t)
- A glass jar or bowl for pouring your finished caramel into
That’s it. No mixer. No blender. No stand mixer attachment with a French name.
⚗️ Let’s talk caramel methods: wet vs dry (both involve hot sugar drama)
Yup, there are two main ways to make caramel. I’ve tried both. They each have their personality.
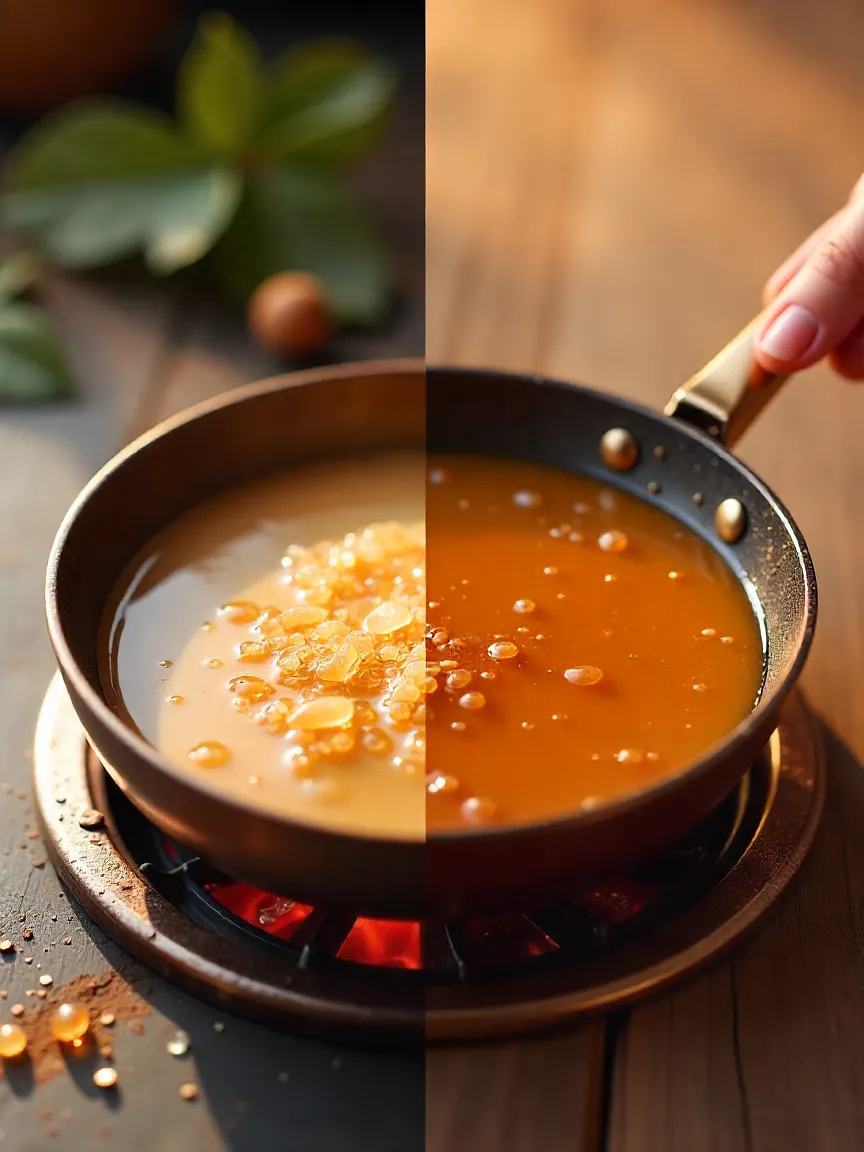
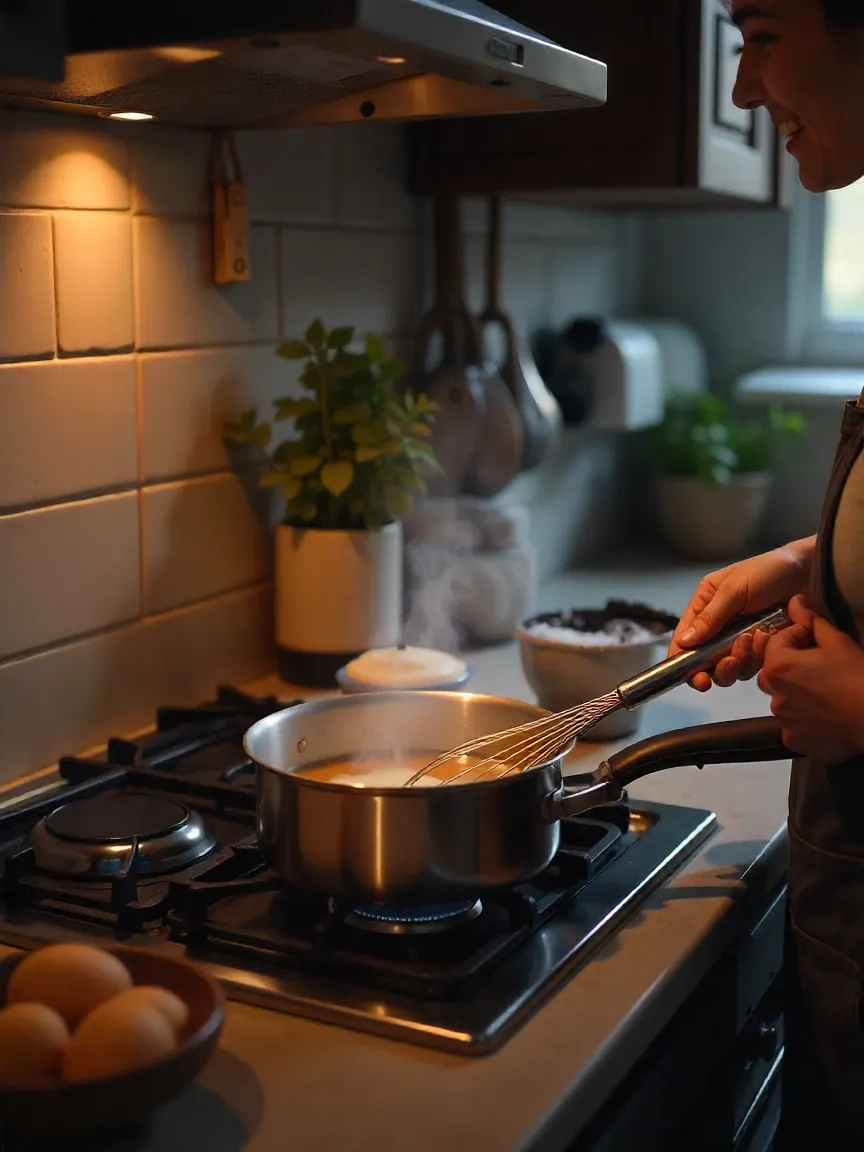
🔹 Wet caramel (aka the gentle beginner way)
This is the method I recommend if you’re brand new. It’s basically sugar + water, which helps the sugar melt more evenly. Less chance of burning. More time to react.
How to do it:
Mix sugar and a little water in your pan (just enough to make it look like wet sand).
Don’t stir. I know it’s tempting, but don’t.
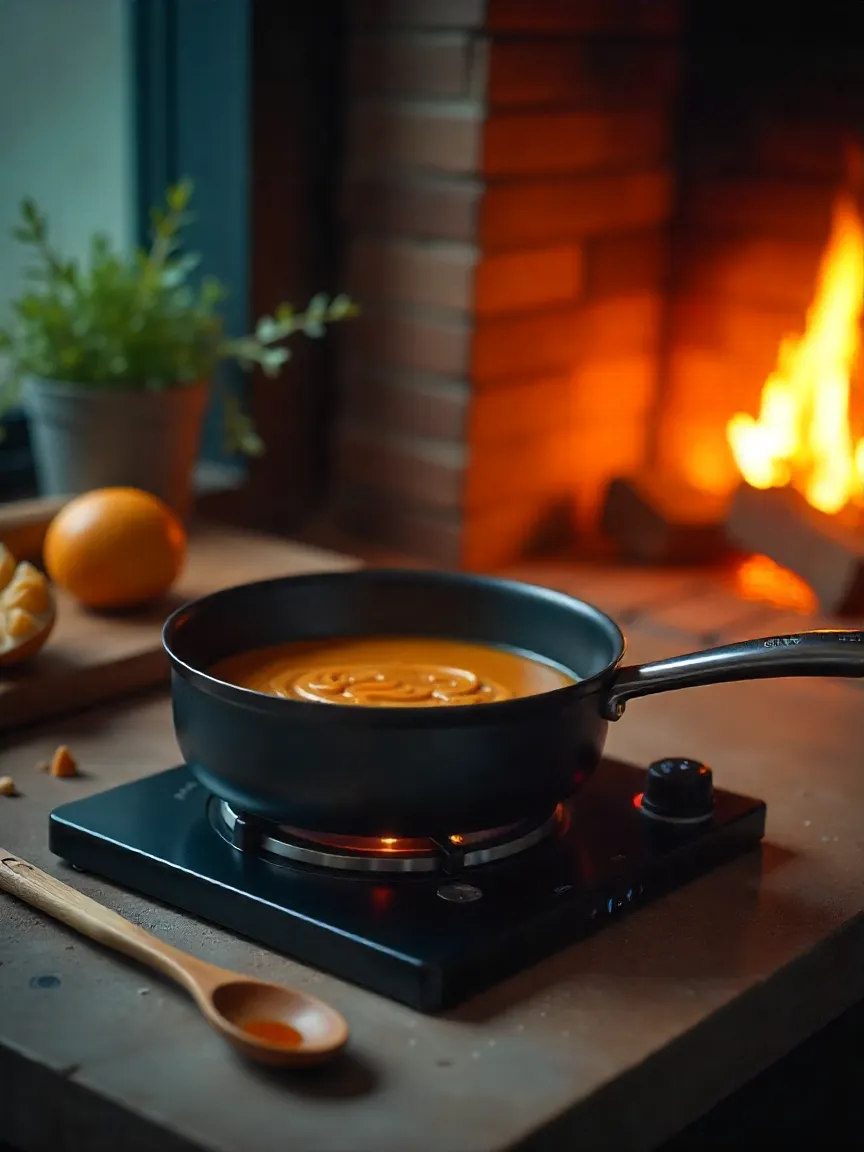
Let it bubble on medium heat. The water will evaporate, then the sugar will start to brown.
Once it’s golden-amber (like honey turning into sunset), pull it off the heat.
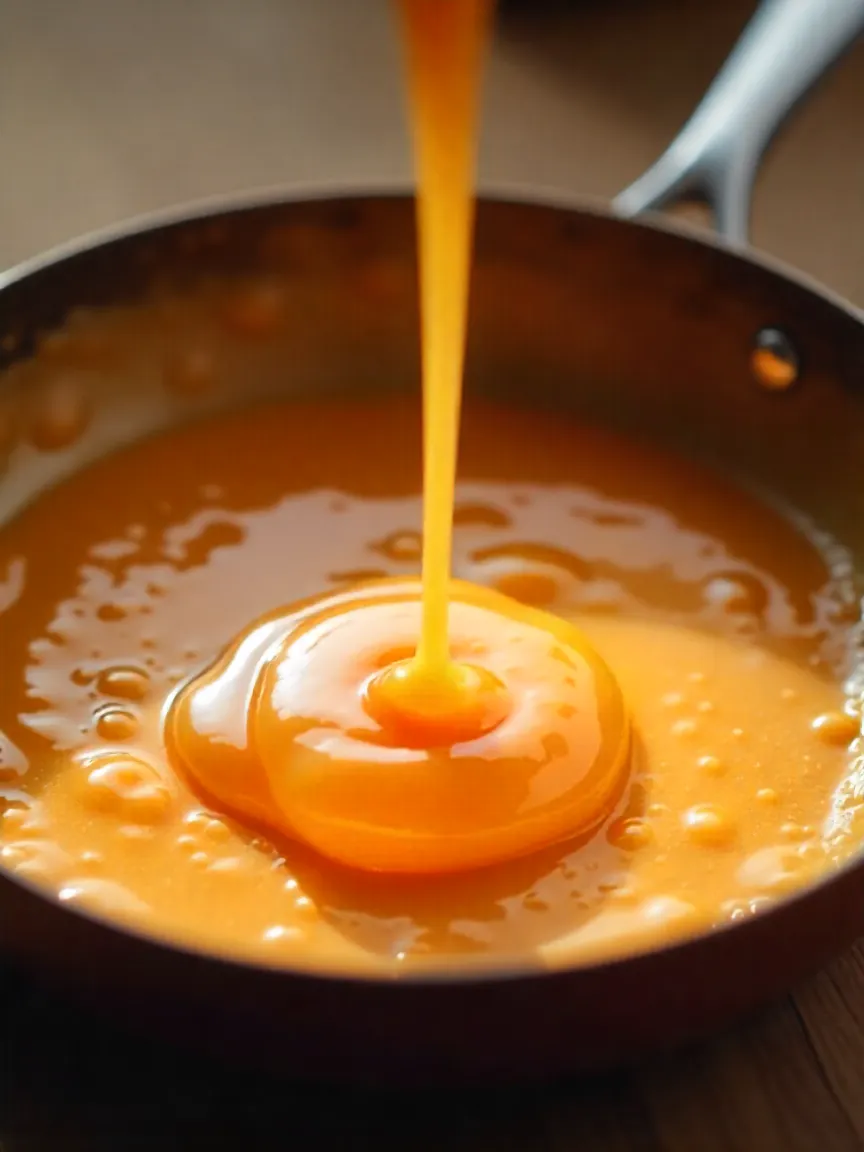
Slowly whisk in the butter, then cream. Stir like your life depends on it.
Add vanilla and salt if you’re using them.
🔸 Dry caramel (aka the “I got this” method)
This is the rebel way. No water. Just straight sugar in a dry pan. It melts faster but also burns faster. You’ve been warned.
Steps:
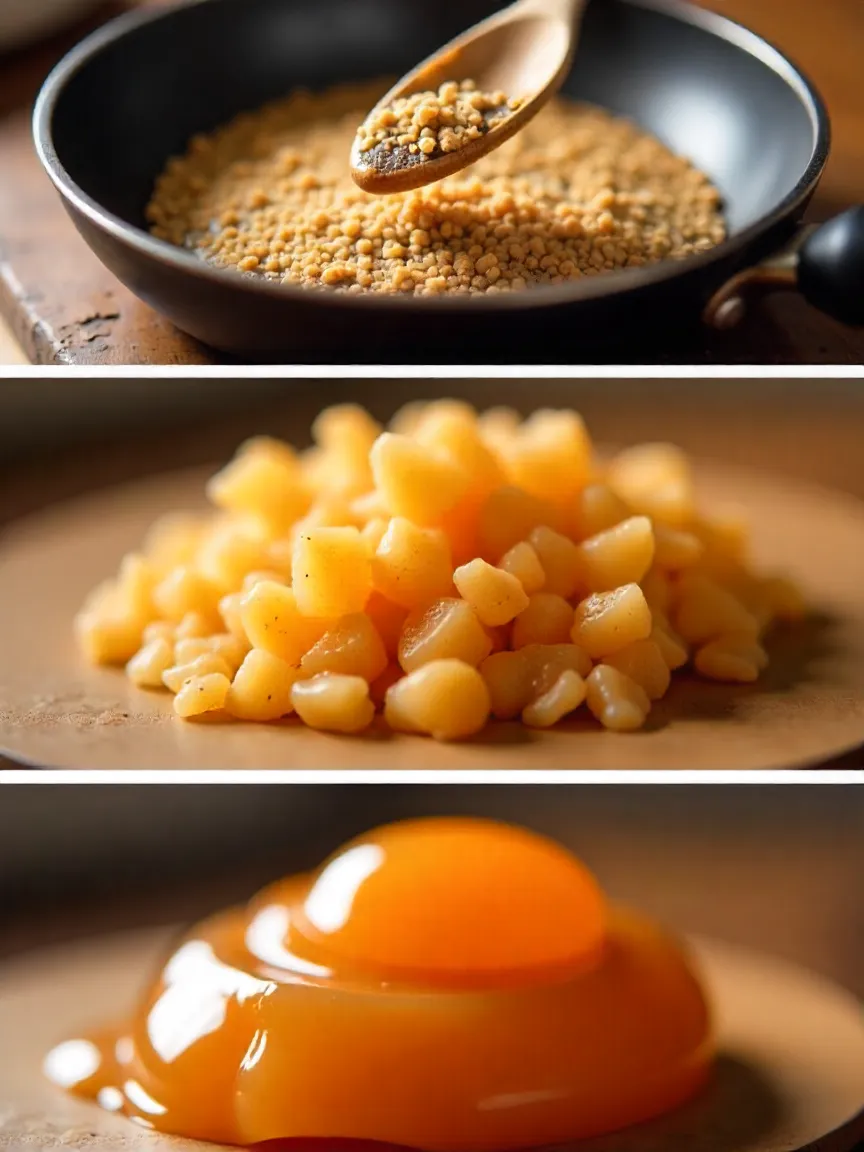
Pour sugar into your dry pan and heat gently.
As it melts around the edges, start gently stirring.
Keep going until all the sugar has turned into golden liquid gold.
Add butter, then cream. It’ll bubble like crazy, but don’t freak out.
Stir, stir, stir.
Remove from heat and flavor as desired.
Both methods get you to the same delicious place. Pick whichever fits your vibe.
🌡️ The color trick (because temperature is kinda boring)
Alright, yes — if you’re the kind of person who geeks out over candy thermometers (no judgment, love that passion!), caramel’s magic zone is roughly between 340°F and 350°F (that’s about 171°C to 177°C). But for the rest of us mere mortals who don’t want to babysit a thermometer, your best tools are your eyes and nose. Seriously — trust your senses!
Here’s the trick: you want to watch the color change closely because it’s basically caramel’s way of telling you how it’ll taste and feel.
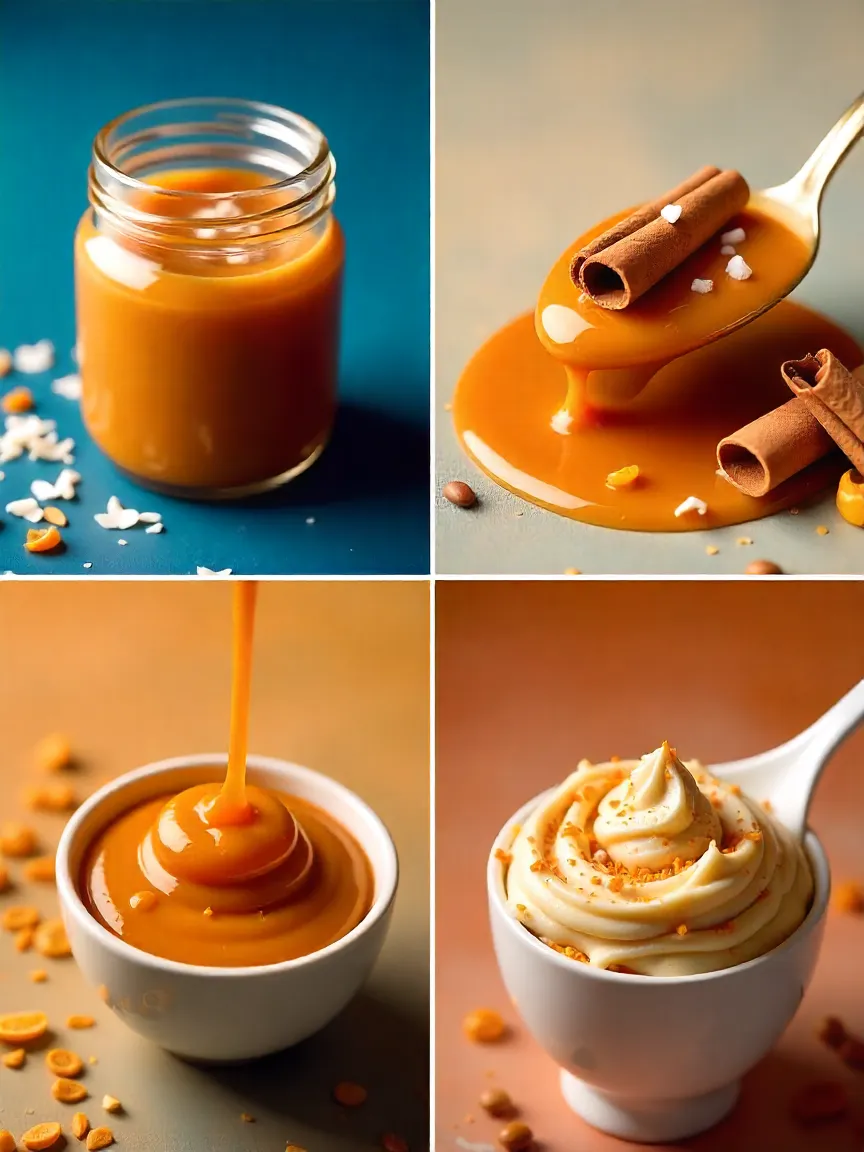
- Light amber: Think gentle, buttery, and smooth — perfect for drizzling over ice cream or pancakes. It’s sweet but mild, with a soft pourable texture that melts in your mouth.
- Medium amber: This is where things get interesting. Rich, deep flavor with a perfect balance between sweet and slightly toasted notes. Great for sauces that need a bit more oomph.
- Dark amber: Bold and intense — almost bittersweet, with that classic candy flavor. Be careful though, it’s easy to go too far and get bitterness instead of that luscious caramel richness.
Here’s a pro tip: always remove your pan from the heat just before your caramel reaches the “ideal” color. Why? Because caramel continues to cook even after you take it off the burner — like it’s got its own slow dance going on. Pull it too late, and you risk a burnt taste. Pull it too early, and it might be too light and sweet.
😬 Mistakes I’ve made (so you don’t have to)
Caramel can be tricky, and trust me, I’ve learned the hard way! Here’s a few of my classic goofs so you can avoid the same heartbreak.
1. Burning the sugar
You look away for literally five seconds, and boom — your lovely golden sugar turns into a bitter, black mess. There’s no saving this disaster. The only option? Dump it out, grab a new batch, and try again. Don’t let it get you down; even the best burn their caramel sometimes.
2. Crystallized caramel
Ever ended up with a gritty, grainy caramel that looks more like lumpy sand than smooth sauce? That’s crystallization — when sugar crystals sneak onto the sides of your pan and then fall back in, ruining the texture. To stop this, keep a small brush handy and wipe the edges of the pan with warm water while it cooks. Also, resist the urge to stir once the sugar is fully dissolved — stirring too much can wake those crystals back up!
3. Seizing the mix
This is when you add cold cream or butter too fast and suddenly your smooth caramel turns into a chunky, hardened mess. Yikes! The trick here is to warm your cream just a little before adding it, and pour it in slowly while whisking constantly. This helps everything blend into a glossy, silky sauce instead of a sad, clumpy disaster.
🌈 Fun ways to mix things up
Alright, let’s get real — caramel is already delicious, but why stick to the basics when you can turn it into a whole flavor adventure? Imagine caramel like your favorite playlist: sometimes you want classic vibes, sometimes you want to mix in a little jazz or rock. Here are some of my absolute favorite ways to jazz up your caramel game and keep your taste buds guessing.
🧂 Salted caramel
Salted caramel is like the cool kid in the dessert world. You sprinkle a tiny bit of flaky sea salt, and suddenly your sweet caramel hits a whole new level of deliciousness — like a secret handshake between sweet and salty. My go-to move? Once the caramel is off the heat and just poured into your favorite jar or dish, I gently dust the top with sea salt flakes. The little crystals add a perfect crunch and punch of flavor that makes you want to eat it straight from the jar. If you’re feeling brave, stir a pinch right into the hot caramel so the salt melts evenly throughout — it’s a cozy hug in every bite. Either way, this simple trick will have you hooked!
🌿 Spiced or infused caramel
If you’re the kind of person who loves a little twist, try adding spices or fresh zest to your caramel. It’s like giving your caramel a little personality makeover. Here’s what I love:
- Cinnamon or chai spices tossed in early create that warm, cozy vibe — think autumn evenings and snug blankets. The aroma alone is enough to make your kitchen feel like a café.
- For something fresher, steep strips of orange or lemon zest in your cream before mixing it in. The citrus oils give your caramel a bright, tangy lift that’s unexpected but oh-so-good.
- Coffee lovers, you can crush a few espresso beans and add them in for a rich, bold twist — it’s like caramel got a shot of caffeine and woke up!
- Feeling spicy? A tiny pinch of cayenne pepper adds a surprising kick. It’s subtle heat that dances behind the sweetness, perfect if you want your dessert to have a little attitude.
🥥 Dairy-free option
If dairy isn’t your friend, don’t worry — you can still whip up delicious caramel that’s creamy and dreamy. Coconut cream and coconut oil are my favorite substitutes because they bring a silky texture and a gentle tropical note that pairs beautifully with the caramel’s natural sweetness. Just remember: use full-fat coconut cream for the best richness, and don’t be shy about experimenting. This version is a lifesaver for vegans, lactose-intolerant folks, or anyone just curious to try something new. Honestly, once you taste it, you might find yourself hooked on this tropical twist!
🧊 Storage: keep it smooth, not rock-hard
Making caramel is just the start — storing it right means you can enjoy that homemade goodness whenever you want. Here’s my tried-and-true method to keep caramel tasting fresh and looking gorgeous:
- Let the caramel cool just enough so you’re not risking a third-degree burn, then pour it into a clean, airtight jar. Keeping air and moisture out is key to preventing sticky messes and flavor loss.
- If you’ve made a sauce, pop it in the fridge where it will keep for about two weeks. When you want to indulge, warm it gently — either in the microwave with short bursts or on the stove with low heat — and stir until it’s back to its lovely, silky consistency.
- For firmer caramel candies, patience is a virtue: wait until they’re completely set before slicing into pieces. Wrapping each one in parchment or wax paper keeps them from sticking together and preserves that perfect chewy texture.
- Want to stash some for later? Freeze your caramel sauce in small containers. Thaw it overnight in the fridge and give it a good stir before using. This way, you’re always just moments away from sweet caramel magic!
🍰 Serving ideas (aka what to drizzle this magic on)
Now that you’ve got this jar of caramel — what should you do with it?
Here are just a few ideas:
- Warm it up and pour over pancakes, waffles, or crepes
- Stir into hot coffee (you won’t need sugar)
- Dip fresh apple slices or bananas
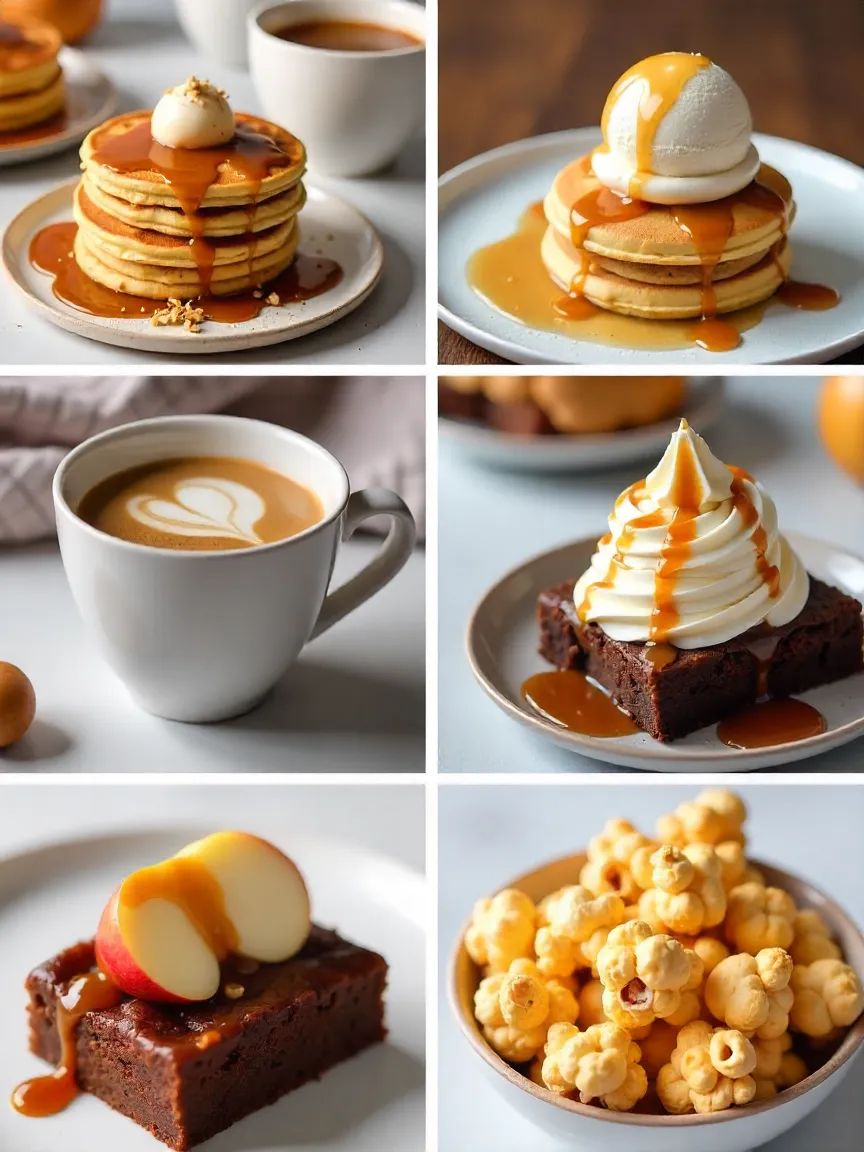
- Drizzle over brownies, blondies, or cheesecake
- Use it as cake filling or cupcake surprise centers 🎂
- Mix with popcorn for homemade caramel corn
- Spoon it over vanilla ice cream. Or chocolate. Or both. Obviously.
🎉 Final thoughts: is making caramel worth it?
Alright, real talk — caramel is kinda like that tricky friend. You want to get along, but sometimes they just test your patience. The first time I tried, I was like, “How hard can it be? Melt sugar, add butter, done.” Spoiler: it’s not that simple. Sugar goes from “mmm, nice amber” to “OMG, I ruined it” in seconds if you blink.
But then, when you finally nail it? Magic happens. Watching that sugar bubble and darken is oddly mesmerizing. It’s like a tiny science experiment — except you get to eat the results. And that moment you stir in butter and cream? Pure gold. It turns into this silky, dreamy sauce that feels way too fancy for just a little sugar and dairy.
Here’s the kicker: homemade caramel tastes way better than store-bought. Like, next-level stuff. Plus, you can tweak it however you want — salt it up for that sweet-salty punch, or add a dash of cinnamon if you’re feeling spicy. The possibilities are endless.
Honestly, once you get past the scary part, making caramel is kinda fun. It’s a little bit nerve-wracking, a little bit satisfying, and totally worth it when you get that first sweet, sticky taste.
So, should you try? Heck yes. It’s a cool skill to have, impresses your friends, and seriously upgrades any dessert. Just keep an eye on it, don’t wander off, and maybe keep a fire extinguisher handy — kidding, but kinda not. And definitely remember to lick the spoon. Because that’s the best reward of all. 😋🔥