Contents
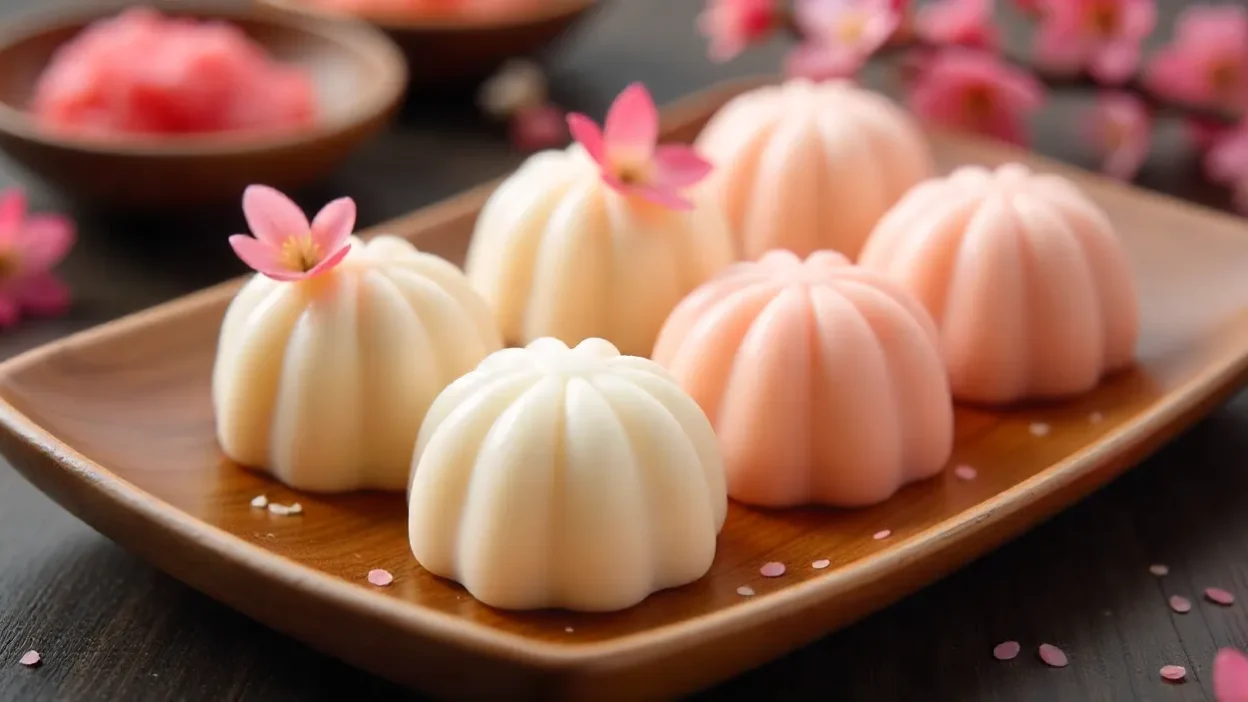
If you’ve ever strolled through a Japanese market, you’ve likely seen mochi — those small, soft, squishy rice cakes that look almost too cute to eat. The first time I tried one, it was filled with red bean paste, dusted with kinako powder, and handed to me warm in a paper wrapper. I still remember the subtle sweetness and that wonderfully chewy bite.
But here’s the thing: I didn’t know you could actually make them at home — easily, and without needing a bamboo steamer or a culinary degree from Tokyo.
It started as a weekend experiment and quickly turned into one of my favorite homemade sweets. There’s something therapeutic about the whole process — from mixing the flour to dusting your hands in starch and shaping the final pieces. It’s sticky, a little messy, but incredibly satisfying.
📋 What is mochi, really?
If you’ve ever bitten into something soft, chewy, kind of stretchy, slightly sweet — and thought, “Wait, what is this magical texture?” — there’s a good chance it was mochi. It’s a traditional Japanese rice cake made from glutinous rice, or more often these days, from glutinous rice flour (which makes life so much easier). What makes mochi special isn’t just the taste — it’s the texture. There’s nothing quite like it. It’s pillowy, a little sticky (in a fun way), and super satisfying to eat.
But it’s not just a snack. In Japan, mochi is deeply woven into tradition and culture. People eat it during the New Year for good luck, they offer it at shrines, and there are even community events where families and neighbors gather to make it the old-fashioned way — pounding hot rice with huge wooden mallets until it turns into a smooth, elastic dough. That’s called mochitsuki, and honestly, it’s half food, half workout. 😅
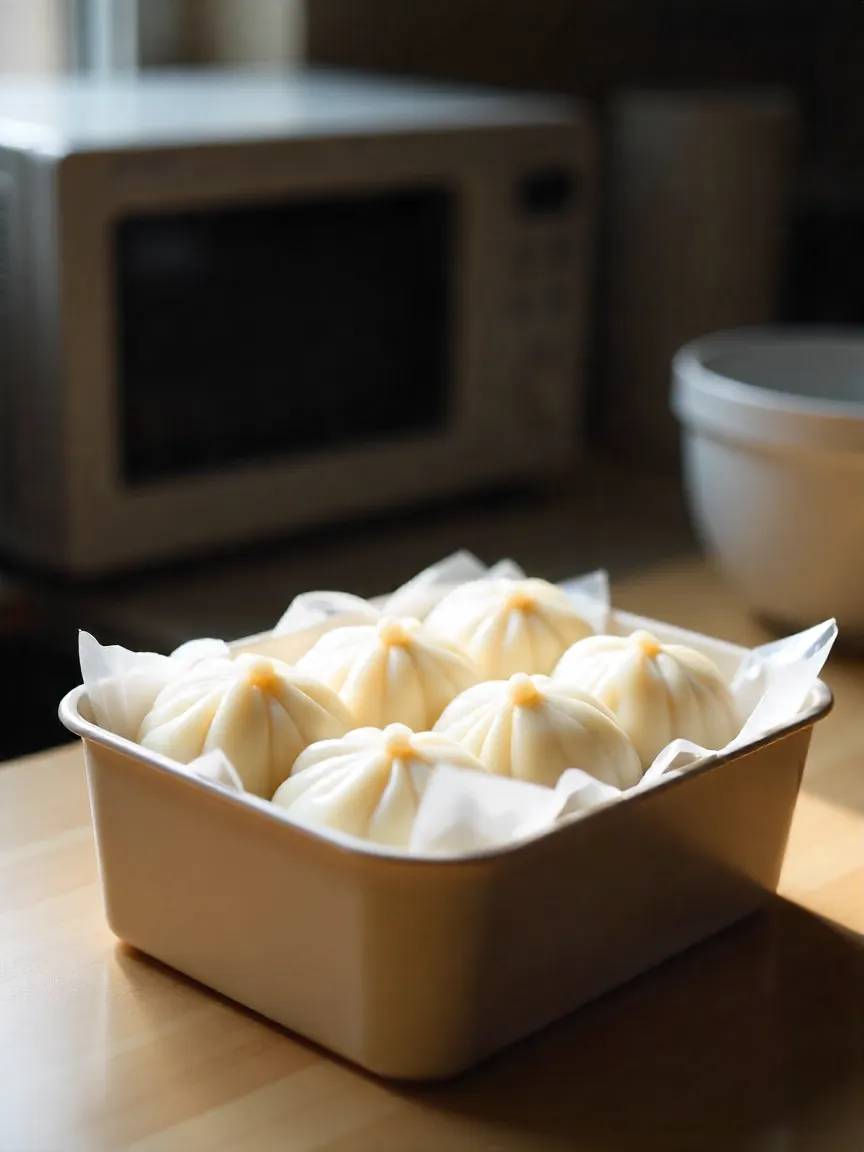
That said, you don’t need a festival or a traditional setup to make mochi at home. No mallets required. Thanks to the magic of microwaves and steamers, you can whip up a batch in your kitchen with just a few basic ingredients — and a little patience.
🛒 Ingredients & tools you’ll need
If you’re the type who likes to “make do” with whatever’s in the pantry — this isn’t one of those times. Mochi is picky about its base ingredients, and using the wrong kind of flour will ruin your vibe fast. Let’s get you set up right:
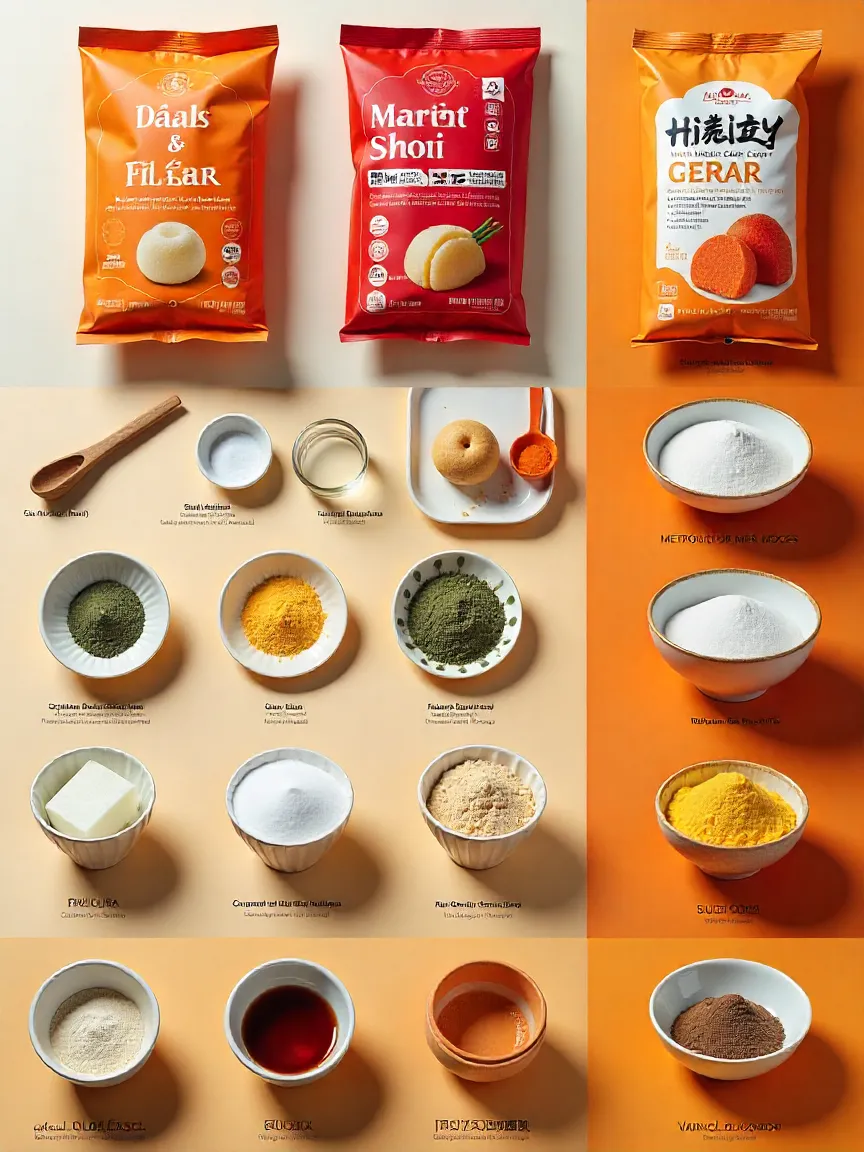
✅ Essential ingredients:
- Glutinous rice flour
Also known as sweet rice flour or mochiko. It’s absolutely crucial that it says “glutinous” — not just regular rice flour. That won’t give you the chewy, stretchy texture you’re looking for. Brands like Koda Farms (often in a white and blue box) or Shiratamako (especially if you want a smoother, finer dough) are solid choices. - Sugar
Plain white sugar is ideal for beginners. Once you’ve made it a few times, you can experiment — brown sugar gives it a deeper flavor, and maple syrup or honey adds a subtle richness. But don’t start with those unless you’re okay with a little unpredictability. - Water
Room temp is fine. For a creamier result, sub with coconut milk, oat milk, or almond milk. It adds just a hint of flavor and makes the dough softer. - Cornstarch or potato starch
This isn’t part of the dough — it’s for dusting. You’ll need it to keep the mochi from sticking to your hands, your tools, your table… and basically everything else. Think of it as mochi’s best friend. 🧽
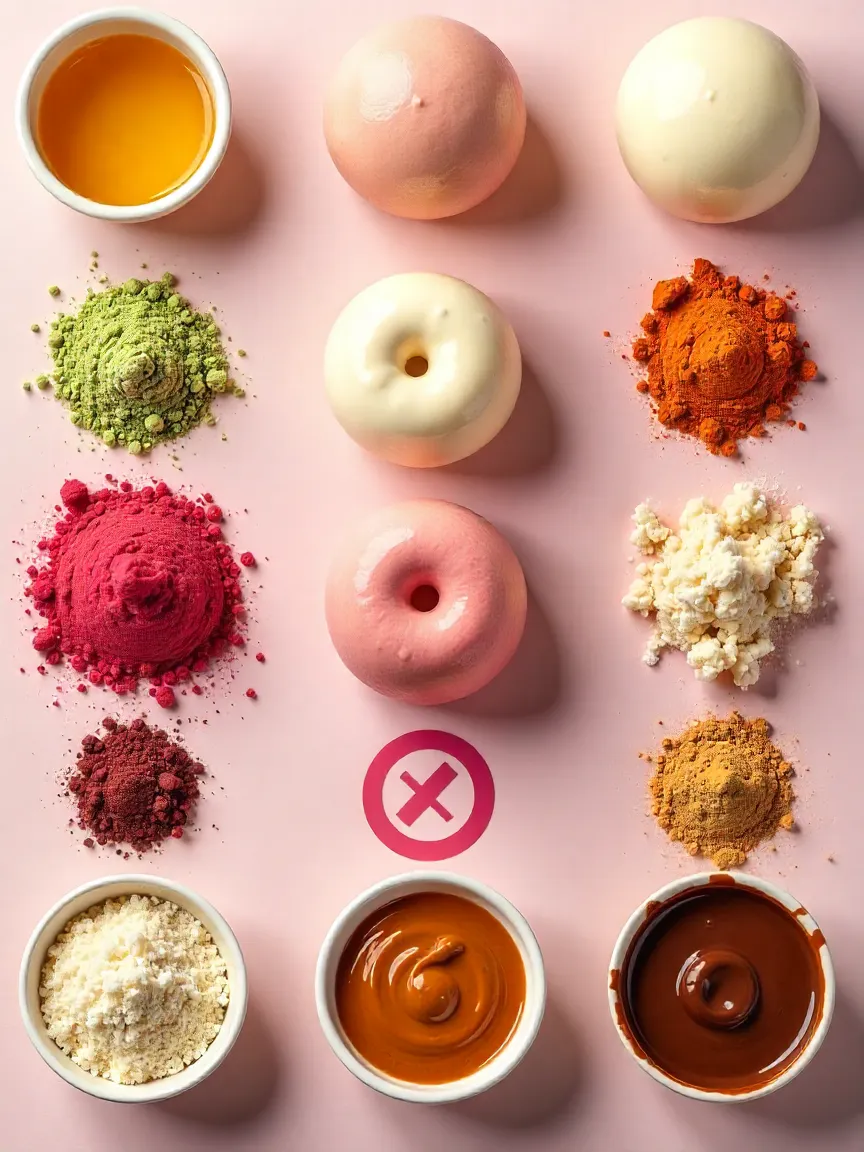
🌀 Nice-to-have extras (aka, flavor town):
- A few drops of vanilla extract for a dessert-y twist
- Matcha powder for a grassy, slightly bitter contrast (great with sweet fillings)
- Cocoa powder for a chocolatey version
- Natural color powders like turmeric (yellow), beetroot (pink), or butterfly pea flower (blue) — all for the aesthetics 🌈
- Any filling your heart desires (more on that below)
🧰 Tools you’ll need (nothing too fancy)
You don’t need to be a pastry chef to make mochi, but a few simple tools will make things go a lot smoother:
- A microwave-safe bowl, or a heatproof dish if you’re using a steamer
- A rubber or silicone spatula — flexible tools help a lot when mixing sticky dough
- A clean surface for shaping (wooden cutting boards or marble counters work best)
- Some plastic wrap or wax paper, to keep things neat and avoid sticking
- Optional: a rolling pin if you want uniform thickness
- A sharp knife or cookie cutter for portioning or making cute shapes 🍥
🧪 What you can (and shouldn’t) substitute
One of the best things about mochi is how customizable it is. It’s like a blank canvas — as long as you use the right flour, the rest can be tweaked to fit your taste or dietary needs.
✔️ Things that work well:
Sweeteners:
Want to go natural? Swap sugar for honey, agave, or maple syrup. Just keep in mind that liquid sweeteners may change the moisture balance slightly, so your dough might be softer or stickier.
Non-dairy liquids:
Using plant-based milks instead of water gives you a richer, creamier dough. Coconut milk makes it almost dessert-like, especially when paired with tropical fillings.
Natural colors & flavors:
Matcha for green, turmeric for gold, cocoa for brown, and beet powder for pink. You can mix and match depending on your mood (or the season). No need for artificial dyes. 🎨
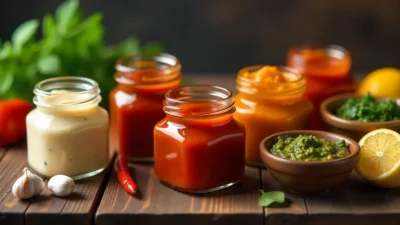
Fillings:
Traditional Japanese mochi uses anko (sweet red bean paste), but honestly? Go wild. Try:
- Nut butters (peanut, almond, hazelnut)
- Cookie butter (don’t knock it till you try it)
- Fresh strawberries or banana slices
- Custard or pudding
- Chocolate ganache
Basically: if it fits inside, it can be mochi. 🍫🍓🥜
❌ What not to do (learn from our mistakes): Do not — seriously — substitute regular rice flour for glutinous rice flour. Regular rice flour behaves totally differently. Your mochi will turn out crumbly, stiff, or just wrong. It’s the baking equivalent of trying to make mashed potatoes with raw turnips. Don’t do it.
🍳 Let’s cook! Step-by-step mochi method
This is the process I’ve found works best at home — no mallet, no fancy steamer, just a microwave and a good mood.
👩🍳 1. Mix your base
Okay, grab a bowl. Any bowl. But later you’ll heat something in it, so better make it microwave-safe.

Toss in:
- 1 cup glutinous rice flour (that stuff labeled “mochi” — important! regular rice flour is basically useless here)
- ¾ cup water (or swap in oat/coconut milk if you’re feeling creamy)
- ¼ cup sugar (white sugar is easiest — simple wins)
Now stir like you mean it. Use a spatula or spoon — mix until it looks smooth, no flour bits hiding. It’ll look like pancake batter, kind of thick but not concrete. If you see lumps, stir harder or slower — no need to rush yet.
Oh — if you’re adding vanilla or matcha or colors (go on, feel free 🎨) this is where you throw them in. Stir again but gently — mix evenly.
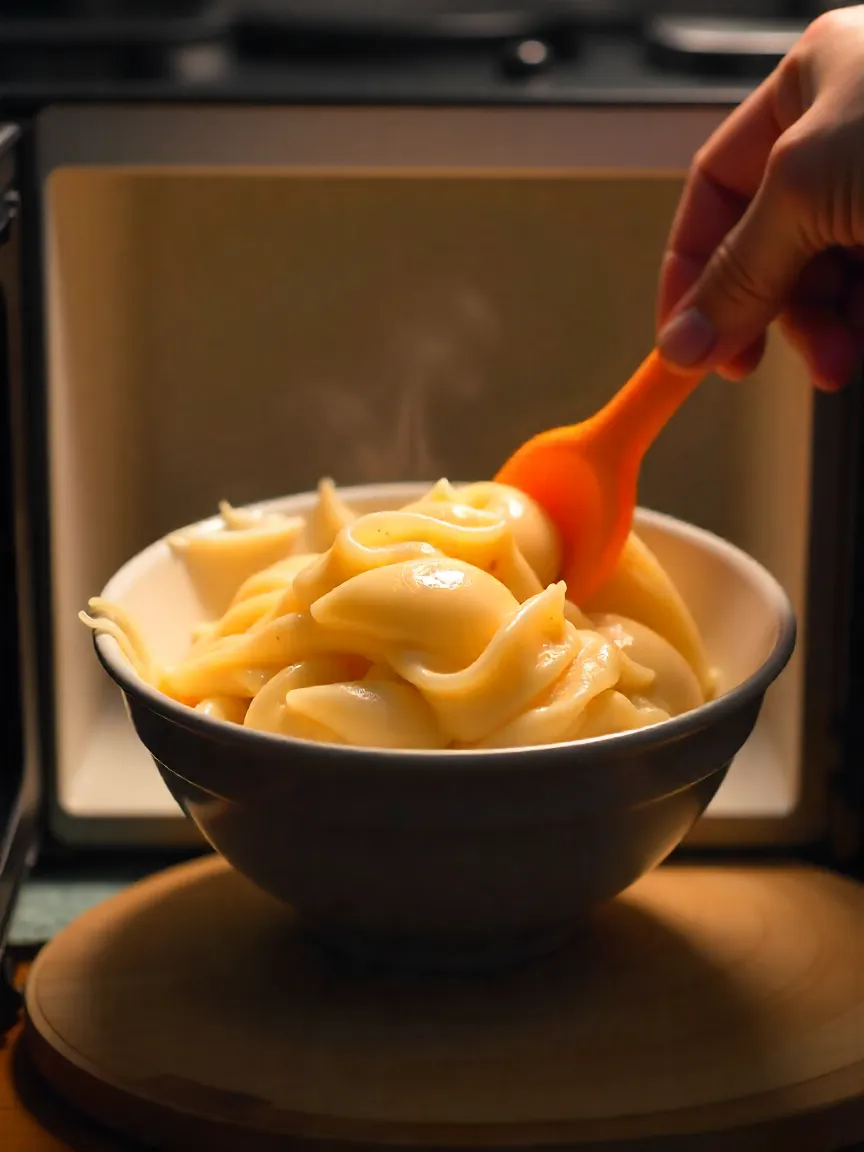
🔥 2. Heat it up
This is the fun part: turning batter into chewable mochi.
Microwave approach (my go‑to):
- Cover the bowl loosely with plastic wrap or a plate — trust me, you’ll thank yourself later.
- Zap it for 1 minute on high.
- Carefully remove it — it’s hot — and stir thoroughly.
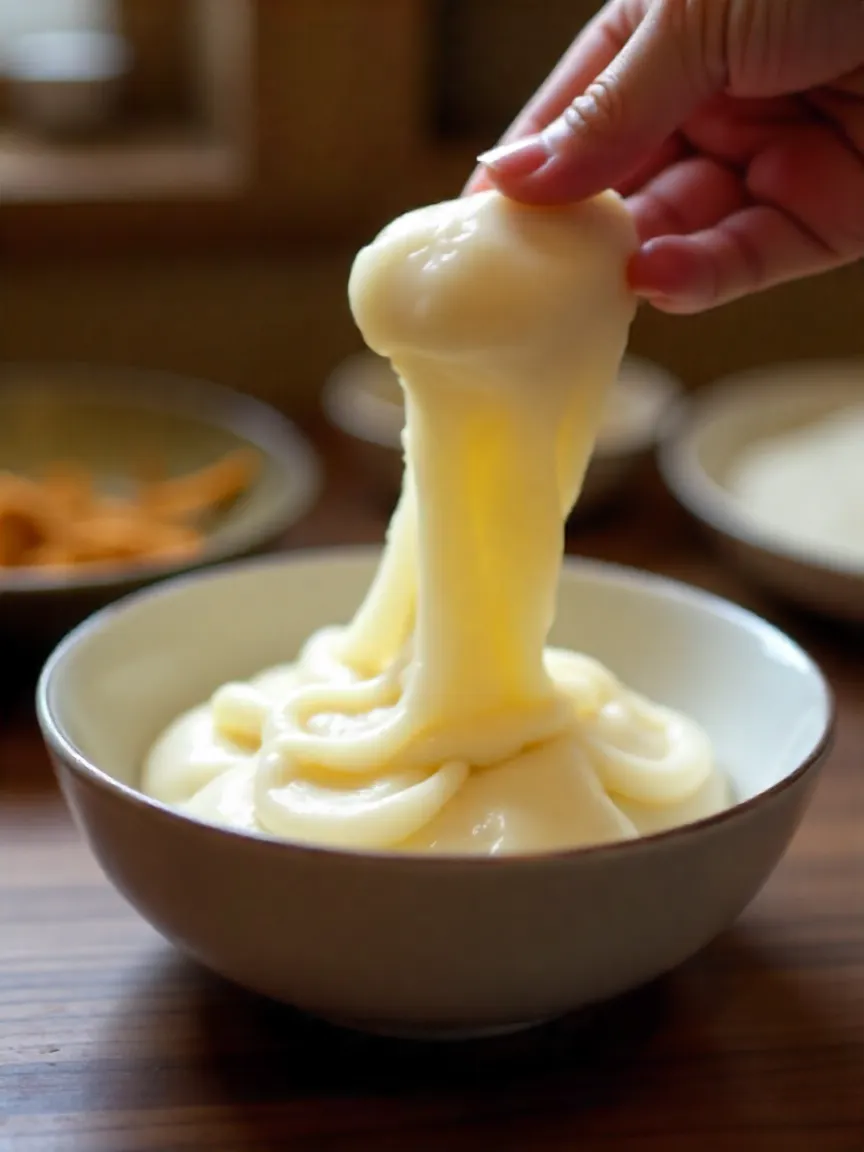
- Then keep microwaving in 1‑minute intervals, stirring between each, until it goes glossy, thick, stretchy, and kind of translucent. Usually about 3–4 minutes total depending on your microwave power.
- The moment it starts looking like sticky dough — not batter — you’re almost done. Stir well so it doesn’t dry at edges.
Steaming option (if you’re patient):
- Grease a heatproof dish and pour in the mix.
- Place it in a steamer basket over simmering water, cover tightly.
- Steam for about 15–20 minutes, stirring at least once if you can reach it.
- It should turn chewy and thick — like dough. Same idea as microwave texture, just slower.
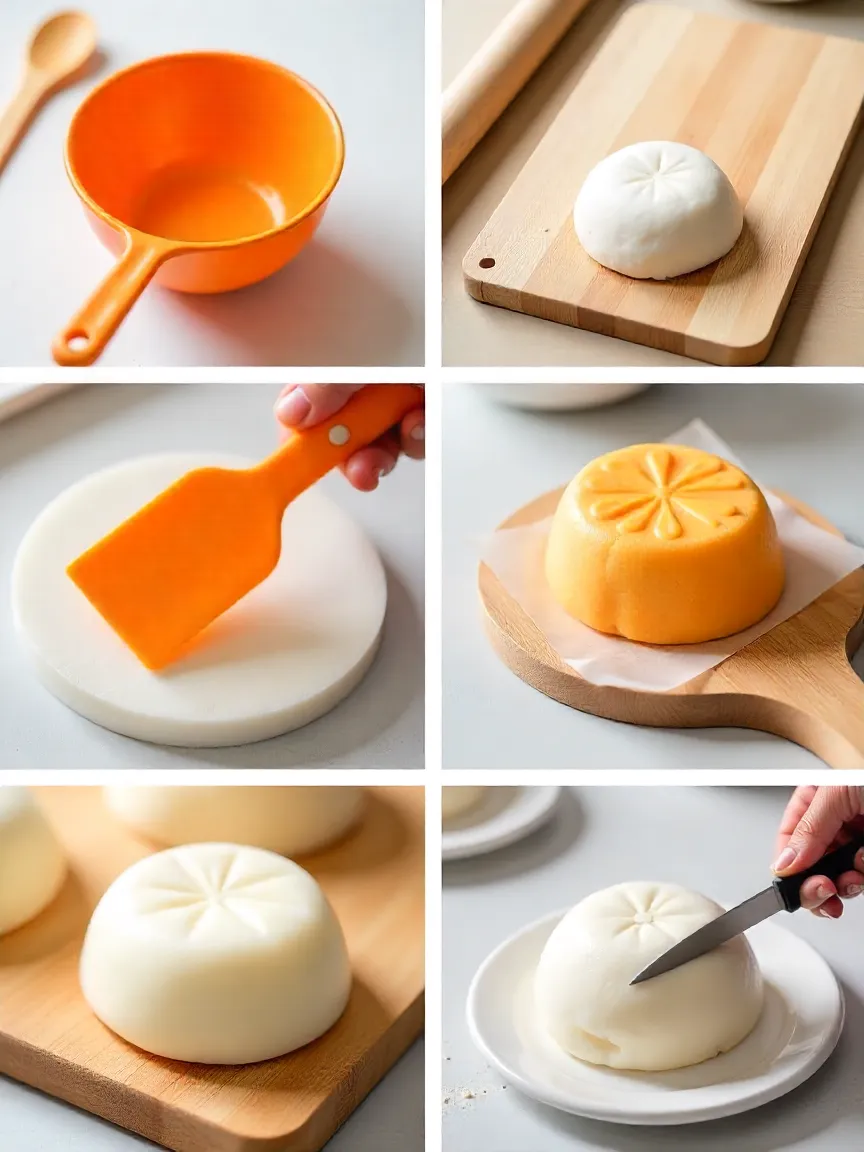
👐 3. Dust and shape
Let it rest for about 1–2 minutes. You want it warm but not lava-hot — or you’ll burn your fingers.
Sprinkle a generous amount of cornstarch or potato starch on your work surface — the more, the merrier. Mochi is wildly sticky otherwise.
Tip it onto the surface using a spatula or your oiled hands — it’ll cling to everything if not careful. Sprinkle more starch on top, too.
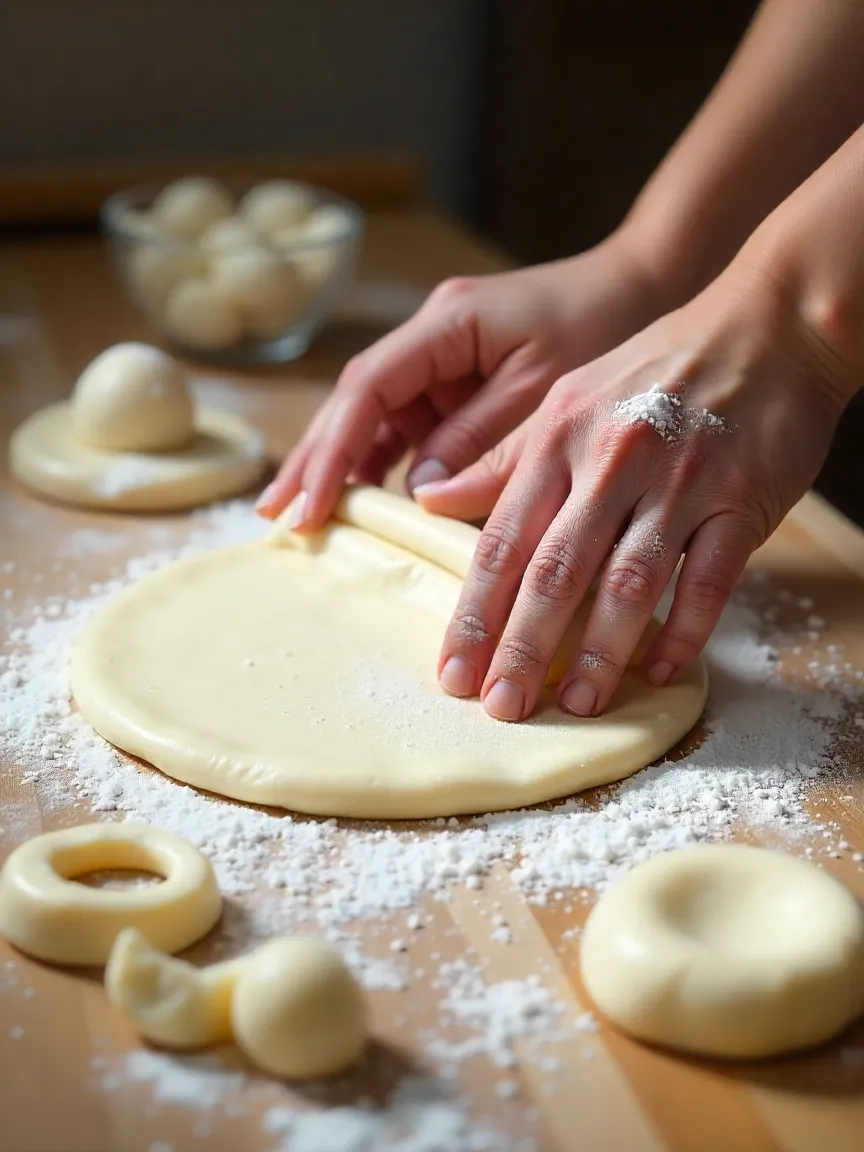
Now press it down a bit — hands or a rolling pin. Aim for about ½ inch thickness. It doesn’t have to be neat. It’s mochi, not art school.
Cut or tear into shapes: squares, circles, goofy blobs — honestly whatever feels fun. If you made fillings (like bean paste, ice cream, or peanut butter), you can flatten a piece, plop filling in the center, then fold the edges around it.
Pro tip: dust your hands a lot. Whenever things stick, just add starch.
🎁 Stuff it! Fillings to try
Okay, so you’ve got your soft, stretchy mochi dough ready — now comes the fun part. This is where you can make it yours. Whether you’re going traditional, fruity, creamy, or just raiding your fridge for ideas, mochi is the perfect little edible package for, well, anything soft enough to squish inside. 😄
🍡 Traditional fillings (the classics never fail)
Let’s start with the OGs — these are the fillings you’ll find in Japanese wagashi shops or at festivals.
- Anko (red bean paste) – You can’t go wrong with this. It’s sweet, a little earthy, and works beautifully with the chewiness of mochi. There’s koshian (smooth) and tsubuan (chunky) — both are legit.
- Shiroan (white bean paste) – A milder cousin of anko, with a creamy, delicate sweetness. Great if you’re not into the stronger red bean flavor.
Want to make either of these at home? It’s basically just beans + sugar + patience. But store-bought totally works too.
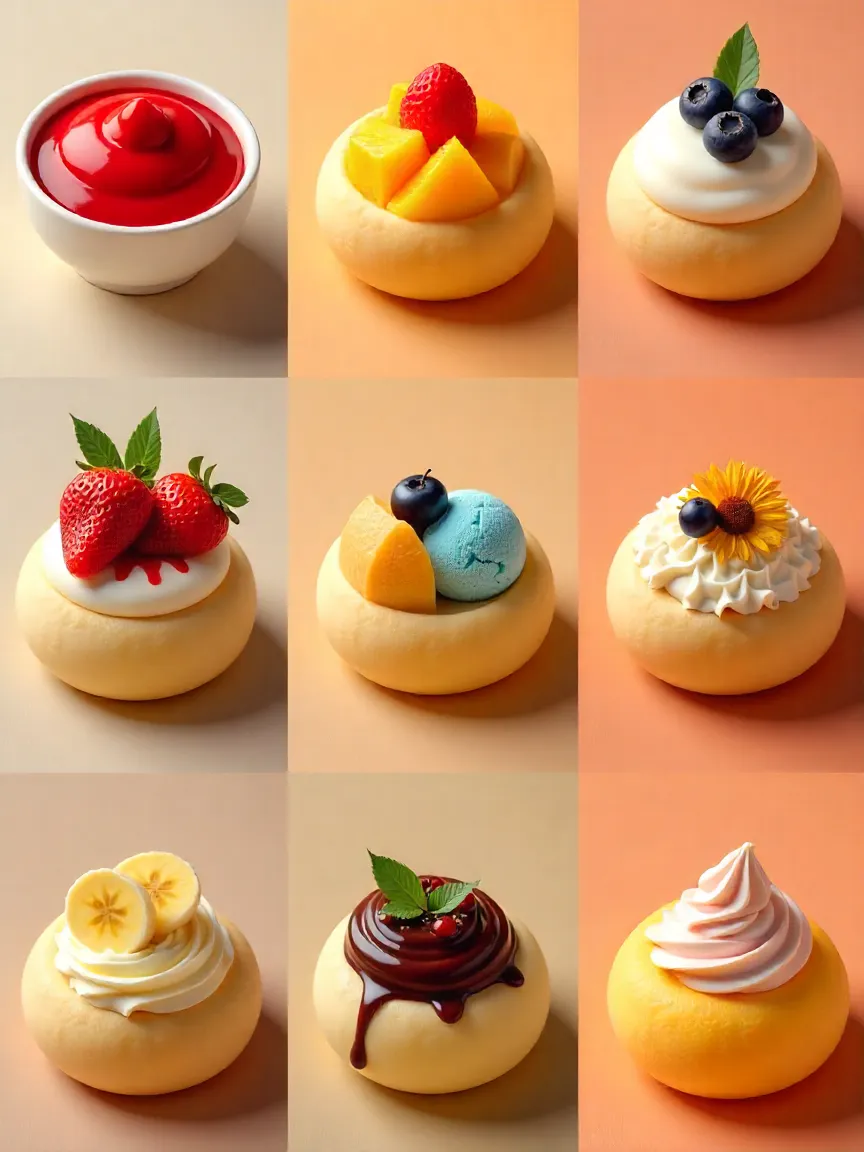
🍓 Fruity & fresh (because balance is everything)
Mochi + fruit = pure joy. It’s fresh, juicy, and balances the chewy sweetness like a dream.
- 🍓 Whole strawberries – This is the star of Ichigo Daifuku, one of Japan’s most loved mochi treats. Wrap a strawberry in anko first for double delight.
- 🥭 Mango chunks – Sweet and tropical, especially with coconut-flavored mochi dough.
- 🫐 Blueberry compote – Adds a tart-sweet burst. Try it with vanilla mochi.
- 🍑 Peach slices + cream cheese – Unexpected, creamy, and slightly tangy in the best way. It’s giving summer dessert vibes.
💡 Pro tip: Pre-chill your fruit or fillings. Warm fillings inside freshly cooked mochi = ooze city. And not in a good way.
🍦 Creamy, dreamy & indulgent
If you want your mochi to feel like a dessert straight out of a fancy patisserie, these are your go-tos:
- 🍨 Frozen ice cream – Form tiny scoops in advance and freeze them hard. Then wrap with cooled mochi dough. Voilà — homemade mochi ice cream.
- 🍫 Chocolate ganache – Rich, luxurious, and dangerously good. Bonus points if it’s slightly salted.
- 🥜 Nutella or peanut butter – The comfort combo you didn’t know mochi needed. Add a slice of banana and it’s a mini meal.
- 🍮 Custard or pastry cream – Think cream puff vibes, but stretchier.
Just remember: softer fillings = messier process. But also, 100% worth it.
🧊 How to store homemade mochi (without killing the texture)
So you made a whole batch — yay! But how do you keep it soft, chewy, and still edible tomorrow (and not weirdly stiff or sticky)?
Here’s the real talk on mochi storage:
✔️ For unfilled mochi:
- Wrap each piece individually in plastic wrap. It helps keep out air and moisture.
- Store at room temp, in an airtight container, for up to 1 day. That’s the sweet spot.
- If you’re keeping it longer, refrigerate it (2–3 days max), but zap it in the microwave for 10–15 seconds before eating. It’ll bounce back.
🚫 Do NOT freeze plain mochi. It turns into rubber when thawed — chewy in a bad way.
✔️ For filled mochi (ice cream, etc.):
- Yes, freeze them! Especially for ice cream mochi — it’s the only way.
- Wrap well in plastic or pop into freezer-safe containers.
- Eat straight from the freezer — no need to thaw. Mochi softens faster than ice cream anyway.
🍽️ Serving tips & plating ideas
You don’t have to make it fancy — but a little presentation love goes a long way. Especially if you’re gifting or sharing.
✨ Try these:
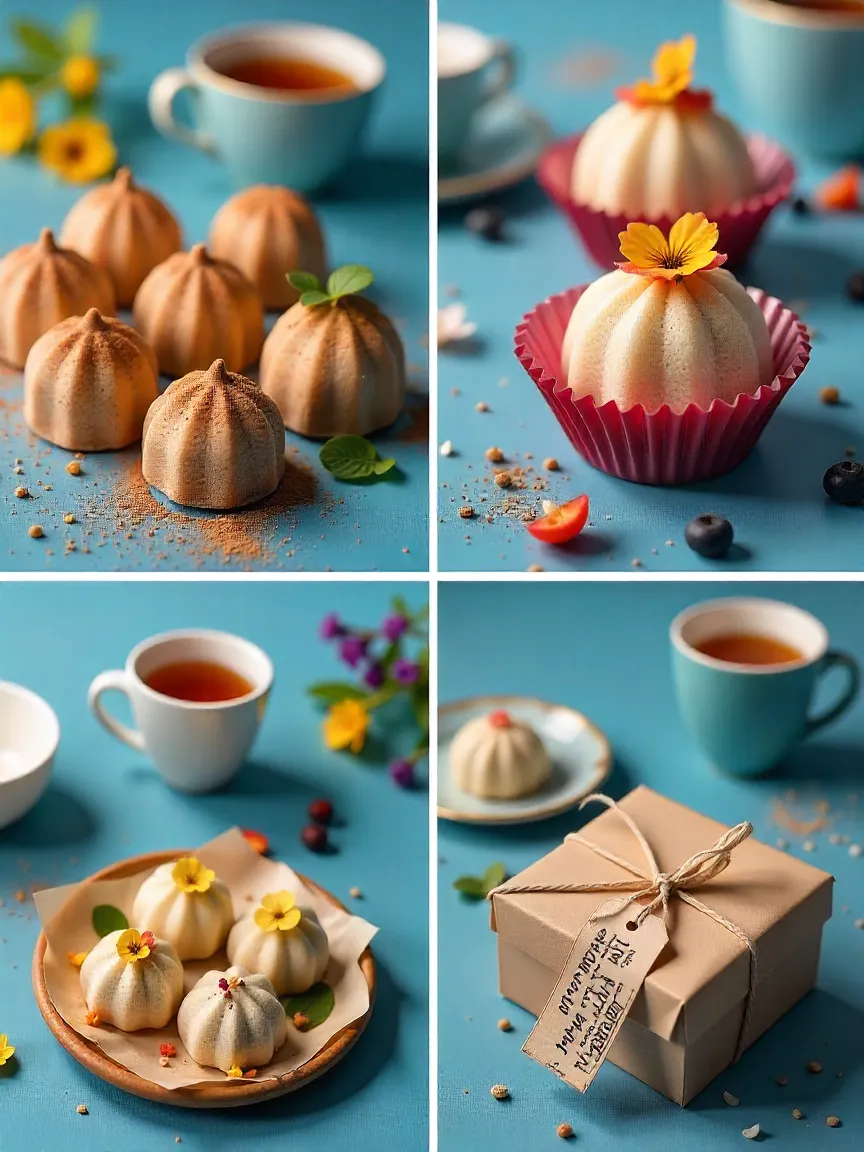
- Dust lightly with matcha, kinako (roasted soybean flour), or cocoa powder for flavor & flair
- Pop each piece into a mini cupcake wrapper — clean, easy, cute
- Garnish with edible flowers, gold flakes, or even tiny fruit slices for special occasions
- Serve with hot matcha, hojicha, or jasmine tea — perfect contrast with the sweetness
🎁 Want to give mochi as a homemade gift? Wrap in parchment or wax paper, box it up in a cute container, and tie with ribbon. Add a handwritten tag that says:
“Best enjoyed fresh — soft, sweet, and made with love.”
🧠Final thoughts: Why mochi is worth making
Of all the desserts I’ve tried to make at home, mochi might be the most joyful. It’s tactile, playful, and endlessly adaptable. Plus, it brings a piece of Japanese culture right into your kitchen — no passport required. ✈️
Whether you’re making a traditional red bean daifuku or going full dessert-mode with strawberry ice cream centers, the experience is more than just tasty. It’s meditative, creative, and genuinely fun.
So if you’re in the mood for something different — something squishy, chewy, and totally lovable — give mochi a try. You might just fall in love with it like I did.


Sounds amazing! I’ve always loved mochi but never considered making it myself. Definitely intrigued to see how easy it is.
Thanks on your marvelous posting! I quite enjoyed reading it, you will be a great author.I will make sure
to bookmark your blog and will eventually come back at some point.
I want to encourage yourself to continue your great work, have a nice day!