Contents
Let’s be honest for a second — when a chocolate craving hits, it’s rarely polite. It doesn’t whisper. It yells. And when it does, you could go for a soft brownie. Or maybe a cookie, because they’re easier to snack on. But why settle? That’s where brownie cookies come in — the perfect little hybrid you didn’t know you needed until you tried one. 🍪
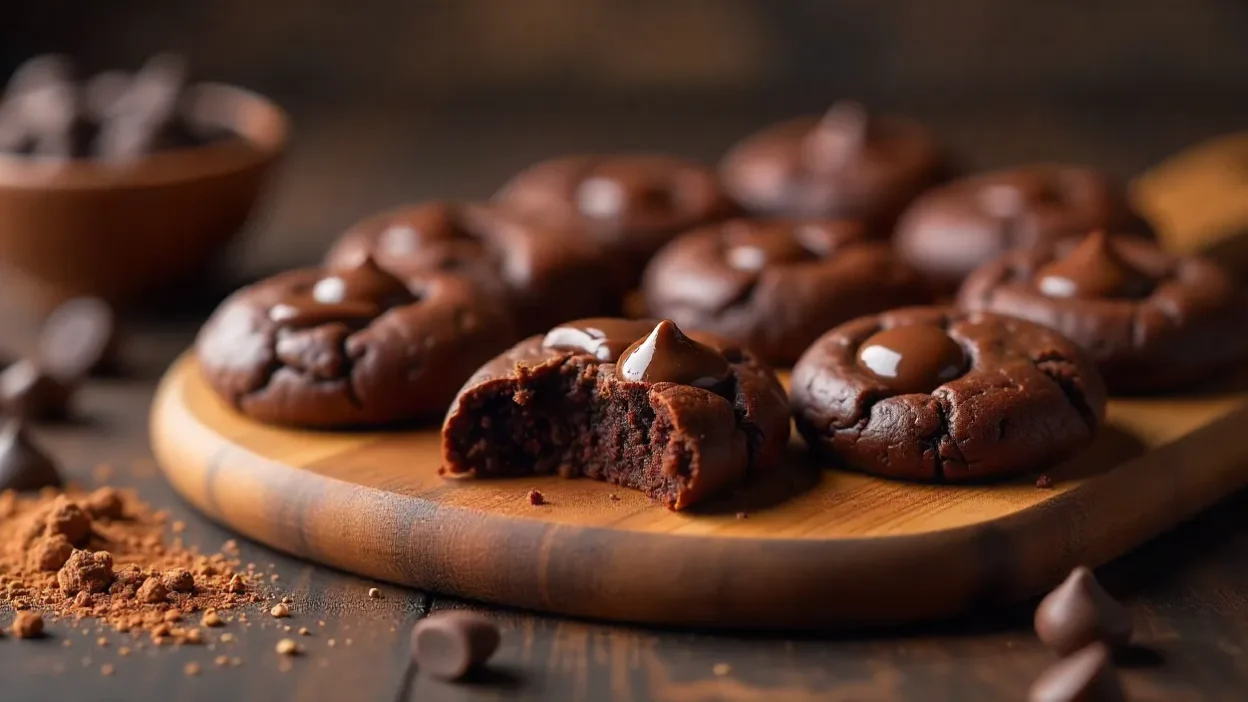
These aren’t just cookies with a bit of cocoa thrown in. No, these are fudgy, rich, slightly crispy on the outside, gooey on the inside bombs of chocolate goodness. Imagine the edge of a brownie, the middle of a lava cake, and the comfort of a cookie all rolled into one bite-sized miracle. That’s what we’re making here.
And the best part? You can whip them up with simple pantry staples in under an hour. No fancy tricks, no chilling overnight, no weird ingredients. Just real chocolate, some love, and a craving for something really, really good. 🍫
🛒 What you’ll need (and why each ingredient matters)
One of the reasons I love this recipe is because it doesn’t ask for much — just a handful of everyday baking ingredients. But like with any simple recipe, the quality of each item matters. Don’t use the dusty old cocoa powder from 2016. Trust me. Here’s what makes these cookies shine:
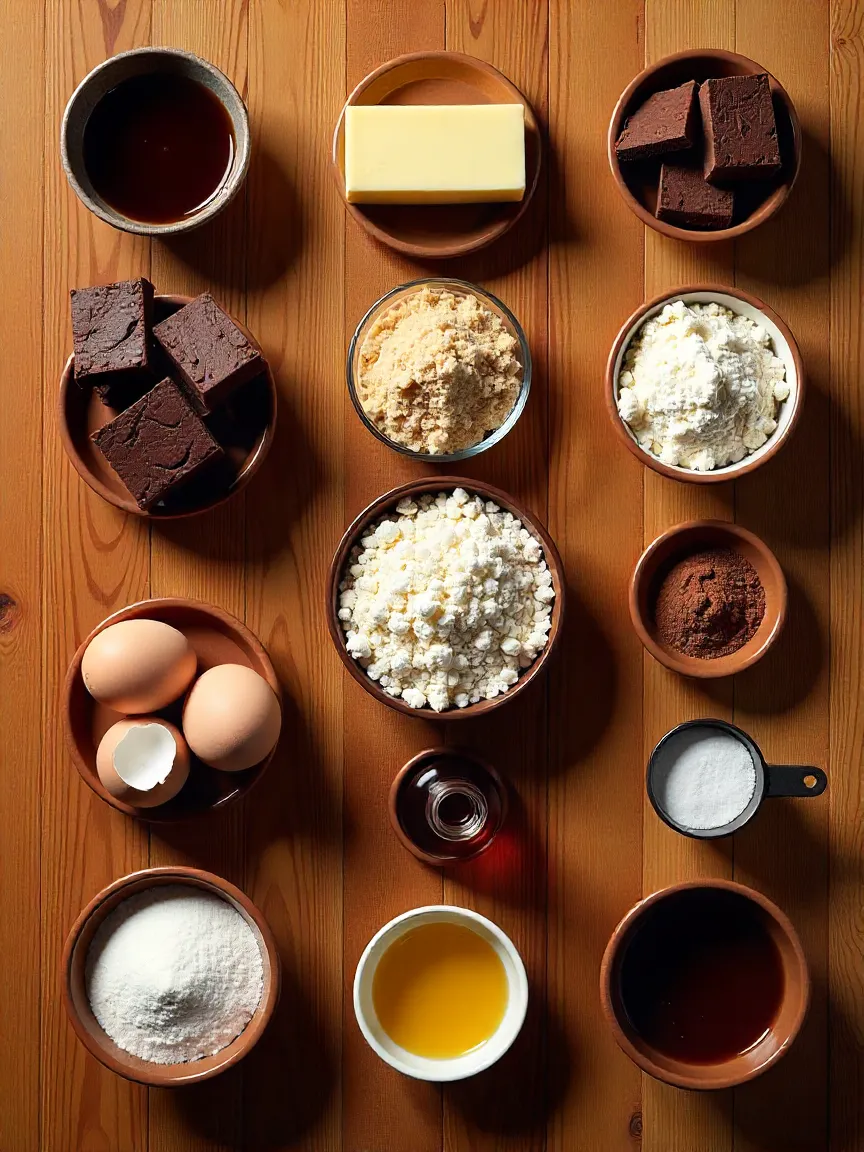
✨ Main ingredients:
- Unsalted Butter: Adds richness and that tender, melt-in-your-mouth texture. Use high-quality butter if you can — it makes a difference.
- Dark or Semi-Sweet Chocolate: This isn’t the time for milk chocolate chips. Grab a real chocolate bar (60–70% cocoa), chop it up, and melt it down. The depth of flavor is next level.
- Granulated + Brown Sugar: I like using both. White sugar gives those crackly tops, while brown sugar brings moisture and a slight caramel undertone.
- Eggs: They’re the structure behind the soft center. They also help the tops shine and give that slight crispness on the edges.
- All-Purpose Flour: You only need a little. These cookies are meant to be fudgy, not cakey.
- Cocoa Powder (Optional, but Strongly Recommended): A tablespoon or two deepens the chocolate flavor even more. Use natural, unsweetened cocoa.
- Vanilla Extract: Because brownies without vanilla just feel incomplete.
- Baking Powder: Just enough to give the cookies a tiny bit of rise.
- Salt: Always. Even in sweet recipes. Especially in chocolate ones.
🔁 Ingredient swaps that actually work
Maybe you’re low on supplies. Maybe you’re baking for someone with dietary restrictions. Either way, here are a few tested tweaks that won’t ruin your batch:
- No Unsalted Butter? Use salted, but skip any added salt in the recipe.
- Vegan? Use vegan butter + flax eggs (1 tbsp ground flax + 3 tbsp water per egg). Texture will be a bit softer but still rich.
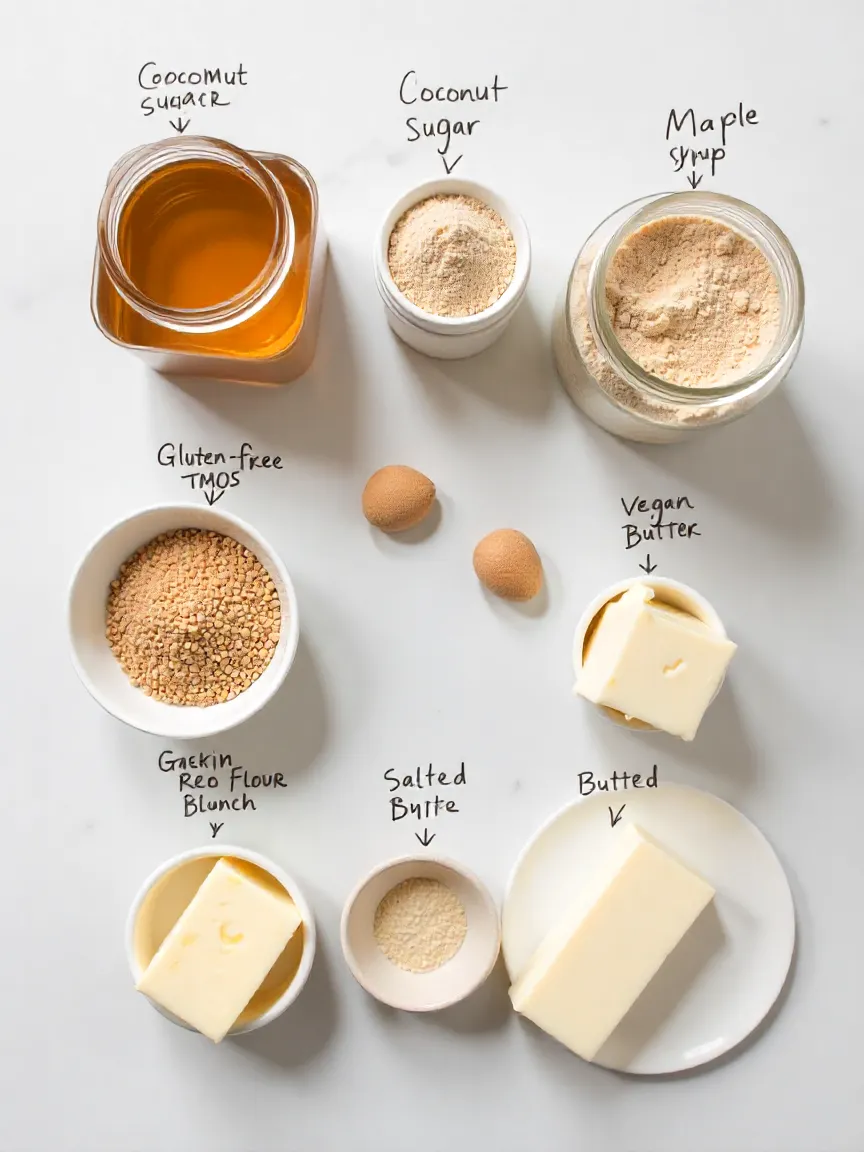
- Gluten-Free? Sub in a good 1:1 GF flour blend. Make sure it has xanthan gum in it.
- Refined Sugar-Free? Coconut sugar works surprisingly well here, especially in place of brown sugar. Maple syrup can work too, but it may make the dough stickier — you might need to chill it longer.
👨🍳 How to actually make them (without overcomplicating it)
I’ve made these so many times now that I could do it without looking at the recipe. But if this is your first go, follow along — it’s easier than you think:
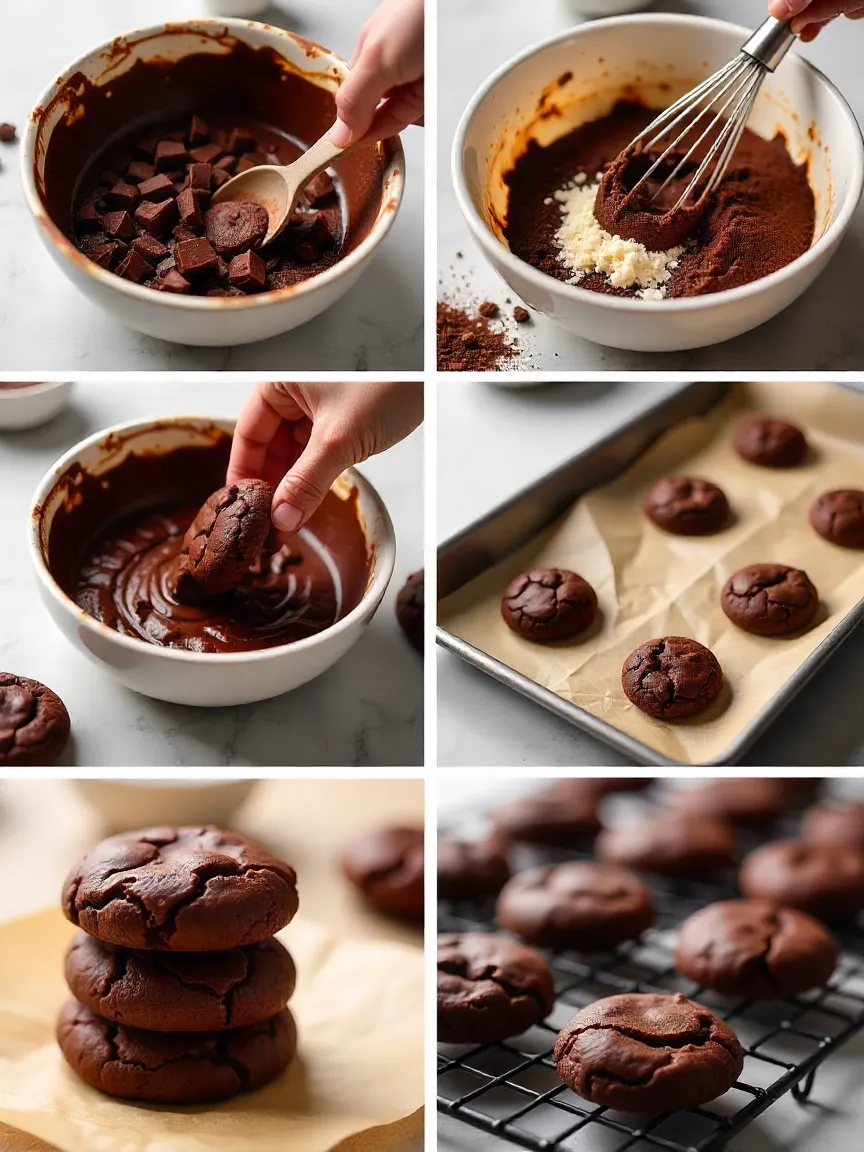
1. Melt the chocolate and butter
Chop up your dark chocolate, toss it in a heatproof bowl with the butter, and microwave in 30-second bursts. Stir between each one until smooth. Let it cool for a few minutes so it doesn’t scramble the eggs later.
2. Whisk the eggs and sugars
In a big bowl, beat together the eggs, granulated sugar, and brown sugar. You want it thick and glossy. This step creates that iconic shiny, brownie-style top after baking.
3. Combine wet and dry
Pour the slightly cooled chocolate-butter mixture into the eggs and sugar. Add vanilla extract. Stir gently — no need to overmix. Sift in the flour, baking powder, salt, and cocoa powder if using. Fold it all together until just combined. You’ll get a thick, glossy, kind-of-sticky dough.
4. (Optional) Chill the dough
If you want thicker cookies that don’t spread too much, pop the bowl in the fridge for 30–45 minutes. If you’re impatient, go straight to baking — just expect a flatter cookie.
5. Scoop, space, bake
Preheat oven to 350°F (175°C). Line a baking tray with parchment. Scoop your dough into balls (a cookie scoop helps a ton), place them 2 inches apart, and lightly flatten the tops. Bake for 10–12 minutes, max. You want the edges set, but the centers should still look soft. That’s the trick.
⚠️ Don’t overbake. They’ll look underdone, but they finish baking on the tray after coming out. That’s how you keep that fudgy middle.
❄️ Cooling & storage tips (for what’s left — if anything)
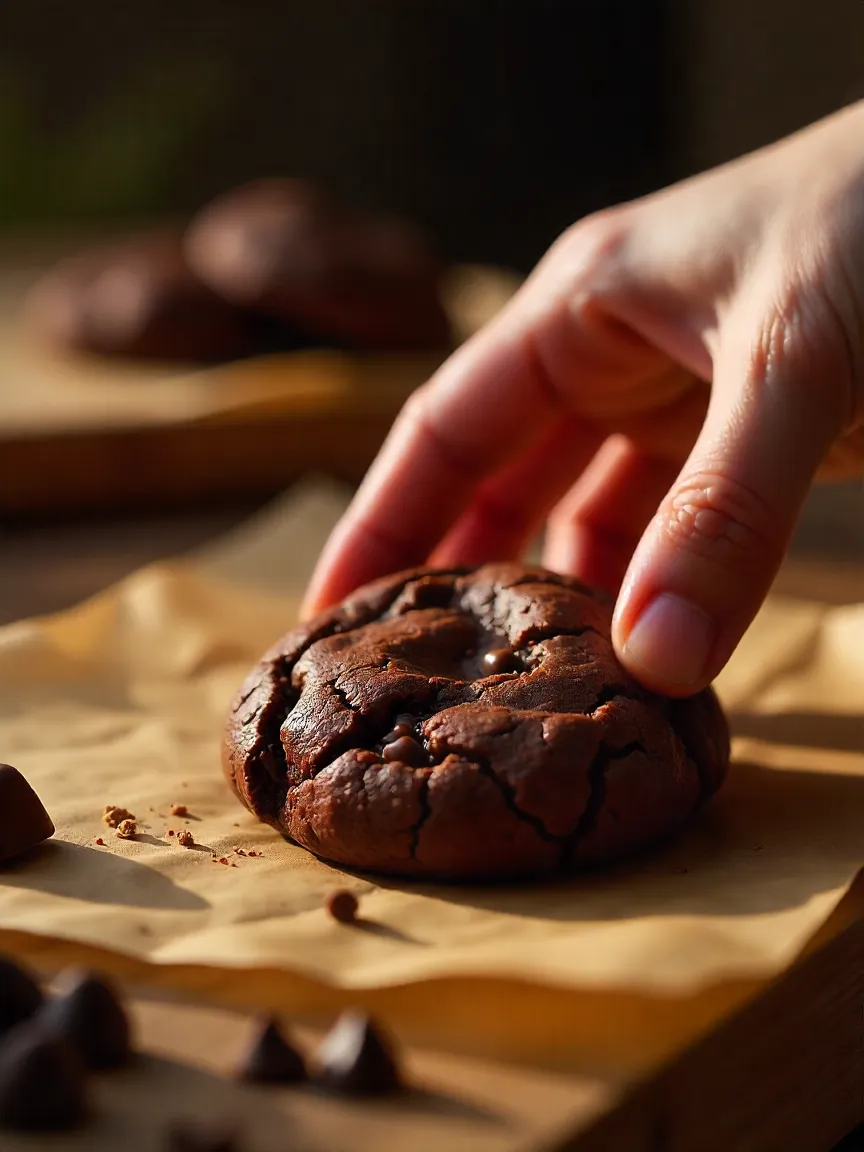
Once your brownie cookies come out of the oven, the temptation to dive right in is real — I get it, I’ve been there! But to make sure they keep their perfect fudgy texture and don’t fall apart, it’s best to let them rest a little. Leave the cookies on the baking tray for at least 5 minutes. This short cooling period allows them to firm up just enough so that when you transfer them to a wire rack, they won’t crumble or break apart under your gentle touch.
If you’re impatient like me and try to move them too soon, don’t be surprised if they’re a bit fragile. Honestly, a few times I’ve “accidentally” broken one or two and eaten them right away while still warm — zero regrets there! Warm brownie cookies have a magical gooeyness that’s hard to beat.
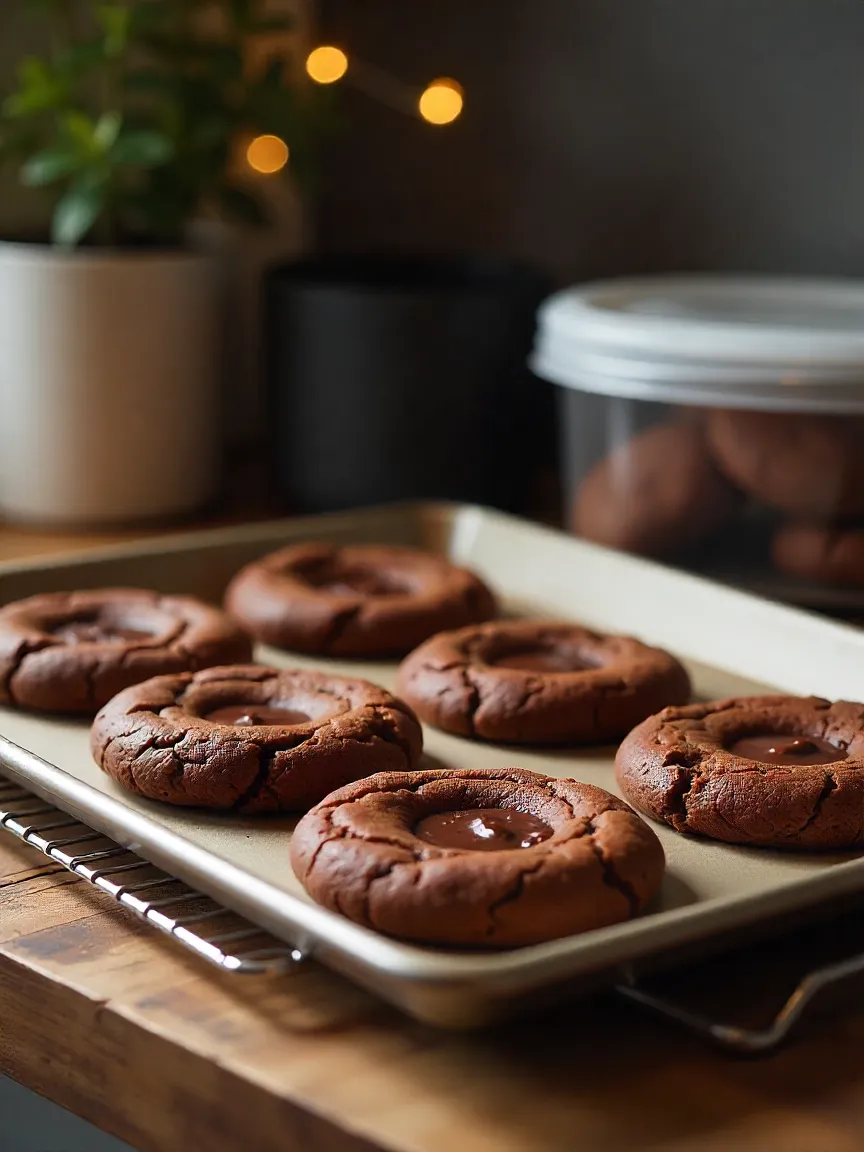
Storing your brownie cookies
- Room temperature: Once fully cooled, store your cookies in an airtight container to keep them soft and chewy. They’ll stay fresh this way for about 2 to 3 days — perfect if you plan to enjoy them over a couple of days without losing that fudgy goodness.
- In the fridge: If you want to stretch their life a bit, popping the cookies in the fridge can extend their freshness for up to a week. This also gives the cookies a slightly firmer, chewier texture that some people (myself included!) absolutely love, especially when eaten cold.
- Freezing for later: Got a big batch? No problem. Both the raw dough and the baked cookies freeze beautifully. Just wrap them tightly in plastic wrap or place in a freezer-safe container with parchment paper between layers to avoid sticking. When you’re ready to indulge, thaw the cookies at room temperature or warm them in the microwave for about 10 to 12 seconds — they’ll taste freshly baked, soft, and gooey again.
Taking these small steps to cool and store your brownie cookies properly means you can enjoy that irresistible fudgy flavor and texture long after baking day is over. Plus, it makes it easier to share (or not share, no judgment) with family and friends whenever the craving hits again!
💡 Fun additions & ways to serve
You can totally eat these straight off the tray (and I do, every time), but if you want to get creative or fancy things up a bit, try:
🔄 Flavor add-ins:
- Chopped walnuts or pecans: Adds texture and a nutty flavor.
- Sea salt flakes: A sprinkle on top before baking takes them from good to gourmet.
- Espresso powder: A pinch in the dough enhances the chocolate flavor without making it taste like coffee.
- White chocolate chunks: For contrast and sweetness.
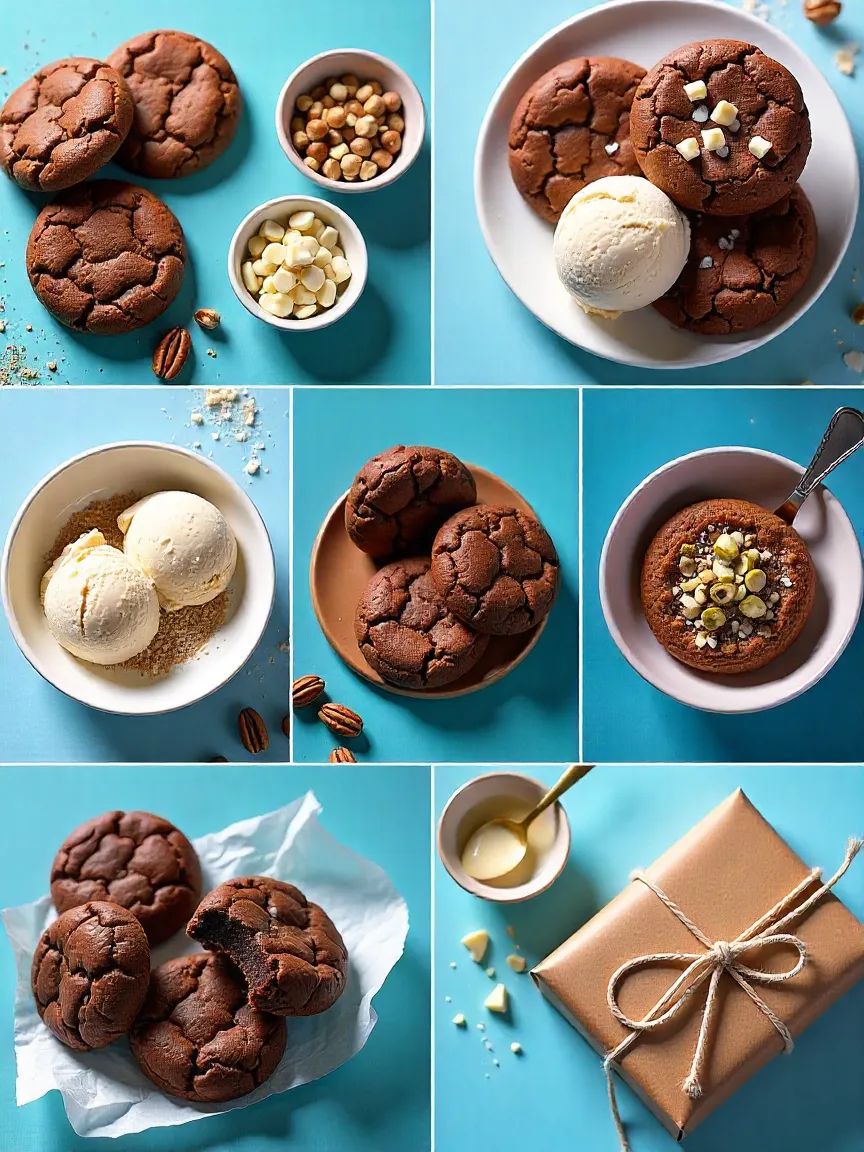
🍨 How to serve:
- Warm with vanilla or coffee ice cream.
- Sandwich with Nutella or peanut butter for a serious indulgence.
- Drizzle with dark chocolate and top with crushed pistachios.
- Wrap in parchment and tie with twine for cute edible gifts.
💬 Final thoughts: Worth every bite
Brownie cookies are so much more than just another fleeting Pinterest craze. They’re the kind of recipe that sneaks into your regular rotation because they’re that good — easy to make, incredibly satisfying, and deceptively simple. Honestly, they taste like you spent hours perfecting some fancy dessert, but in reality, it’s just straightforward ingredients and a little bit of love. That’s a total win-win, especially for those busy days when you want a homemade treat without the fuss.
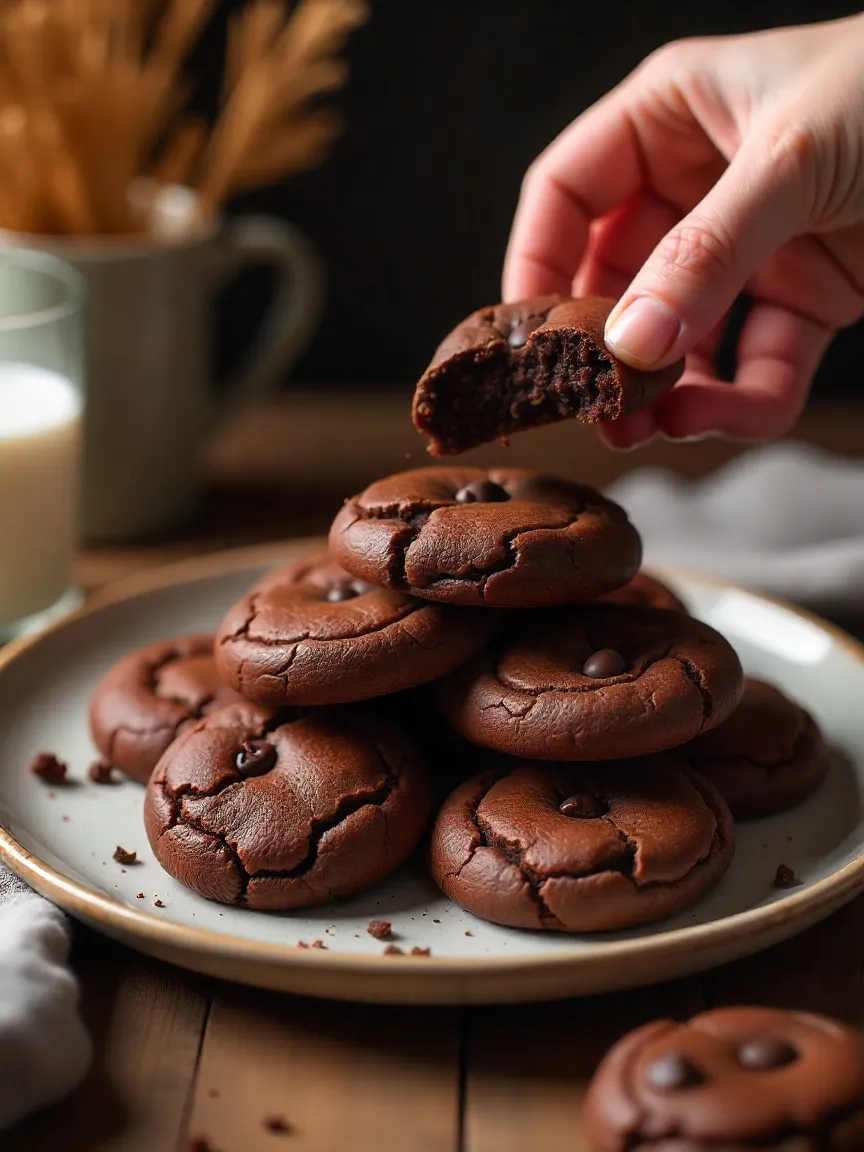
If you’re someone who adores the rich, gooey goodness of brownies but sometimes craves a handheld snack that won’t require a fork or a plate — these cookies are your answer. They’re perfect for those late-night kitchen wanderings, barefoot and craving something sweet, comforting, and chocolatey. Seriously, there’s something magical about grabbing one (or three) with one hand, savoring that fudgy center, and feeling a little happy moment in the middle of your day (or night).
Take it from me: bake these once, and you’ll instantly understand why they become a staple in your baking arsenal. They’re just the kind of treat that makes you smile every time you eat them — warm, soft, with that perfect hint of crisp around the edges. So go ahead, give yourself that chocolate hug. You deserve it. 🍪💥


Okay, let’s be honest – a chocolate craving isn’t a gentle request, is it? It’s a full-blown, *demanding* shout! You could grab a brownie, sure, but sometimes you want something a little less…committal. A cookie’s quick, easy, but…why choose? These brownie cookies are the answer! 🍪 They’re not just *kinda* brownie-ish; these are seriously fudgy, intensely chocolatey, with that perfect crisp-outside-gooey-inside thing going on. Imagine that amazing brownie edge, but in bite-sized, intensely satisfying form…
Way cool, some valid points! I appreciate you making this article available, the rest of the site is also high quality. Have a fun.