Contents
- Fundamentals of Cooking at Home: Master the Basics Before You Start
- Understanding Flavors and Seasonings: The Secret to Irresistible Meals
- Cooking Techniques and Methods: Elevate Your Culinary Skills
- Perfecting the Art of the Pot Roast
- Mastering Quick & Easy Meals: Shrimp Scampi
- Recipe Development and Creativity: Elevate Your Home Cooking
Cooking at home isn’t just about preparing meals—it’s a lifestyle that blends creativity, control, and convenience. When you cook your own food, you gain the power to make healthier choices, save money, and experiment with endless flavors.
Unlike eating out, home cooking allows you to manage ingredients, portions, and cooking techniques, ensuring every bite supports your well-being. From exploring new cuisines to crafting comfort food, this journey can be as exciting as it is satisfying.
Whether you’re a beginner learning the basics or a seasoned home chef, cooking at home opens the door to fresher meals, improved nutrition, and unforgettable dining experiences with family and friends. Embrace the process, and discover how enjoyable—and rewarding—homemade meals can be.
Fundamentals of Cooking at Home: Master the Basics Before You Start

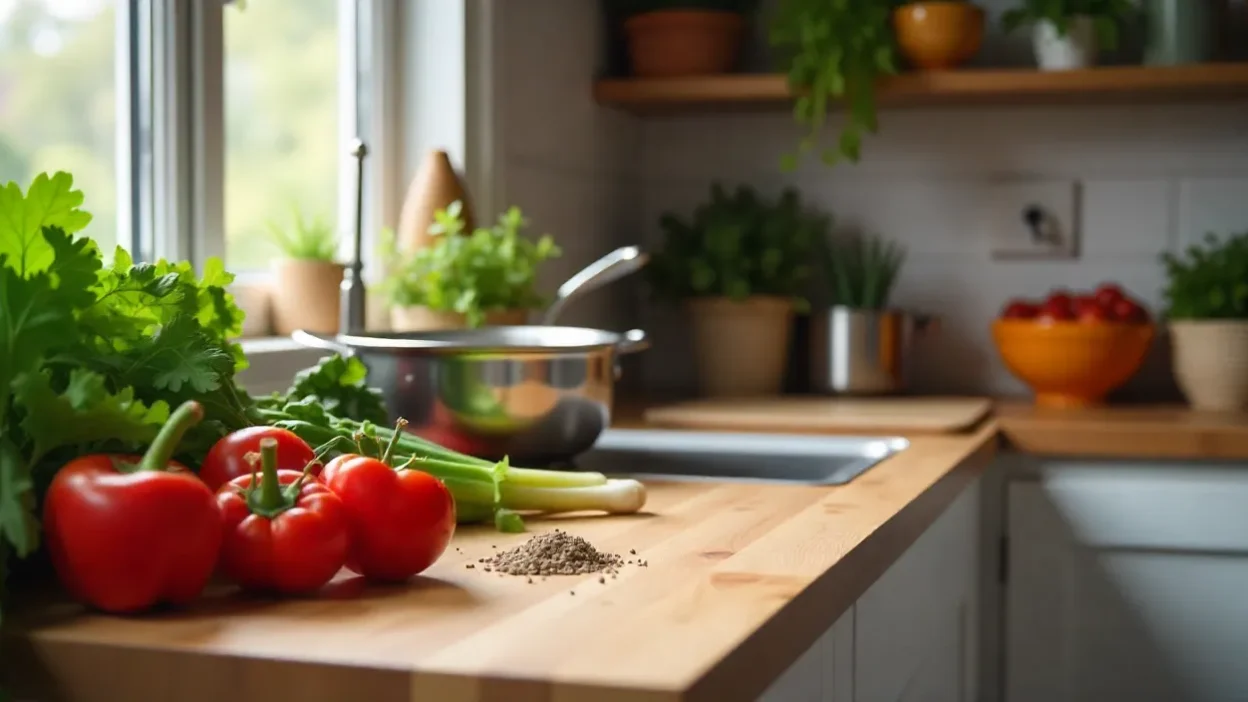
Cooking at home starts with the right foundation. A well-prepared kitchen and a clear understanding of essential tools make all the difference in creating delicious, stress-free meals. Mastering these basics helps you cook efficiently, enjoy the process, and develop confidence in the kitchen.
1. Kitchen Setup and Organization
A functional kitchen is key to successful cooking. Start by ensuring your space is clutter-free and organized. Designate zones for prepping, cooking, and cleaning to keep things flowing smoothly. Keep frequently used items—like knives, cutting boards, and spices—within arm’s reach. A tidy, well-lit workspace boosts creativity and reduces stress during meal prep.
2. Essential Equipment Every Home Cook Needs
Equipping your kitchen with the right tools can make cooking enjoyable and efficient:
- Knives: Invest in three essentials: a chef’s knife for chopping, a paring knife for small tasks, and a serrated knife for bread or delicate produce.
- Cookware: Stock up on a non-stick skillet, a stainless-steel pan, a saucepan, and a baking sheet. These basics cover most cooking techniques.
- Measuring Tools: Precision matters—especially for baking. Keep measuring cups, spoons, and a kitchen scale handy.
- Utensils: Include tongs, spatulas, ladles, and whisks for flipping, stirring, and serving.
Pro Tip: Start simple—buy quality over quantity. High-quality tools last longer and make cooking easier.
Understanding Flavors and Seasonings: The Secret to Irresistible Meals
Mastering flavor is the heart of great home cooking. Knowing how to combine seasonings and balance taste profiles can transform a simple dish into a culinary masterpiece. Let’s break down the essentials:
1. The Role of Salt
Salt is the cornerstone of seasoning. It enhances natural flavors, making ingredients taste brighter and more vibrant.
- When to add: Add a pinch early during cooking to build depth and finish with a sprinkle at the end for a flavor boost.
- Types to try: Experiment with kosher salt for even seasoning and sea salt flakes for texture.
2. Pepper for Heat and Depth
Freshly ground black pepper adds subtle heat and complexity to dishes.
- Tip: Invest in a pepper grinder for maximum flavor—pre-ground pepper lacks punch.
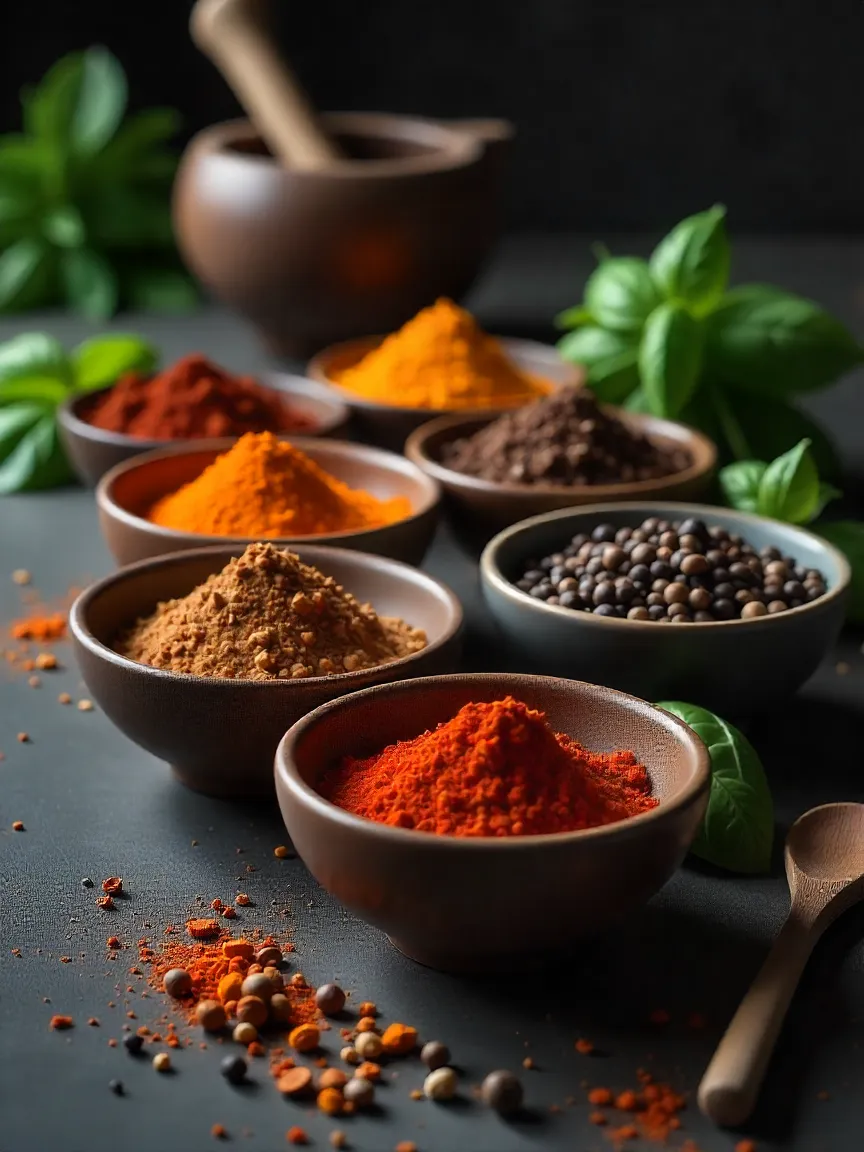
3. Herbs and Spices: Layers of Flavor
- Fresh Herbs: Basil, parsley, cilantro, and thyme bring brightness to any dish.
- Dried Herbs: Oregano, rosemary, and sage work well in slow-cooked meals.
- Common Spices: Garlic powder, paprika, cumin, and chili flakes build warmth and complexity.
Pro Tip: Toast whole spices in a dry pan before grinding to release their essential oils and intensify flavor.
4. Umami Boosters
Umami—the “fifth taste”—adds savory depth. Incorporate:
- Soy sauce for a salty-sweet balance.
- Tomatoes and mushrooms for natural richness.
- Parmesan cheese or miso paste for intense savoriness.
5. Taste as You Go
The golden rule of flavoring: taste constantly. Start light and adjust gradually. A dash of acid (like lemon juice or vinegar) at the end brightens everything.
Cooking Techniques and Methods: Elevate Your Culinary Skills
Mastering a range of cooking techniques is the cornerstone of becoming a confident home chef. From quick searing to slow braising, each method unlocks unique flavors and textures. One standout technique that every home cook should learn is braising, particularly for rich and hearty dishes like Beef Bourguignon.
Braising Basics for Beef Bourguignon
Braising combines searing and slow cooking to create melt-in-your-mouth meals. This method works especially well for tougher cuts of meat, turning them tender and flavorful over time.
Here’s how to braise like a pro:
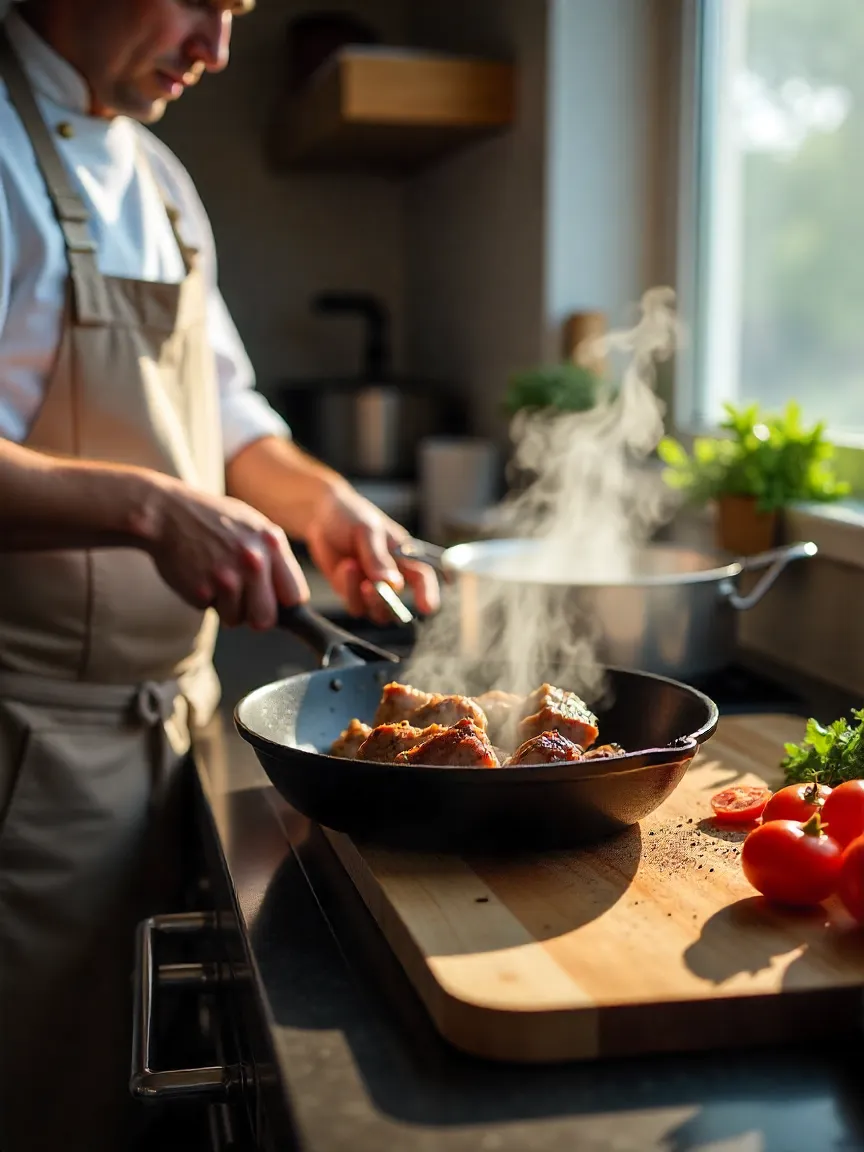
- Season and Sear the Beef
- Start with well-marbled beef chunks.
- Season generously with salt and freshly ground black pepper.
- In a heavy-bottomed Dutch oven, sear the meat in hot oil until deeply browned on all sides. This step is key—it locks in juices and builds that irresistible savory base.
- Build Flavor with Aromatics
- Add chopped onions, carrots, and mushrooms to the pot.
- Cook until they soften and develop caramelization. This layer of flavor is essential for depth.
- Deglaze and Add Liquids
- Pour in a generous splash of quality red wine and allow it to reduce slightly.
- Add beef broth until the meat is mostly submerged. Scrape the bottom of the pot to release all those delicious browned bits (fond).
- Low and Slow Cooking
- Cover the pot and cook on low heat (stovetop or oven) for 2–3 hours.
- During this time, connective tissues break down, transforming tough beef into succulent bites that practically melt in your mouth.
- The Finishing Touch
- Before serving, stir in a knob of butter and a sprinkle of fresh thyme for richness and aroma.
- Serve over egg noodles, mashed potatoes, or with crusty bread to soak up the luxurious sauce.
💡 Pro Tip: While braising emphasizes moisture and time, other preservation methods, like curing beef jerky, take a different approach by using salt and drying for intense flavor and extended shelf life. Both techniques showcase how diverse cooking methods can transform the same ingredient into completely different culinary experiences.
Perfecting the Art of the Pot Roast
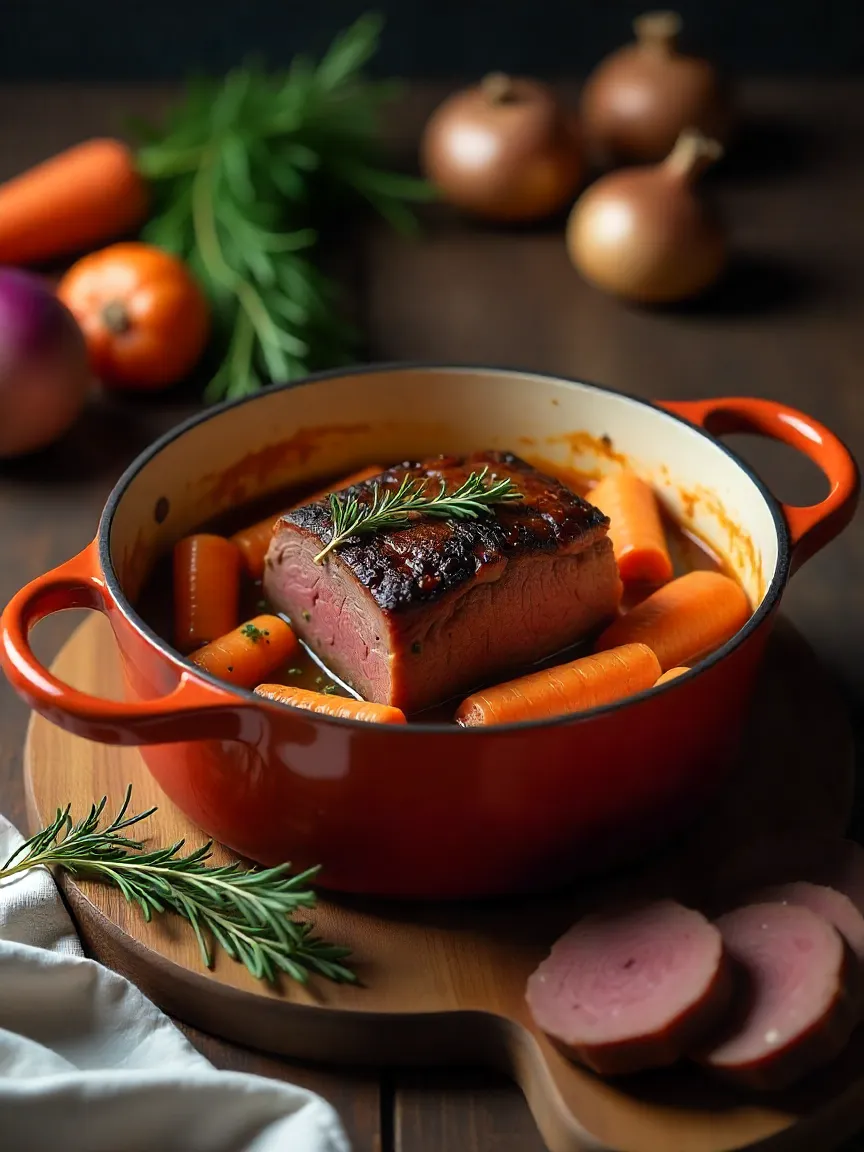
Few dishes say “comfort food” quite like a perfectly cooked pot roast. This classic meal uses the roasting method combined with slow cooking, resulting in tender beef, aromatic vegetables, and rich, savory gravy.
Step 1: Choose the Right Cut
Select a well-marbled cut of beef, such as chuck roast or brisket. Marbling (the streaks of fat) is crucial for keeping the meat juicy and flavorful during long cooking.
Step 2: Sear for Flavor
Heat a heavy Dutch oven over medium-high heat and add a drizzle of oil.
- Pat the roast dry and season it generously with salt and freshly ground black pepper.
- Sear the meat on all sides until a deep brown crust forms. This step is essential—it locks in juices and adds complexity to the final dish.
Step 3: Build Aromatics
Once the roast is browned, remove it from the pot and set aside.
- Add onions, garlic, and carrots to the pot, cooking until they soften and caramelize.
- For extra depth, deglaze the pot with a splash of red wine or beef stock, scraping up those flavorful browned bits.
Step 4: Slow Roasting
Return the beef to the pot and add:
- Beef stock or broth (enough to come halfway up the roast)
- Bay leaves, thyme, and a pinch of rosemary for aroma
Cover the Dutch oven tightly and transfer it to a preheated oven at 300°F (150°C). Roast for 3–4 hours, or until the beef is fork-tender and easily shreds.
Step 5: Finish and Serve
Once done, remove the meat and vegetables. Skim excess fat from the liquid and reduce it slightly for a rich, silky gravy. Serve the roast sliced or shredded, with the vegetables and gravy spooned over mashed potatoes or buttered noodles for the ultimate comfort meal.
💡 Pro Tip: Adding a splash of balsamic vinegar or Worcestershire sauce during the final 30 minutes of cooking brightens the flavors and adds a subtle tang to the gravy.
Mastering Quick & Easy Meals: Shrimp Scampi
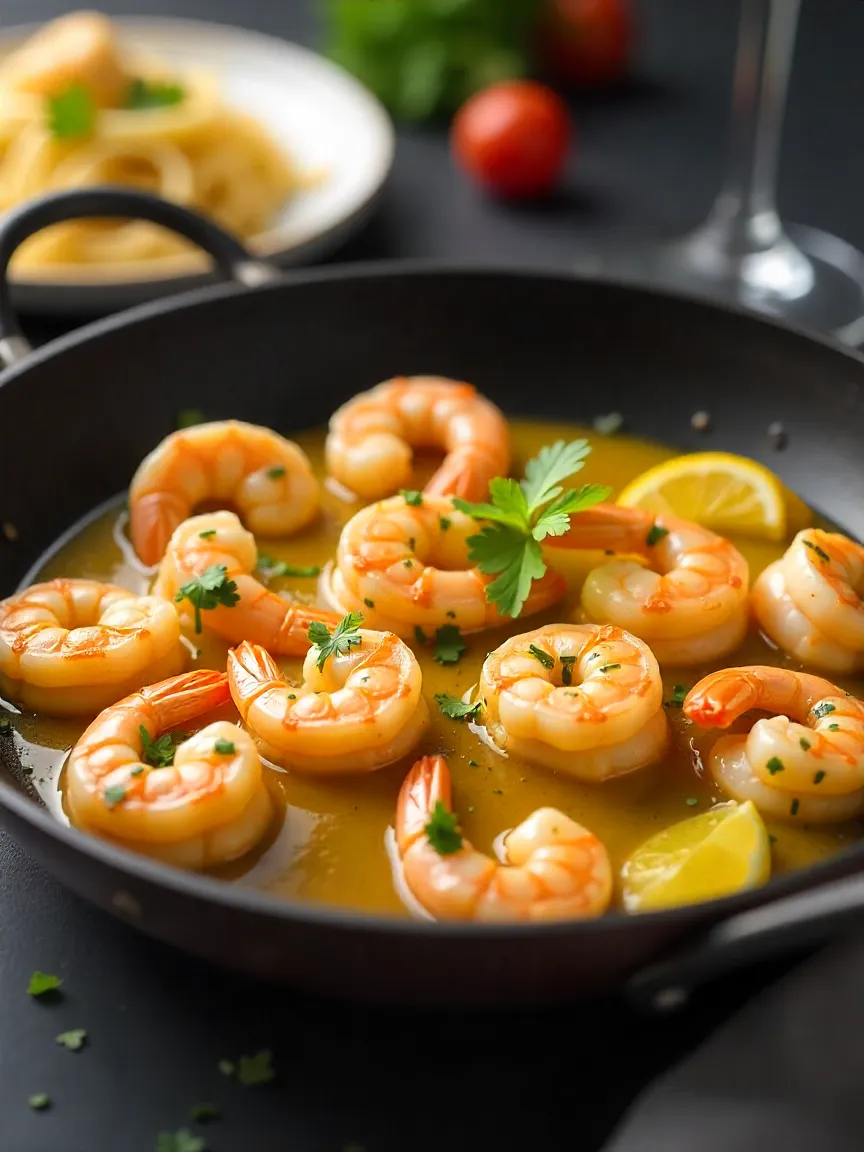
Shrimp scampi is a restaurant-quality dish you can prepare in under 20 minutes. It’s the perfect example of the sautéing technique, delivering tender shrimp in a buttery, garlicky sauce with a hint of citrus.
Step 1: Prep Your Ingredients
- Shrimp: Use large, deveined shrimp for the best texture. Pat them dry for an even sear.
- Garlic: Minced fresh garlic is essential for that aromatic punch.
- Other staples: Olive oil, unsalted butter, white wine, lemon juice, and chopped fresh parsley.
Step 2: Sauté to Perfection
Heat olive oil and butter in a large skillet over medium heat. When the butter melts and begins to bubble, add minced garlic. Cook for 30–45 seconds, just until fragrant—avoid browning to prevent bitterness.
Step 3: Cook the Shrimp
Add the shrimp in a single layer. Cook for 2–3 minutes per side, until they turn pink and slightly opaque. Don’t overcook, as shrimp can become rubbery.
Step 4: Deglaze & Build Flavor
Pour in ½ cup of white wine (or chicken broth for an alcohol-free option) to deglaze the pan, scraping up any flavorful bits. Let it reduce for 1–2 minutes. Add a squeeze of fresh lemon juice to brighten the sauce.
Step 5: Finish & Serve
Stir in a final pat of butter for a silky finish and sprinkle with fresh parsley. Serve the shrimp scampi:
- Over al dente pasta for a full meal
- With crusty bread to soak up the luscious sauce
- Alongside steamed veggies for a light option
💡 Pro Tip: For extra depth, add a pinch of red pepper flakes when sautéing the garlic for a subtle heat that complements the dish perfectly.
Recipe Development and Creativity: Elevate Your Home Cooking

Cooking isn’t just about following recipes—it’s an opportunity to create, experiment, and make dishes uniquely yours. By dedicating space for culinary testing and embracing creativity, you can transform everyday meals into signature dishes.
Creating Your Own Test Kitchen
A home test kitchen doesn’t need to be fancy—just functional and inspiring. Here’s how to build one:
✅ Dedicated Space: Set aside a specific area in your kitchen where you can experiment without interruptions.
✅ Essential Tools: Equip yourself with measuring cups, a reliable scale, and versatile utensils. Precision is key to successful testing.
✅ Pantry Staples: Stock diverse ingredients—oils, vinegars, herbs, and spices—so you can explore flavors anytime inspiration strikes.
Enhance the space with cookbooks, a recipe journal, or even food photography to keep ideas flowing. A well-planned test area makes it easier to innovate and refine recipes without stress.
Experimentation and Personalization of Recipes
Personalizing recipes is the heart of creativity. Here’s how to make each dish your own:
- Smart Substitutions: Swap ingredients based on dietary needs or taste preferences. Example: Replace sour cream with Greek yogurt for a lighter, tangy twist.
- Play with Herbs & Spices: Introduce bold flavors—try smoked paprika in a stew or add fresh dill to salads. Adjust amounts gradually for balance.
- Change Cooking Methods: Baking vs. grilling, roasting vs. steaming—techniques can dramatically alter flavor and texture.
Pro Tip: Keep a recipe notebook or digital log of your tweaks and outcomes. This practice helps track successes and inspires new ideas.
Cooking at home becomes more enjoyable when you feel confident to bend the rules, explore flavors, and put your signature on every dish.


Totally agree! It’s so much more rewarding than takeout, even if it takes a little more time. Love the emphasis on creativity and control.