Contents
There’s something deeply comforting about baking with yeast, and it’s hard to explain unless you’ve done it a few times yourself. It’s not just about the result — it’s the process that gets to you. You have to slow down, whether you planned to or not. You mix, you wait, you check, you wait again. And somewhere in between, without really noticing, your whole pace shifts.
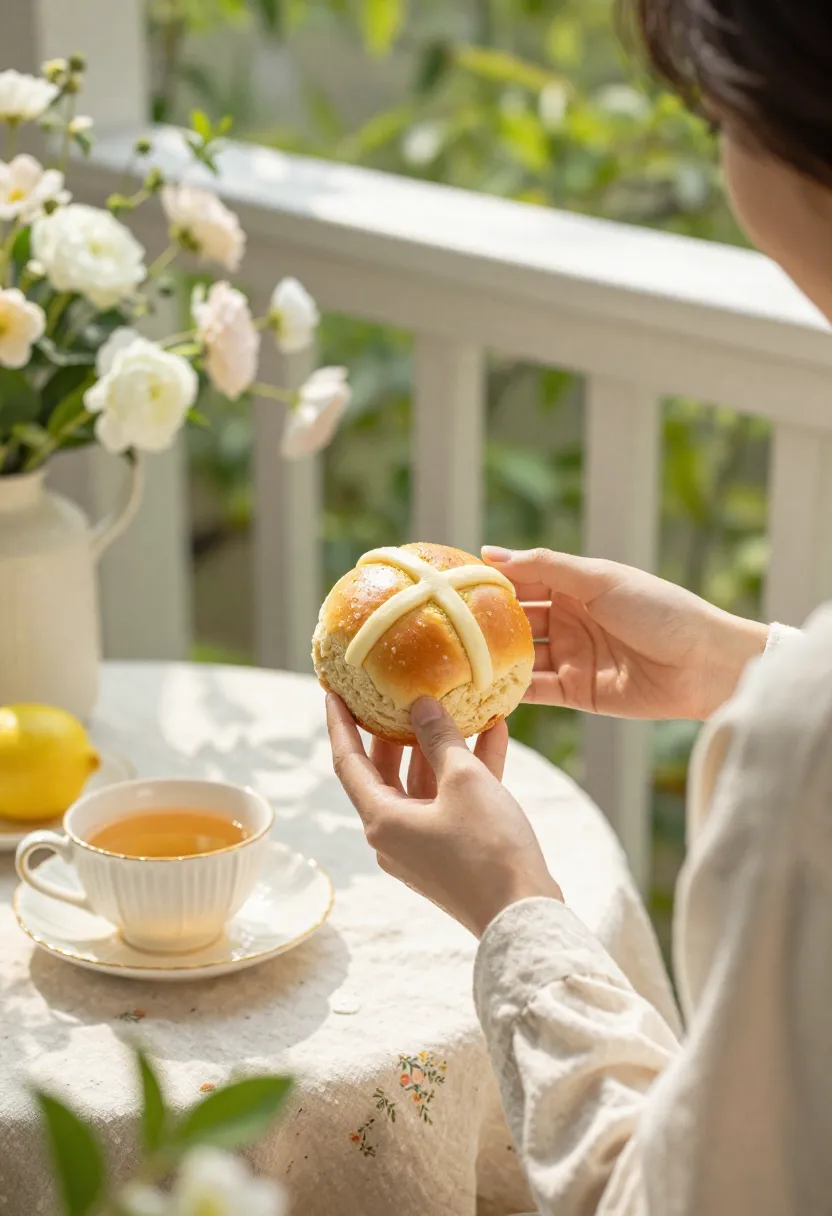
Hot cross buns belong to that kind of baking. They’re not complicated, but they do ask for a bit of patience. In return, they give you something that feels homemade in the best possible way — soft, warm, and just sweet enough to be comforting without overdoing it.
For many people, these buns are closely tied to Easter. They tend to appear around the same time every year, almost like a quiet signal that the season has changed. You’ll see them in bakery windows, on family tables, sometimes made from scratch in kitchens that smell faintly of spices and fresh dough.
At the same time, the classic version isn’t for everyone. The combination of dried fruits and rich spices can feel a bit heavy, especially if you’re not used to those flavors. That’s exactly why this lemon variation works so well 🍋
It keeps the structure of the original but shifts the overall feel. The buns come out softer, a bit lighter, and noticeably fresher in taste. The citrus doesn’t dominate — it just adds a clean, bright note that balances everything else.
You still get the familiar qualities people love:
- soft, fluffy texture
- gentle sweetness
- a touch of warmth from the spices
But alongside that, there’s a subtle freshness that makes the buns easier to enjoy, even in larger portions. It’s the kind of difference you don’t fully notice until you realize you’ve reached for another one without thinking about it.
🍞 The Beauty of Simple Ingredients
One of the nicest things about this recipe is how simple it is at its core. There’s no need for complicated techniques or hard-to-find ingredients. In fact, most of what you need is probably already in your kitchen.
Flour, milk, butter, sugar, eggs, yeast — these are all familiar elements. On their own, they don’t seem particularly exciting. But when combined and handled properly, they create something that feels much more special than expected.
The lemon is what quietly changes the direction of the flavor. It doesn’t take over the recipe or turn it into something completely different. Instead, it adds a layer that makes everything else feel more balanced.
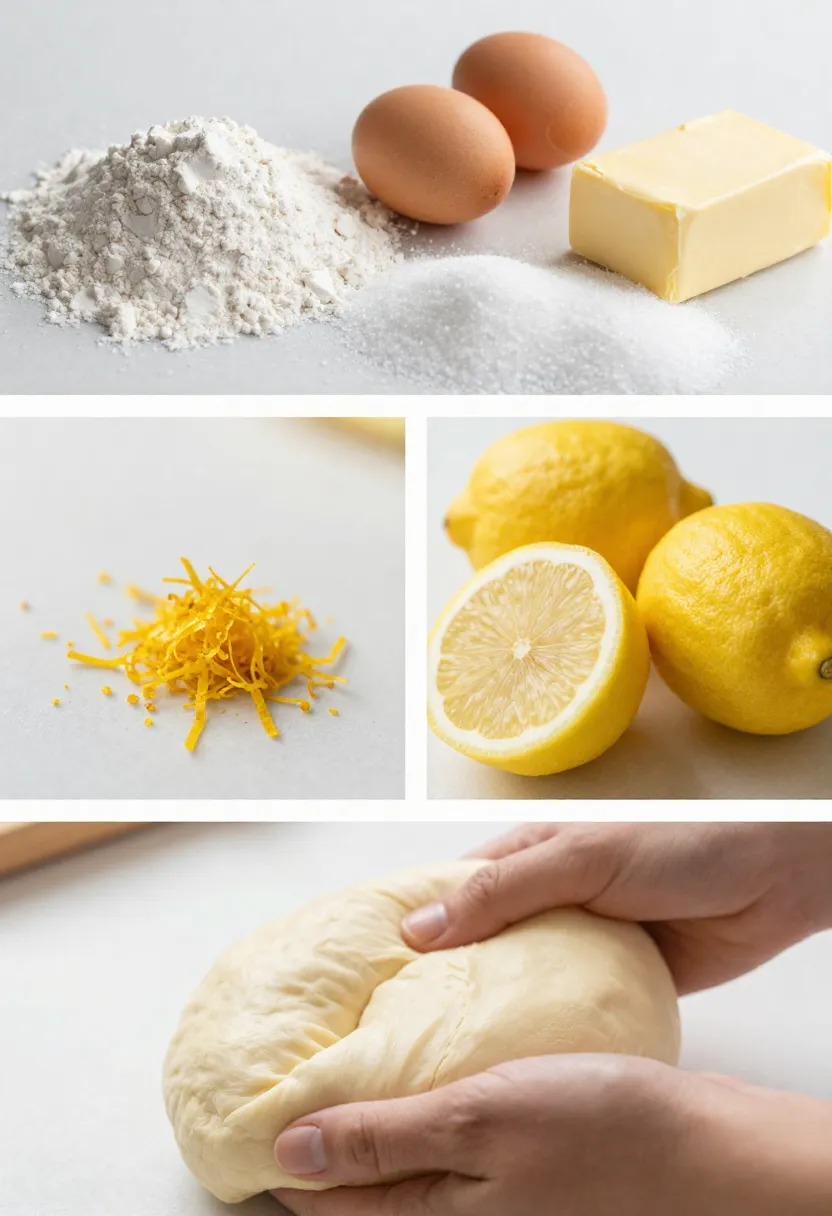
The zest plays the biggest role here. It brings in those natural oils that give the dough a fresh, slightly fragrant quality. You’ll notice it even before baking — that light citrus aroma that makes the whole mixture feel more alive.
Spices are still present, but in a more restrained way. Instead of leading the flavor, they sit in the background and support it. Cinnamon adds a bit of warmth, while nutmeg gives a slightly deeper note. Together, they round things out without competing with the citrus.
Texture is another important part of the experience, even if it’s not always the first thing people think about. These buns have a soft, airy interior, with just enough structure to hold together when you pull them apart. Small bits of candied peel or dried fruit add a slight chewiness, which keeps each bite from feeling too uniform.
All of this works together in a way that feels natural, not overdesigned. Nothing stands out too much, and that’s exactly why it works.
✨ Why This Version Feels Different
Some recipes rely on familiarity. You know what to expect, and that’s part of the appeal. Others stand out because they offer something slightly unexpected. This version of hot cross buns manages to sit somewhere in between.
At first glance, they look like the classic version — same shape, same soft structure, same recognizable cross on top. But once you taste them, the difference becomes clear.
The lemon brings a kind of clarity to the flavor. It cuts through the sweetness just enough to keep the buns from feeling too rich. Instead of being heavy, they feel balanced and easier to enjoy over time.
This also changes how and when you might want to eat them. They’re no longer limited to a specific occasion or season. They fit just as well into everyday routines.
For example, they work well in simple situations like:
- a quiet breakfast with coffee
- a light afternoon snack with tea
- a slightly indulgent treat with butter or honey
They don’t need much to be enjoyable, which is part of their appeal. There’s no need to dress them up or turn them into something elaborate.
In the end, what makes this version stand out isn’t a dramatic change. It’s a small adjustment that shifts the entire experience. The buns still feel familiar, but at the same time, they’re easier to come back to again and again.
And that’s usually a good sign that a recipe is worth keeping.
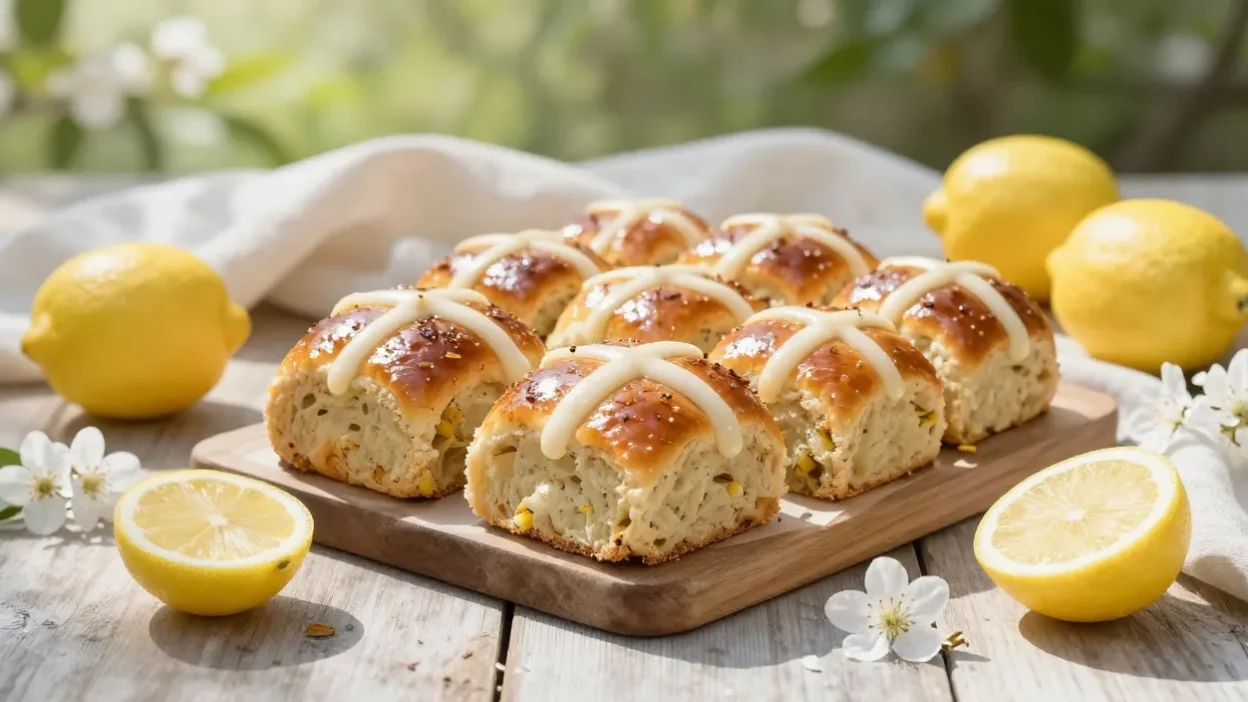
🍋 Lemon Hot Cross Buns Recipe
If you’ve never made hot cross buns from scratch before, this version is actually a really good place to start. The dough is soft and forgiving, and the lemon adds just enough freshness to keep things from feeling too rich or heavy.
What you end up with are buns that are lightly sweet, gently spiced, and filled with a subtle citrus aroma that you’ll notice even before they come out of the oven. They’re especially nice in spring, but honestly, they don’t really need a season — they just work.
🧾 Ingredients
You don’t need anything complicated here, which is part of the appeal. Most of these are everyday ingredients, plus a bit of lemon to bring everything to life.
For the dough:
- 180 ml lukewarm milk (not hot — just warm to the touch)
- 40 g butter, melted and slightly cooled
- 50 g sugar
- 1 egg
- 7 g dry yeast
- Zest of 1 lemon
- 1 tsp vanilla extract
- 350 g all-purpose flour
- ½ tsp salt
- ½ tsp cinnamon
- a small pinch of nutmeg
- 40 g candied lemon peel or dried fruit
For the glaze:
- 1 tbsp sugar
- 2 tbsp water
For the cross:
- 60 g powdered sugar
- 1–2 tsp lemon juice (adjust to consistency)
- a few drops of vanilla
👩🍳 Instructions
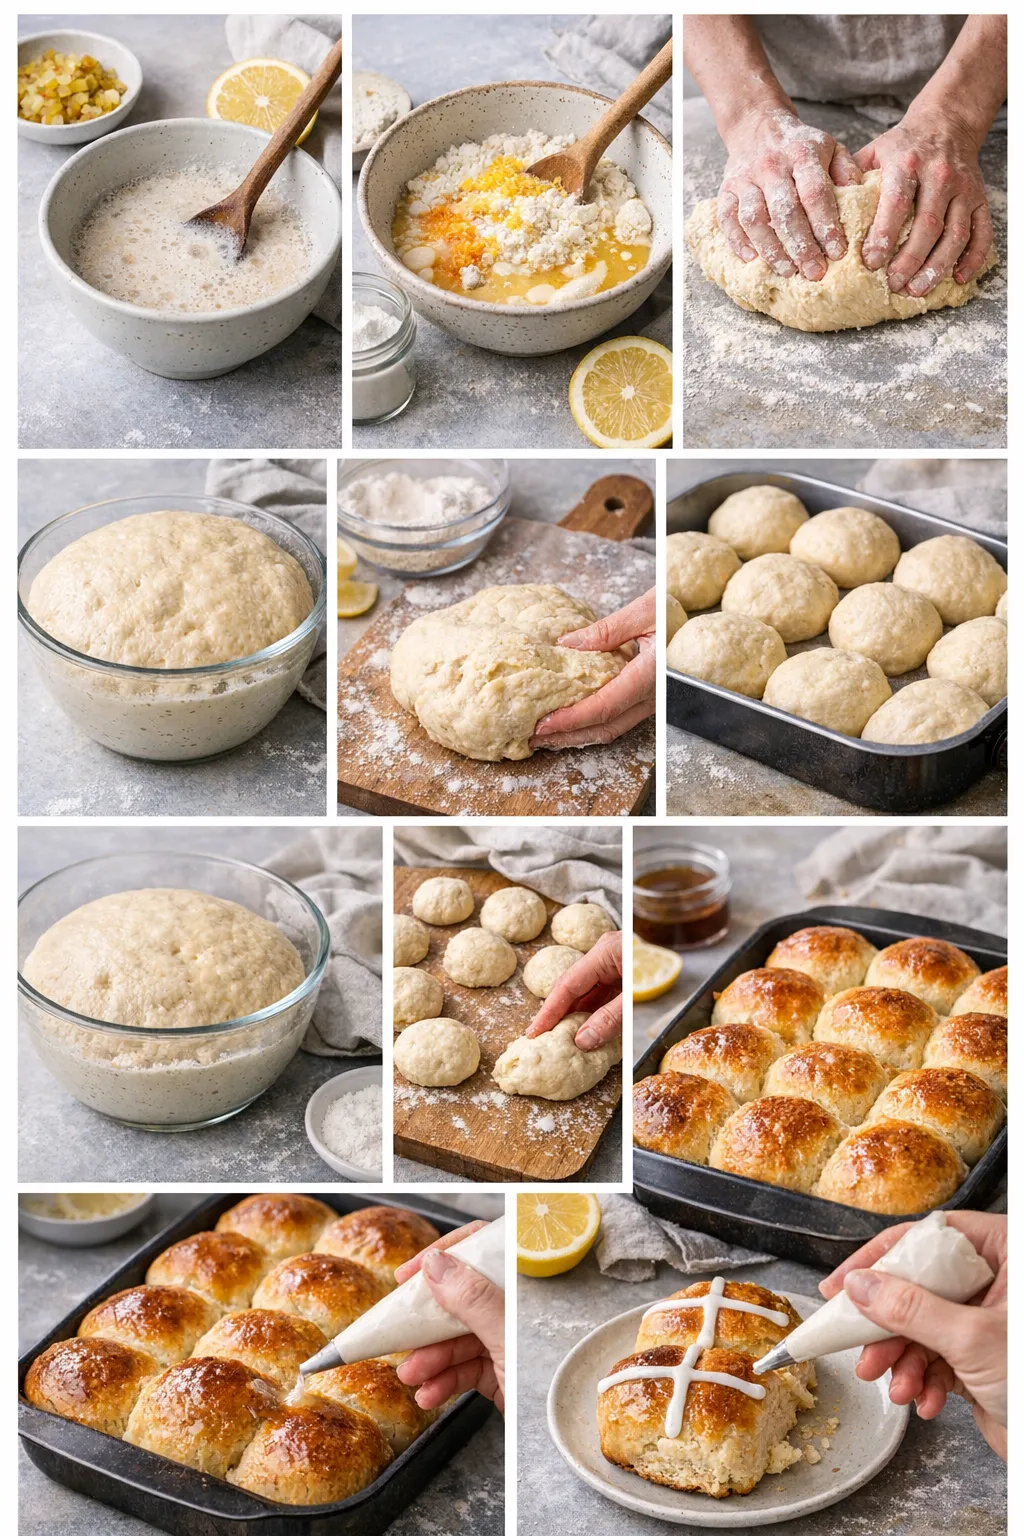
- Start by combining the lukewarm milk, melted butter, sugar, and yeast in a large bowl. Give it a gentle stir and leave it for about 5 minutes. It should look slightly foamy on top — if nothing happens, your yeast might not be active, and it’s better to check now than later.
- Add the egg, lemon zest, and vanilla extract. Mix everything together until it looks smooth. At this stage, it might smell slightly sweet and citrusy already — that’s a good sign.
- Add the flour, salt, cinnamon, and nutmeg. Mix until a soft dough begins to form. It might look a bit rough at first, and that’s completely normal.
- Turn the dough out onto a lightly floured surface and start kneading. This part takes a bit of time — around 8 to 10 minutes. At first, the dough can feel sticky or uneven, but as you keep going, it becomes smoother and more elastic. You’ll notice the difference.
- Place the dough into a lightly greased bowl, cover it with a towel or plastic wrap, and leave it somewhere warm. Let it rise until it doubles in size. Depending on your kitchen, this can take anywhere from 1 to 1.5 hours.
- Once the dough has risen, gently press it down to release some of the air. Divide it into 12 roughly equal pieces — they don’t have to be perfectly identical. Shape each piece into a ball by tucking the edges underneath.
- Arrange the dough balls in a greased baking dish, leaving a bit of space between them. They will expand as they rise again, so don’t worry if they look slightly separated at this point.
- Cover the buns and let them rise for a second time. This usually takes about 30–45 minutes. By the end, they should look puffy and slightly touching each other.
- Preheat your oven to 190°C (375°F). Bake the buns for about 25–30 minutes, or until they turn a nice golden color on top. Try not to open the oven too often — it can affect how they bake.
- While the buns are still warm, prepare the glaze by dissolving sugar in water. Brush it over the tops — this gives them a soft shine and a slight sweetness.
- Let the buns cool completely before adding the cross. Mix powdered sugar with lemon juice and a few drops of vanilla until you get a thick but pipeable consistency. Use a piping bag (or even a small plastic bag with the corner cut off) to draw crosses on top of each bun.
💡 A few small tips that actually help
- If your yeast doesn’t foam after a few minutes, it’s better to start over — it saves time in the long run
- Don’t add too much extra flour while kneading; slightly sticky dough usually means softer buns later
- If your kitchen is cold, let the dough rise in the oven with just the light on — it makes a difference
- Let the buns cool before adding the icing, otherwise it’ll just melt and disappear
- And one simple thing: don’t rush the process — these turn out noticeably better when you give them time
☕ The Small Details That Shape the Result
When people first start baking, it’s easy to think everything depends on the ingredients. The right flour, the exact measurements, following each step carefully — all of that feels important. And it is, to a point. But after a few tries, you start noticing something else.
It’s not just what you use. It’s how you handle it.
Something as simple as milk temperature can quietly affect everything. If it’s too hot, the yeast won’t activate properly — nothing dramatic happens right away, but later the dough just won’t rise the way it should. On the other hand, if it’s slightly warm, almost neutral to the touch, everything starts working exactly as it should.
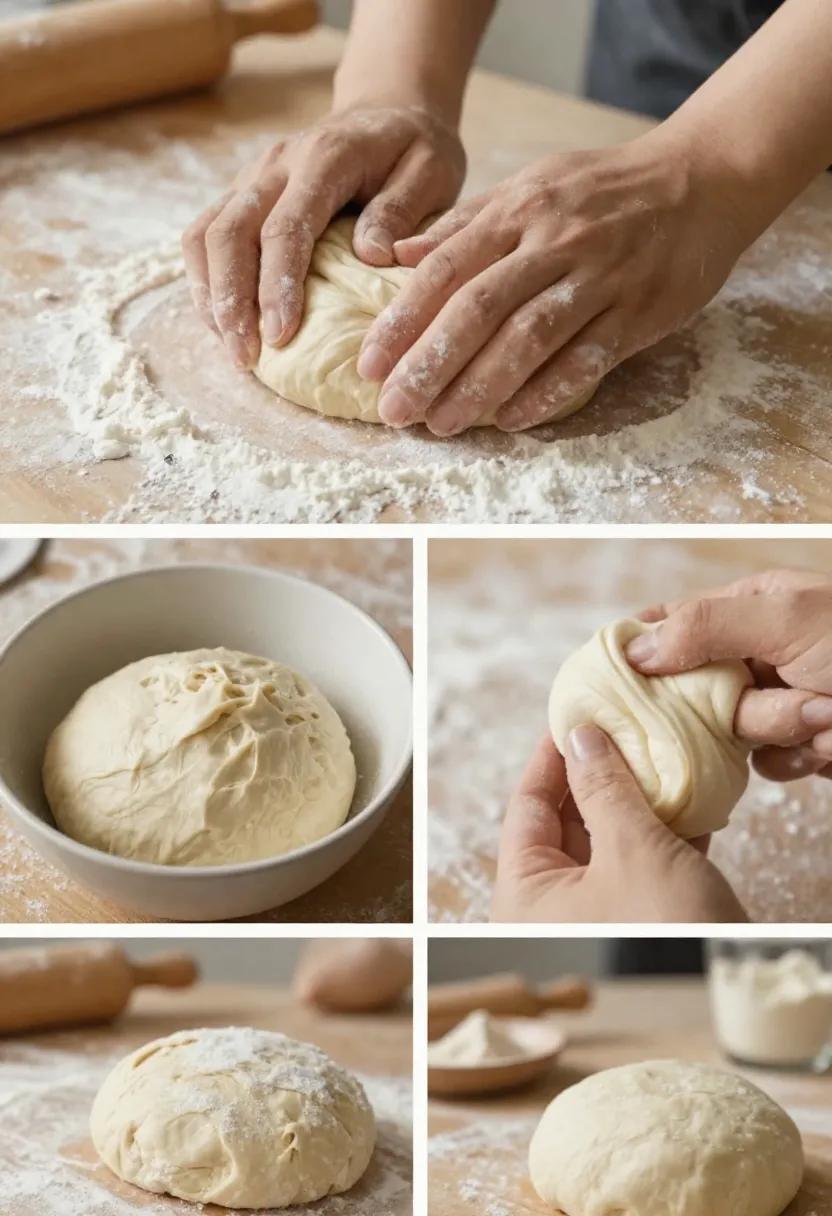
Kneading is another moment where things either come together… or don’t. At first, the dough can feel awkward — sticky, uneven, not very cooperative. It’s tempting to add more flour just to make it easier to handle. But if you give it time instead, keep working it gently, it changes. It becomes smoother, softer, more elastic. That’s the point where you know it’s ready.
And then there’s waiting. Probably the hardest part.
Letting the dough rise doesn’t feel productive. It just sits there. But that’s where the structure develops — air forms inside, the dough relaxes, and the final texture becomes soft instead of dense.
A few small things that genuinely make a difference:
- keep your liquids warm, not hot
- don’t rush the kneading, even if it feels repetitive
- avoid adding too much extra flour
- give the dough proper time to rise, even if it takes longer than expected
- and try to rely on how it feels, not just the timer
At some point, you stop thinking of baking as a strict set of steps and start treating it more like a process you follow intuitively. And that’s usually when the results start improving without you even noticing why.
🍯 Serving Them in a Way That Feels Right
One of the nicest things about these buns is how easy they are to enjoy. They don’t need much effort once they’re baked. No complicated plating, no extra steps — they’re already complete in a way.
Still, the way you serve them can slightly change how they feel.
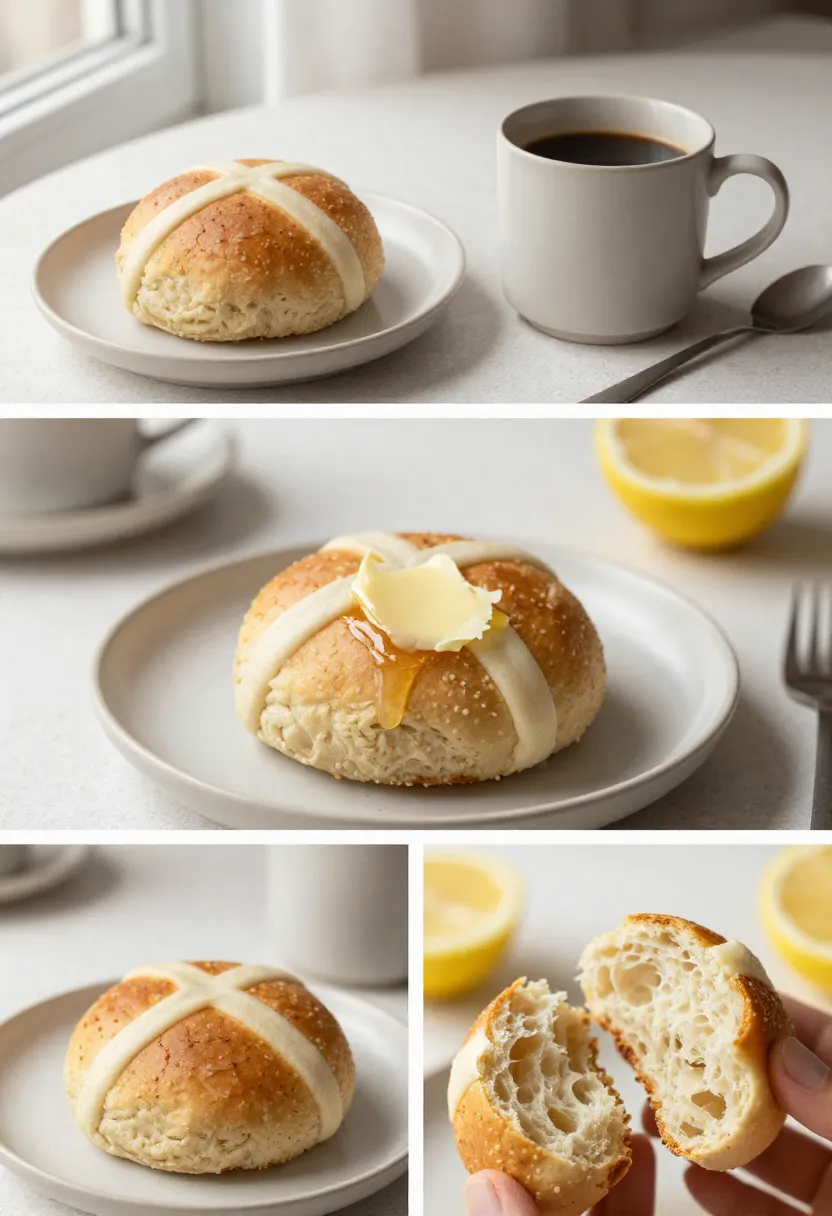
When they’re fresh, still a bit warm, they’re at their absolute best. The texture is soft, almost delicate, and the aroma is still there — that mix of citrus and warm dough. Splitting one open and adding butter is probably the simplest option, but also the one that works every single time.
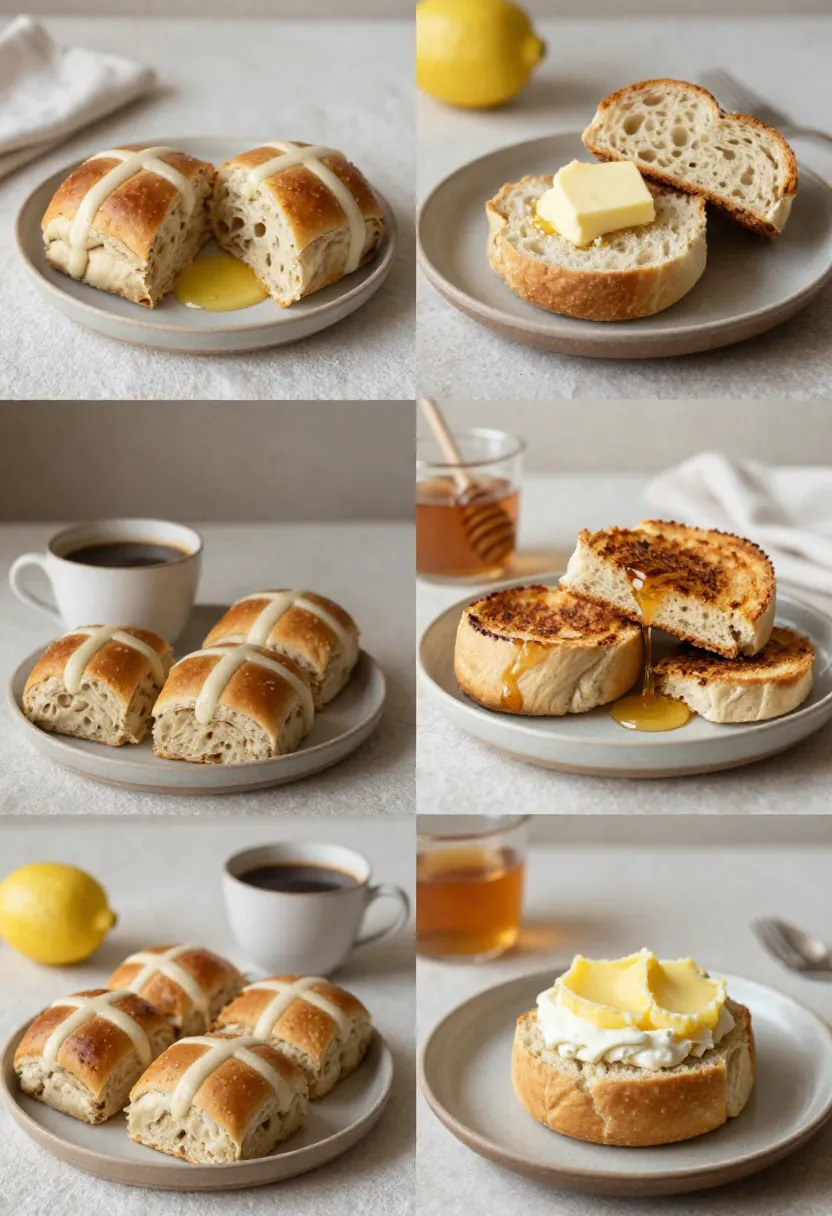
Later, once they’ve cooled, they change just a little. Toasting them gives a bit of contrast — lightly crisp on the outside, still soft inside. It’s a small shift, but it makes them feel slightly more structured, a bit more like a proper snack rather than just something fresh out of the oven.
If you want to add something extra, it doesn’t take much. Just a small touch can shift the flavor in a different direction:
- butter for something simple and classic
- honey if you want a softer sweetness
- lemon curd to highlight the citrus notes
- cream cheese if you’re in the mood for something richer
They also fit into different moments of the day without feeling out of place. Morning with coffee feels natural. Afternoon with tea works just as well. Even later in the evening, they don’t feel too heavy or too much.
There’s something very easy about them — and that’s probably why they disappear faster than expected.
🧊 Storing Them (and Actually Using Them Later)
Fresh buns are always going to be the best version. That’s just how baking works. But these hold up surprisingly well, which makes them worth making even if you don’t plan to eat all of them right away.
At room temperature, an airtight container is usually enough for a couple of days. They won’t stay exactly the same as when they were fresh, but they don’t lose much either. The texture might firm up slightly, but not in a way that makes them unpleasant.
If they do start to feel a bit dry, there’s an easy fix. Toasting them brings back warmth and improves the texture more than you’d expect. The outside gets a slight crispness, while the inside softens again.
Freezing is also a good option, especially if you made a full batch. It’s simple, and it works reliably if you do it properly.
What actually helps here is pretty straightforward:
- always let the buns cool completely before storing
- keep them sealed well so they don’t dry out
- reheat gently instead of using high heat
- let frozen buns thaw before warming them
- and don’t skip reheating — it really makes a difference
Having a few stored away is one of those small things that ends up being useful later. You forget about them, and then suddenly you’ve got something ready without starting from scratch again.
And honestly, that’s a pretty good feeling — especially when it’s something homemade 💛