Contents
There’s something almost magical about preparing chocolate from scratch in your own kitchen. 🍫 For most of us, chocolate comes wrapped neatly in shiny foil, stacked on supermarket shelves, ready to be eaten without a second thought. But when you slow down and actually make it yourself, you step into a completely different world. Suddenly it’s not just a sweet treat — it becomes a process, an experience, almost a little ritual.
Think about it: the gentle melting of cocoa butter on low heat, the slow swirl of a spoon as rich cocoa blends in, the way sugar crystals disappear into the mixture until everything turns velvety smooth. Then comes the moment when you pour the glossy liquid into molds, tap them to remove tiny air bubbles, and wait impatiently for it to set. You’re not just “cooking” here — you’re creating. And with every step, you can’t help but feel a little proud of yourself. 🙌✨
What makes this even more special is that chocolate isn’t just food; it’s history. For thousands of years, it has traveled across cultures and continents. The Mayans and Aztecs once treated it as a sacred drink, a bitter elixir for rituals and ceremonies. Centuries later, European nobility transformed it into a luxury indulgence. And today, it’s everywhere — from vending machines to gourmet boutiques. By making it at home, you become part of that long tradition, but with your own twist: you decide what it tastes like, how sweet it is, and what unique flavors it carries. 🌍💫
🌟 Why Make Chocolate at Home?
I get it — at first, the idea sounds unnecessary. Chocolate is so easy to buy that most people never question it. But here’s the secret: homemade chocolate is not the same as store-bought. It’s a completely different experience, one that engages all your senses and gives you something much more personal.
- Total control over ingredients 🥛🍯: Forget preservatives, palm oil, and artificial flavors. When you make it yourself, it’s pure — cocoa, sugar, butter, and whatever extras you choose.
- Unlimited personalization 🎨: Like it bold and bitter? Go heavy on the cocoa. Prefer creamy sweetness? Add more milk powder. Feeling adventurous? Try infusing it with chili flakes, sea salt, dried mango, or even lavender petals. 🌶️🥭🌸
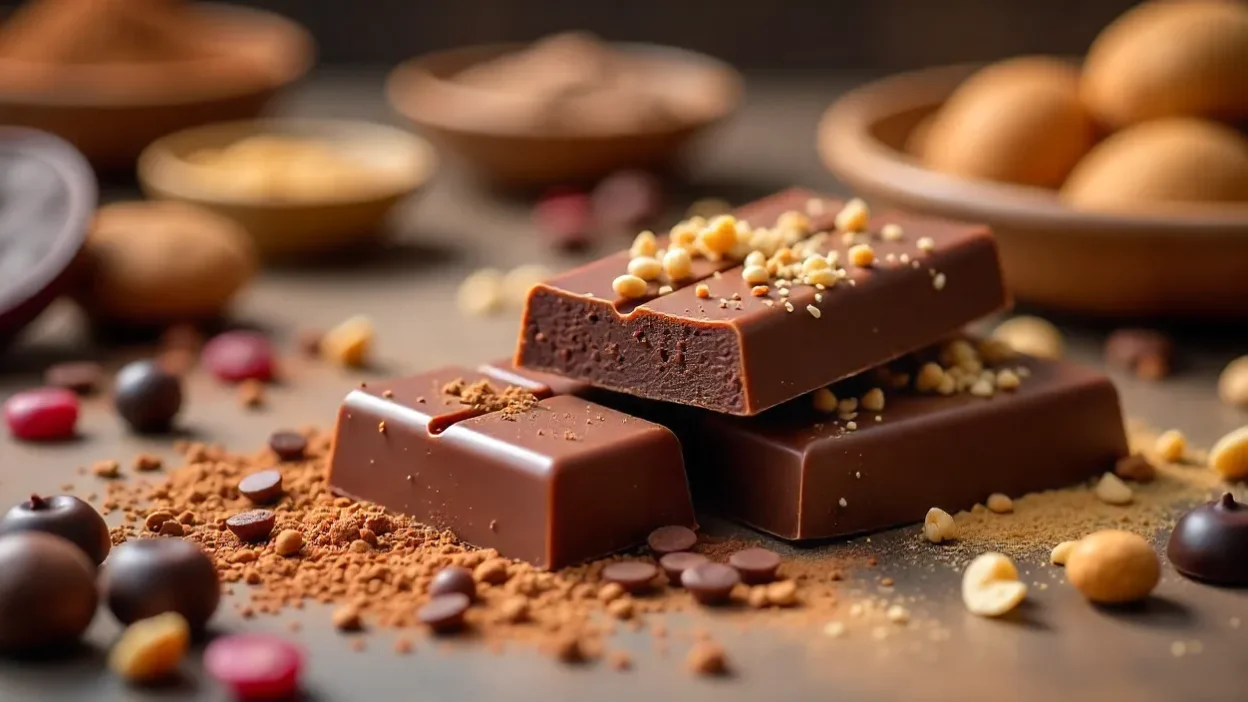
- Pure satisfaction 🙌: Few things compare to breaking a bar of chocolate you made with your own two hands. It’s not just food anymore — it’s your creation.
- Connection with others ❤️: Chocolate-making is surprisingly social. Kids love sprinkling toppings, friends can turn it into a “DIY chocolate night,” and if you’re with your partner, it’s an unexpectedly romantic activity (bonus: you both get to eat the results 😉).
In the end, homemade chocolate isn’t just about flavor. It’s about slowing down, being present, and enjoying the act of making something beautiful. Each piece carries not only taste but also a little story — your story.
🍫 Types of Chocolate and Their Personalities
Chocolate isn’t just one flavor — it’s a world of personalities, each with its own story and charm. Just like people, each type has quirks, strengths, and moods that can inspire the way you use it in your creations. Understanding these personalities makes it easier to decide which chocolate to make or combine in your kitchen.
- Dark Chocolate 🌑 – The Deep Thinker
Dark chocolate is the brooding, sophisticated type. Bold, slightly bitter, and intense, it’s perfect for those who enjoy complex flavors like black coffee, red wine, or rich desserts. But it’s not all about taste — dark chocolate is also a secret little health hero. Packed with antioxidants, magnesium, and less sugar than its sweeter siblings, it’s a treat that feels indulgent yet somewhat “responsible.” Imagine breaking a bar of 70% cocoa and savoring the slow, intense melt in your mouth — that’s dark chocolate’s charm.
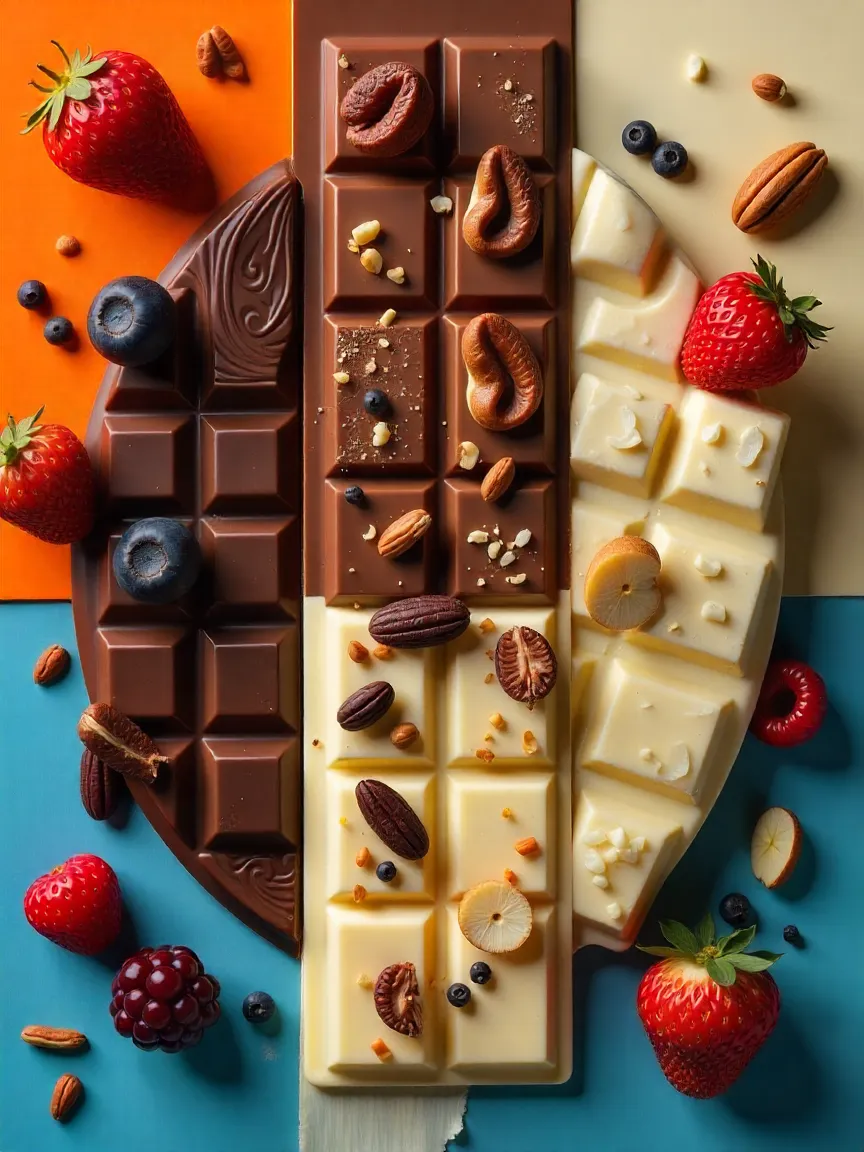
- Milk Chocolate ☁️ – The Comforting Friend
Milk chocolate is the warm hug of the chocolate world. Creamy, smooth, and slightly sweet, it carries nostalgia in every bite, reminding many of childhood memories, hot cocoa evenings, and birthday treats. It’s versatile too: perfect for baking, candy-making, or enjoying straight from the wrapper. You can even get creative with milk chocolate by adding swirls of caramel, sea salt, or nuts for little flavor surprises. - White Chocolate ☀️ – The Sweet Dreamer
White chocolate is gentle, dreamy, and sweet — a little indulgent but always charming. Technically, it’s not “real” chocolate since it contains no cocoa solids, but its buttery texture makes it indispensable in desserts. Think truffles filled with raspberry puree, creamy mousses, or marbled chocolate bark — white chocolate adds a soft, elegant touch. Pairing it with tart berries, crunchy nuts, or even citrus zest can turn it into something truly magical. - Mixing and Matching 🎨
One of the most fun parts of homemade chocolate is combining these personalities. Swirl dark and white chocolate together for a marbled masterpiece, or layer milk chocolate with dark for a flavor gradient. These creative touches are rare in store-bought bars, giving your homemade treats a signature style.
🛒 Ingredient Secrets
Chocolate starts with simple ingredients, but the quality of each one makes all the difference. Think of them as an artist’s palette — each adds color, depth, and personality to your creation.
- Cocoa Butter 🧈 – The Silky Base
Cocoa butter is what makes chocolate melt so luxuriously in your mouth. Always choose pure, unrefined, food-grade cocoa butter. Anything less will affect texture and flavor. Picture it slowly melting in your hands while you stir — that’s the foundation of creamy perfection.
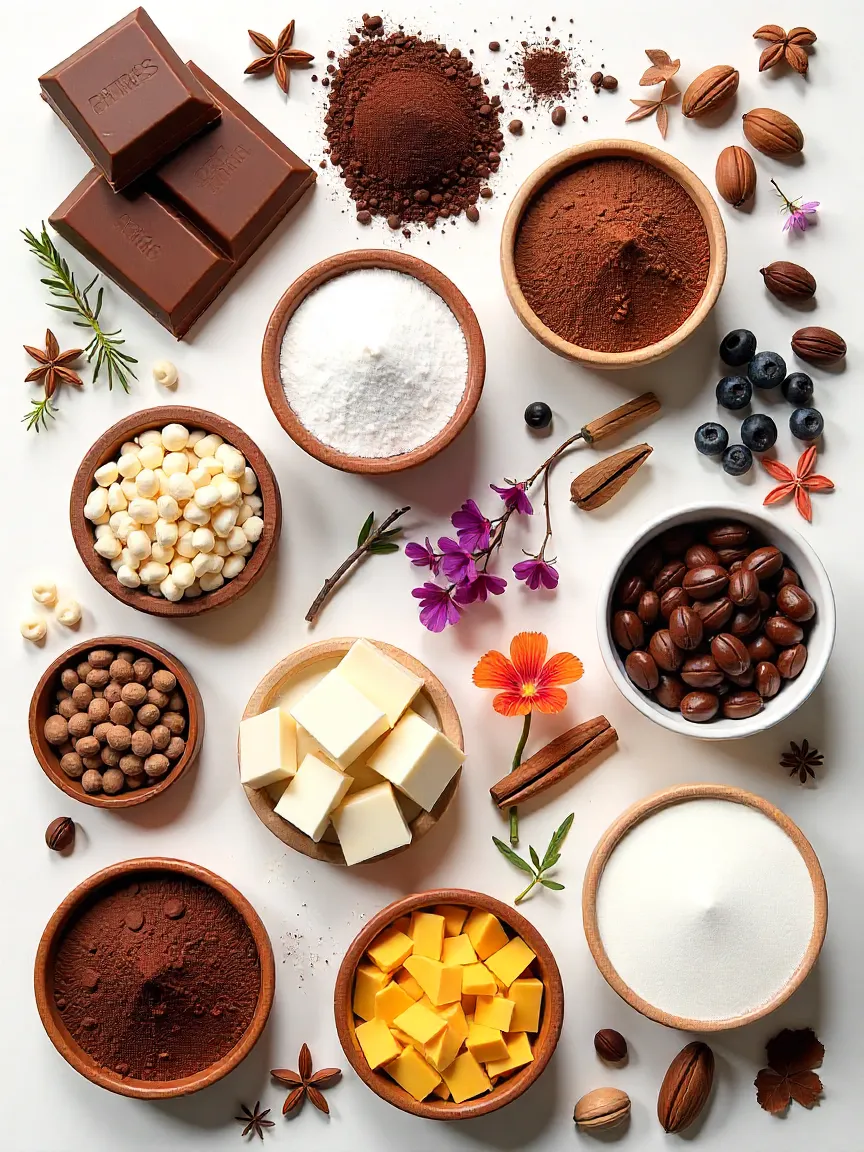
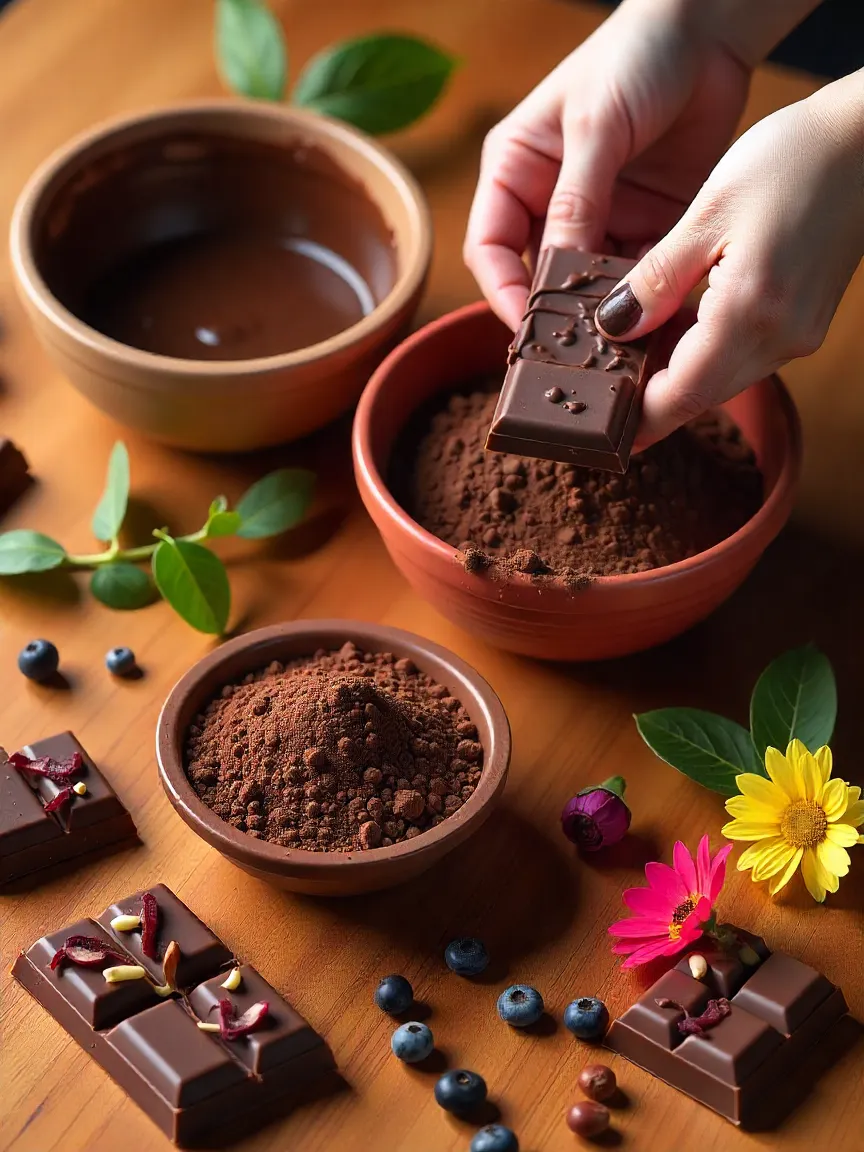
- Cocoa Powder or Cocoa Beans 🌱 – The Flavor Backbone
Cocoa is the soul of chocolate. For a truly immersive experience, roasting and grinding your own beans can feel like a tiny chocolate ritual. But don’t worry — good-quality unsweetened cocoa powder is just as effective for smooth, rich flavor. Pro tip: smell and taste it first — origins vary, and each batch can have surprising notes, from fruity to earthy. - Sweeteners 🍯 – The Taste Balancers
Sugar isn’t just sweet; it shapes flavor. White cane sugar is classic, but exploring alternatives can elevate your chocolate. Coconut sugar adds caramel warmth, maple sugar brings a rich depth, and honey powder contributes gentle floral notes. Even experimenting with small amounts of brown sugar or panela can create a whole new taste dimension. - Milk Solids 🥛 – The Cream Factor
For milk or white chocolate, quality milk powder is key to achieving a smooth, creamy texture. Don’t skip this step — the difference between gritty and silky chocolate often lies here. - Extras 🌶️🥜🍊 – Your Creative Signature
This is where the fun begins. Vanilla beans, coffee, chili flakes, almonds, hazelnuts, dried cherries, orange zest, or even edible flowers — each addition tells a story. Mix, match, and experiment. Sometimes the smallest sprinkle makes the biggest impact on flavor, aroma, and visual appeal.
💡 Chef’s Tip: Always taste your cocoa powder before starting — not all are created equal. The flavor can vary dramatically depending on origin, processing, and roast level. This little test helps you anticipate how your chocolate will ultimately taste.
🔧 Tools of the Trade
The right tools don’t make you a professional chocolatier, but they make the process smoother and way more fun. Here’s what you’ll need:
Double Boiler or Makeshift Version 🍲
- Place a heatproof bowl over a pot of simmering water (the bowl should not touch the water).
- This gently melts cocoa butter without scorching it.
- If you don’t have a double boiler, a simple metal or glass bowl works fine.
Digital Thermometer 🌡️
- Temperature control is crucial for tempering chocolate.
- Accurate readings give you glossy, perfectly snappy chocolate every time.
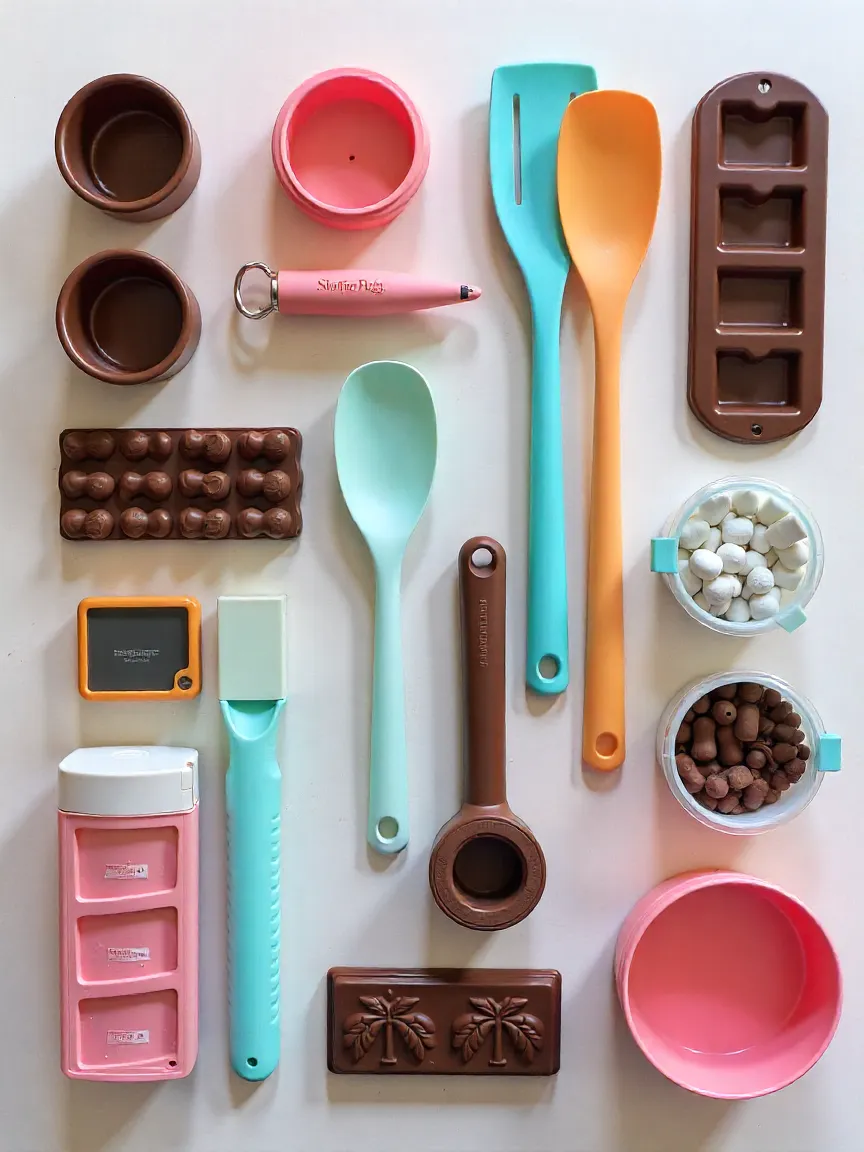
Silicone Spatulas 🍴
- Flexible, heatproof, and ideal for scraping every last bit of chocolate.
- Perfect for folding in nuts, dried fruits, or spices without damaging the texture.
Chocolate Molds 🧩
- Classic bars, festive shapes (bunnies for Easter, hearts 💘 for Valentine’s), or geometric molds.
- No mold? Pour chocolate onto parchment and break into rustic “chocolate bark” pieces.
Storage Containers 🏺
Airtight jars or tins help maintain freshness, shine, and texture.
🥄 Step-by-Step Chocolate-Making
1️⃣ Preparation: Laying the Groundwork
- Weigh all ingredients precisely — chocolate is very sensitive to ratios.
- Sift cocoa powder to avoid lumps.
- Keep tools and bowls completely dry — even a single drop of water can ruin melted chocolate.
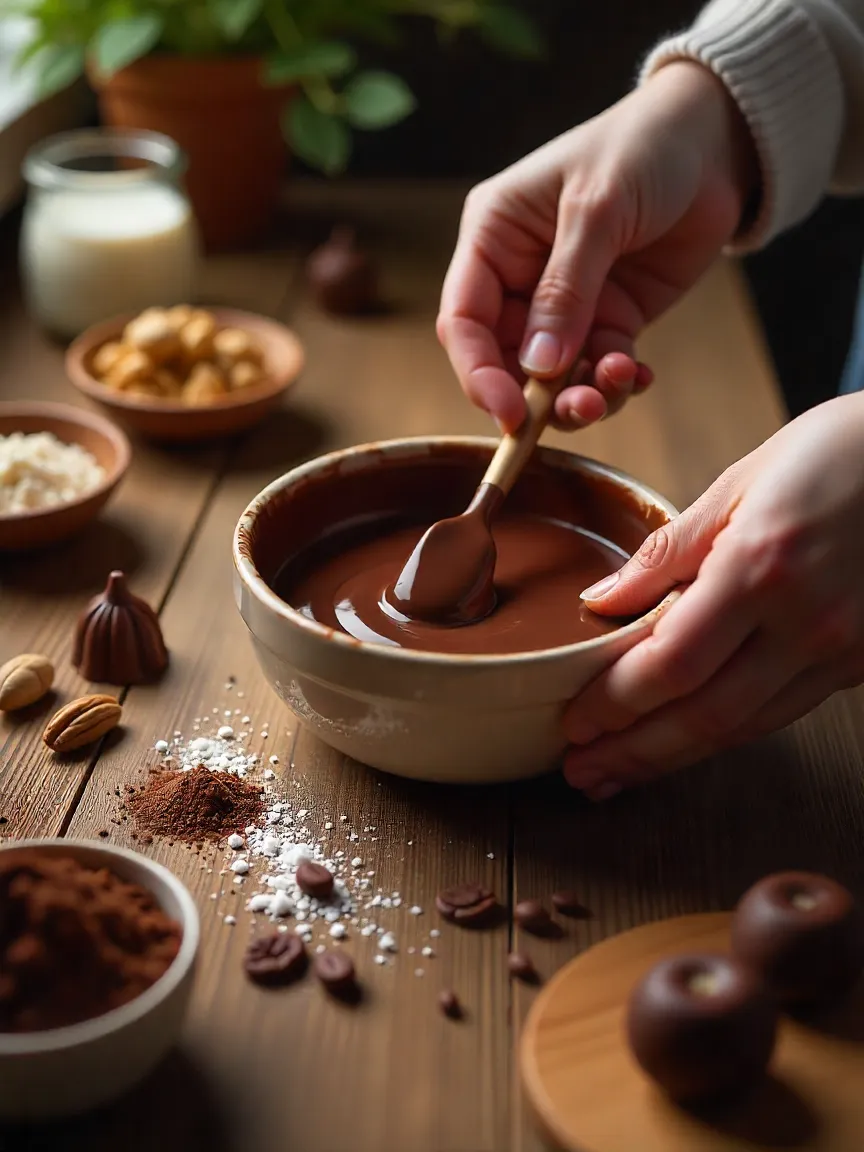
2️⃣ Melting Cocoa Butter
- Chop cocoa butter and place in your bowl over simmering water.
- Stir gently until smooth, silky, and golden.
- Slow melting equals smoother chocolate and better texture.

3️⃣ Mixing Cocoa Powder and Sweetener 🍯
- Gradually whisk in cocoa powder and your chosen sweetener.
- Aim for a silky, non-grainy texture.
- For milk or white chocolate, add milk solids at this stage.
4️⃣ Tempering Magic ✨
- The trickiest but most rewarding step: gives chocolate its shine and snap.
- Heat to ~115°F / 46°C
- Cool to ~82°F / 28°C by stirring or spreading some on a marble slab
- Rewarm gently to 88–90°F / 31–32°C
- Tempering aligns cocoa butter crystals, creating that glossy, satisfying chocolate break.
5️⃣ Flavoring and Personalizing 🌶️🍊🥥
- Add vanilla, sea salt, espresso, cardamom, or chili.
- Fold in nuts, dried fruit, coconut, or citrus peel.
- Let your creativity run wild — this is when chocolate becomes truly yours.
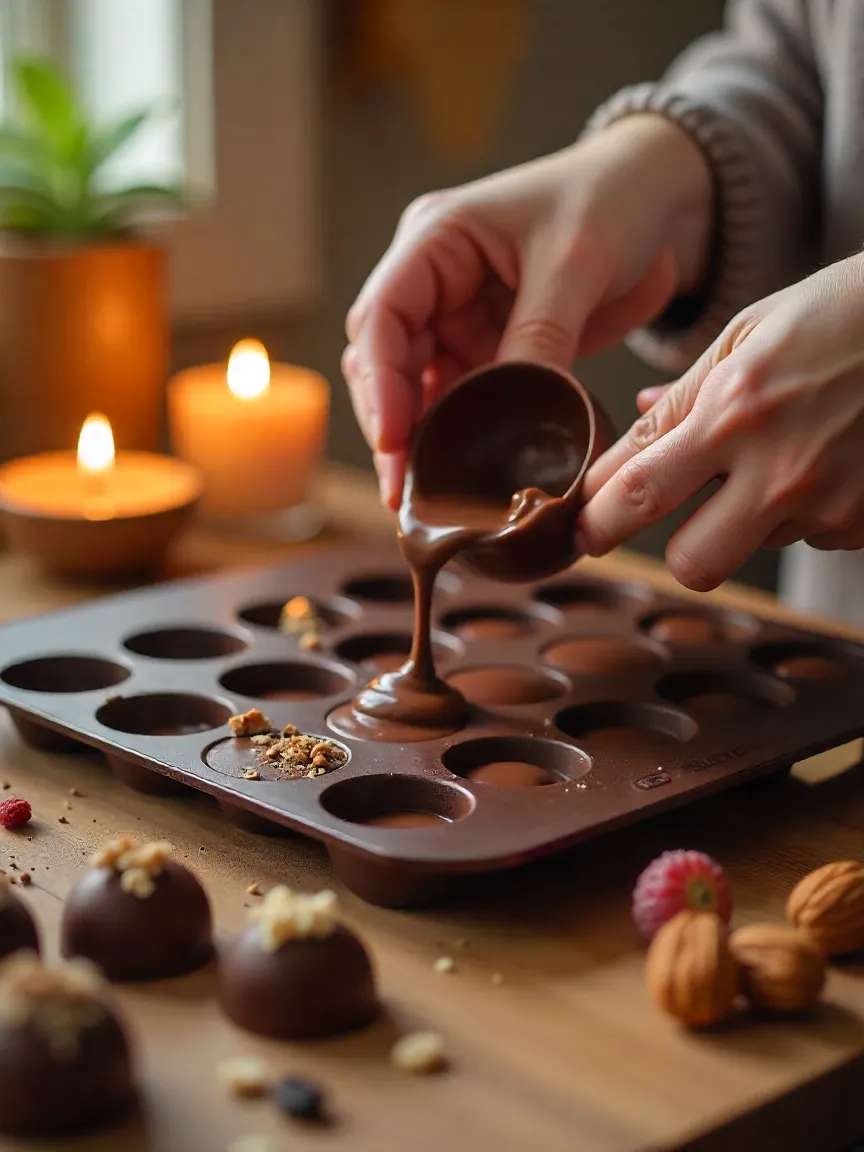
6️⃣ Pouring and Setting
- Pour mixture into molds and tap gently to remove air bubbles.
- Let chocolate cool at room temperature, then refrigerate if necessary.
- After a couple of hours — congratulations! You’ve made real, homemade chocolate. 🎉
🎨 Decoration & Gifting
Homemade chocolate is already a delight, but adding thoughtful decorations makes it truly special. You can turn a simple bar into a piece of edible art with just a few creative touches:
- Artistic Drizzles & Swirls: Pour melted white chocolate over dark, or vice versa, to create swirls, zigzags, or marbled patterns. Try layering colors gradually for a sophisticated, almost painterly effect. 🎨
- Edible Sparkle: Add edible glitter, metallic dust, or colored sugar for a festive, celebratory touch. Perfect for birthdays, anniversaries, or holiday gifts. ✨
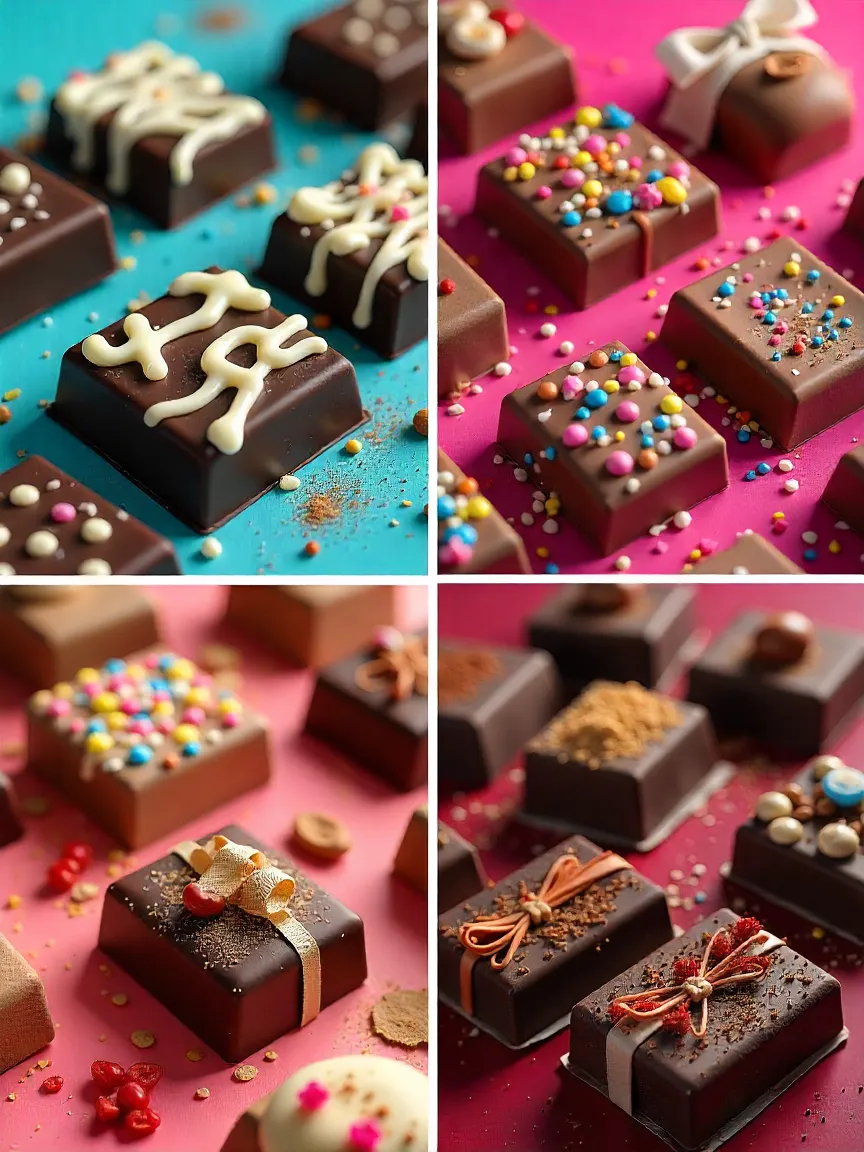
- Crunchy Toppings: Incorporate nuts like almonds, hazelnuts, pistachios, or walnuts. Add seeds, granola, or crispy rice for extra texture. 🥜
- Fruity Flavors: Dried fruits, such as cranberries, cherries, blueberries, or freeze-dried strawberries, add both color and a tangy contrast to the sweet chocolate. 🍓🍒
- Flavor Enhancements: Sprinkle sea salt, spices like cinnamon or cardamom, or even chili flakes to create bold, surprising combinations. 🌶️
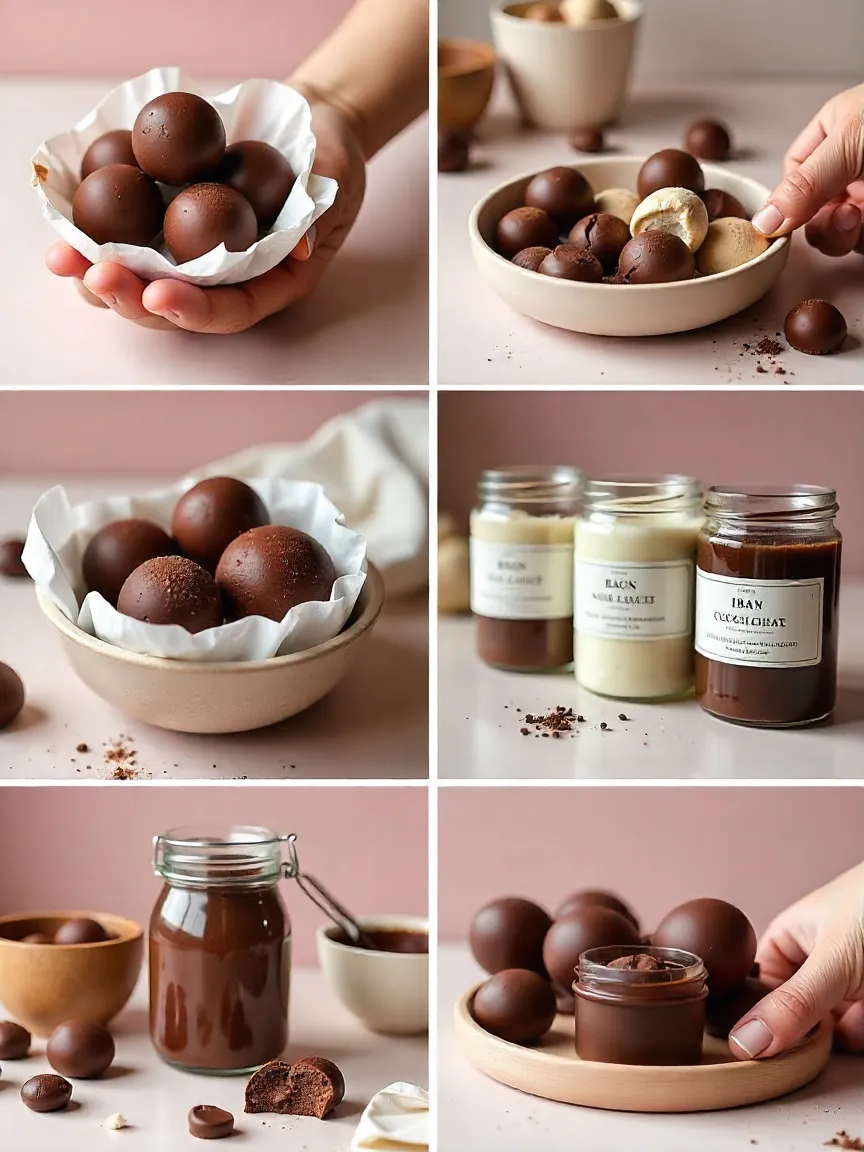
- Gifting Presentation: Presentation is key! Wrap your chocolate bars in parchment or wax paper, tie them with a ribbon, or place them in kraft boxes. Add handwritten tags or stickers for a personal touch. Suddenly, your homemade creations look like boutique chocolates straight from a chocolatier’s shop. 🎁
Decorated chocolate is perfect not only for gifting but also for entertaining guests. Imagine a platter of handcrafted chocolates at a dinner party — it instantly impresses and invites conversation.
🧊 Storage Tips
Chocolate is surprisingly sensitive to temperature, humidity, and odors. Proper storage ensures it stays fresh, shiny, and delicious:
- Ideal Temperature: Store chocolate in a cool, dry place around 60–70°F (15–21°C). Avoid heat, direct sunlight, and damp areas. 🌡️
- Avoid Odors: Chocolate absorbs surrounding smells easily. Keep it away from onions, garlic, spices, or strong-smelling foods. 👃
- Refrigeration: Only refrigerate if absolutely necessary. Wrap chocolate tightly in foil, parchment, or an airtight container to prevent condensation. ❄️
- Freezing: For long-term storage, chocolate can be frozen. Wrap it securely and thaw slowly at room temperature before opening. This preserves flavor and texture. 🧊
- Labeling & Tracking: Write the date of production on containers so you know when each batch was made. This is especially useful if you experiment with multiple flavors.
- Shelf Life: Homemade chocolate rarely lasts long — it’s usually devoured quickly! 😋
Proper storage preserves not just taste, but also the glossy, professional-looking finish that makes homemade chocolate so satisfying.
🌟 Final Reflections
Making chocolate at home is more than following a recipe — it’s a creative, mindful, and joyful process. Every step has meaning, from measuring ingredients to tempering chocolate, to adding your favorite flavors:
- Your Unique Flavors: You choose the sweetness, the bitterness, the spices, the mix-ins — everything can be tailored to your taste.
- Artistic Shapes & Textures: Pour chocolate into molds, create rustic bark, swirl different types together, or decorate with nuts and dried fruit. Every batch is one-of-a-kind.
- Care & Intention: The patience you invest, the attention to detail, and the love in every movement transform chocolate from mere food into a personal creation. ❤️
Unlike store-bought chocolate, which is uniform and predictable, homemade chocolate carries your personality. It tells a story: rich and dark, creamy and sweet, fruity, nutty, or even spicy. It reflects your choices, your creativity, and your care.
Next time you crave chocolate, skip the supermarket aisle. Light a candle, play your favorite music, and let your kitchen become a tiny chocolate workshop. Melt cocoa butter slowly, stir cocoa and sugar gently, taste, adjust, and savor each moment. 🍫💫
Because the truth is simple: chocolate made with love is always more than just a treat — it’s an experience.