🍫 Some snacks don’t just pass through your life — they settle in and make themselves at home in your memory. You might forget what you had for breakfast last week, but certain flavors? They stay. For me, KitKats have always been that snack.
There’s something so perfectly balanced about them: the clean “snap” when you break a finger, the gentle crunch of the wafer that follows, and the silky chocolate that seems to melt at exactly the right speed — not too fast, not too slow. It’s like they were designed to give you five seconds of pure, uncomplicated happiness.
I can still picture the very first one I had as a kid. It wasn’t just candy. It was a moment. You didn’t simply open the wrapper — you peeled it back like it was a present. You didn’t just bite into it — you broke it apart, shared it with someone (or kept it all to yourself with zero guilt 😉), and somehow it felt like you were taking part in a little ritual. A small, sweet ceremony in the middle of an ordinary day.
Years later, life had gotten busier, messier, more complicated — as it tends to. But one rainy Sunday afternoon, I found myself in the kitchen, staring at a bar of chocolate I’d bought on a whim. The sound of raindrops against the window made everything feel slower, calmer. And then, out of nowhere, the thought came: “What if I tried to make a KitKat?”
At first, it felt a little ridiculous. Could I really recreate something that had been perfected in a factory for decades? Spoiler alert: yes. Yes, you can. And here’s the dangerous part — once you’ve had a homemade KitKat, going back to store-bought feels… well, almost impossible.
📜 A bite of history before the first bite
Like many great things, KitKats didn’t arrive in the world fully formed. Back in 1935, the British confectionery company Rowntree’s introduced a chocolate-covered wafer bar called Chocolate Crisp. Let’s be honest — the name wasn’t exactly poetry. Two years later, they gave it a much snappier name: KitKat. And with that, the legend began.
The candy has lived through some interesting times. During World War II, milk shortages forced a switch to dark chocolate — a temporary necessity that accidentally opened the door to future flavor variations. That wartime version tasted different, of course, but it still carried that same spirit of simple pleasure in every bite.
Fast-forward to today, and KitKats have conquered the globe. They’re sold in more than 100 countries, each with its own twist. Japan, in particular, has taken the concept and sprinted with it, creating over 300 flavors — from matcha green tea to purple sweet potato, from sake to, believe it or not, wasabi. Some are divine, some are… an acquired taste.
Meanwhile, in the UK, they’ve kept the iconic slogan: “Have a break, have a KitKat.” It’s been running since 1958, making it one of the longest-lived marketing lines in history — and honestly, after a bite or two, you understand why it never needed changing.
🛒 What you’ll need (and why it matters)
When most people imagine making chocolate bars at home, their minds instantly jump to shiny machines, conveyor belts, and a lab coat or two — basically the whole Willy Wonka fantasy. But here’s the truth: you don’t need any of that. You just need a few simple ingredients, some patience, and the willingness to lick a spoon or two along the way.
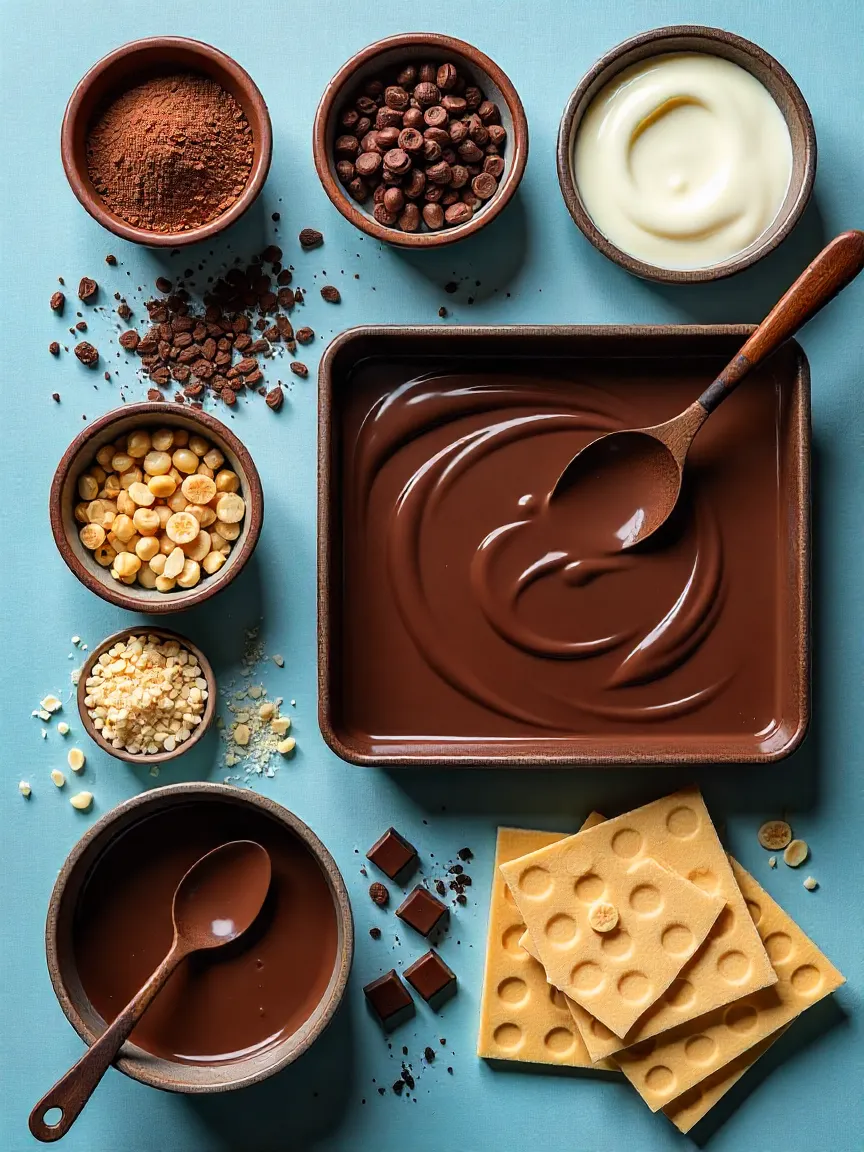
Chocolate — the real star of the show 🍫
Let’s get one thing straight: your KitKat will only be as good as the chocolate you use. If you wouldn’t nibble on it straight out of the wrapper, don’t expect it to magically taste better once it’s on a wafer.
- Milk chocolate for that nostalgic, creamy sweetness that feels like a warm hug.
- Dark chocolate if you want to lean into something richer, deeper, maybe even a little bit moody.
- White chocolate for a sweet, buttery twist — and the perfect base if you want to add colors or matcha powder for drama.
💡 Pro tip: stir in a teaspoon of coconut oil while melting. It doesn’t just make the chocolate smoother; it gives you that glossy, professional-looking snap when you break the bar.
Wafers — the backbone of the crunch
This is where the magic of texture happens. You’ve got options:
- Grab ready-made wafer sheets from a baking shop (no shame — they work beautifully).
- Or, if you’re feeling bold and patient, make your own. A simple batter, a wafer iron, and a little trial and error will get you there. The reward? Wafers that taste exactly the way you want them to.
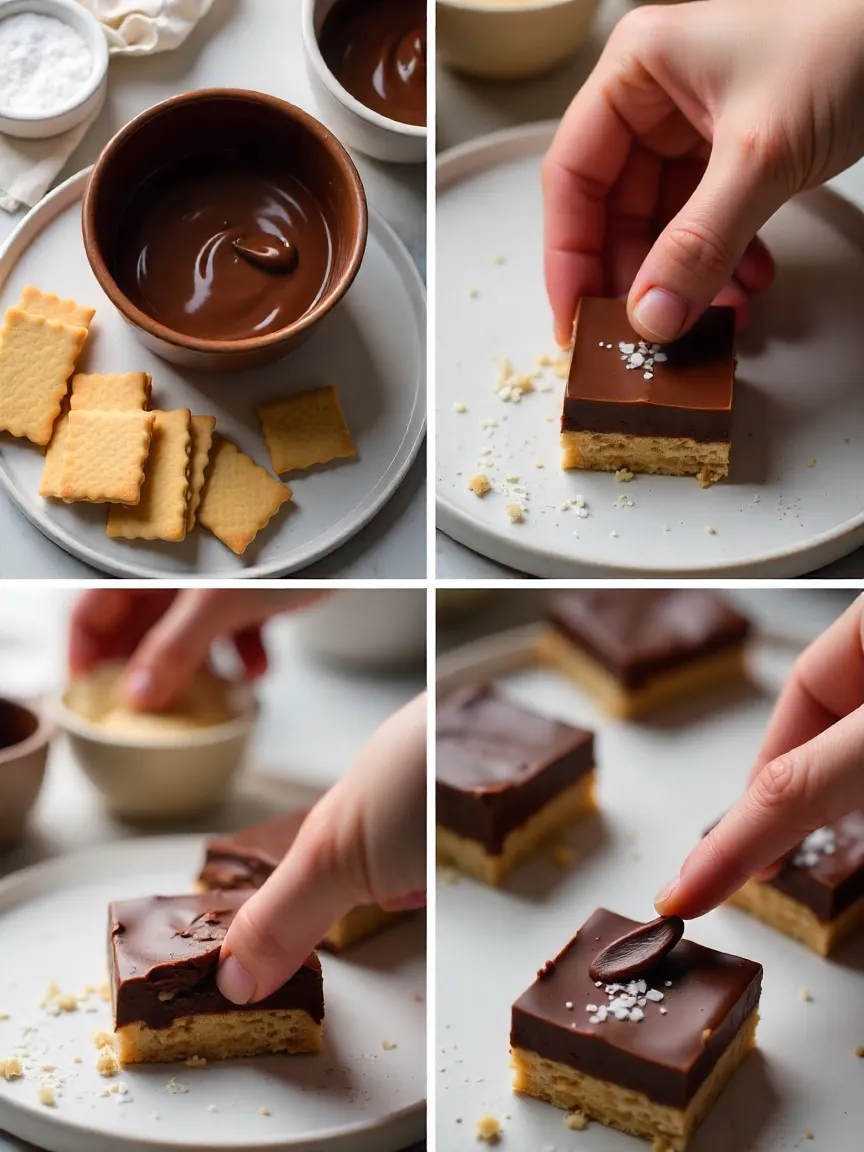
Optional extras — your personality on display
This is where you can go beyond “classic” and make the KitKat yours:
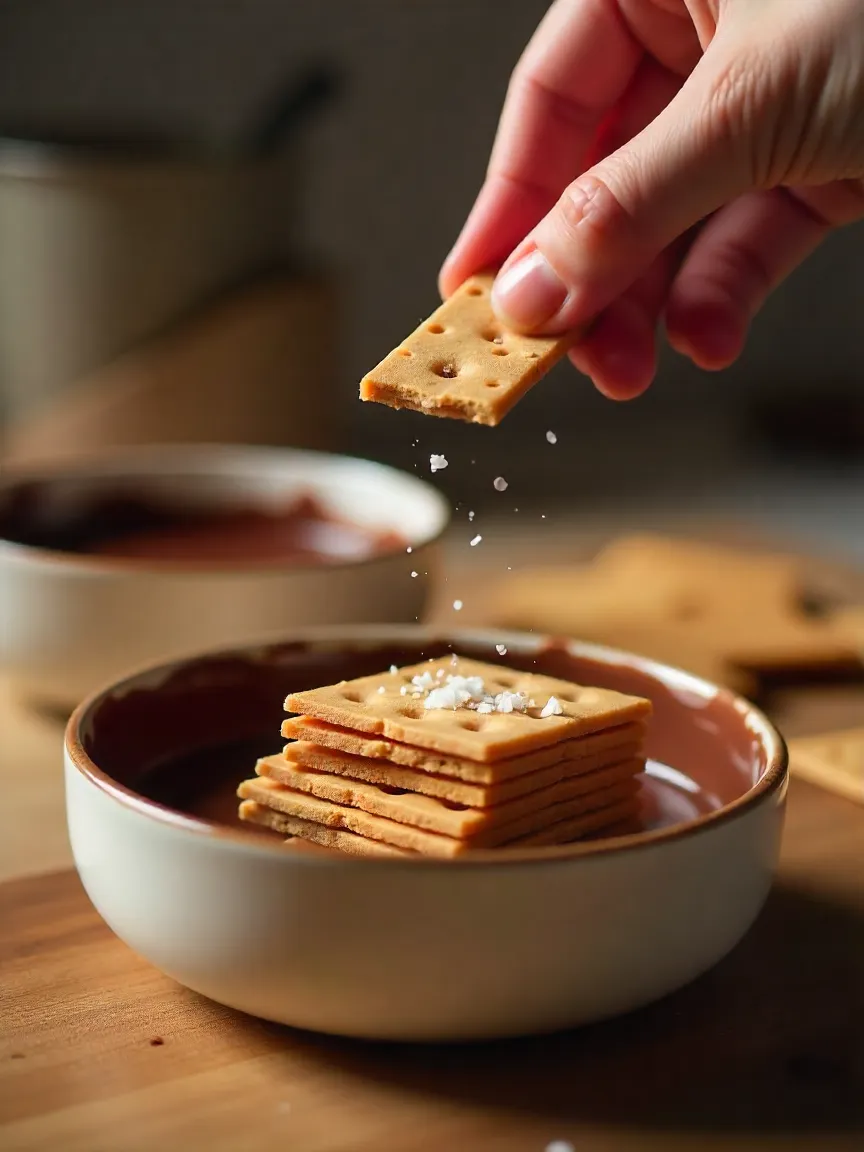
- Flaky sea salt for that sweet–salty balance.
- Crushed nuts for extra crunch.
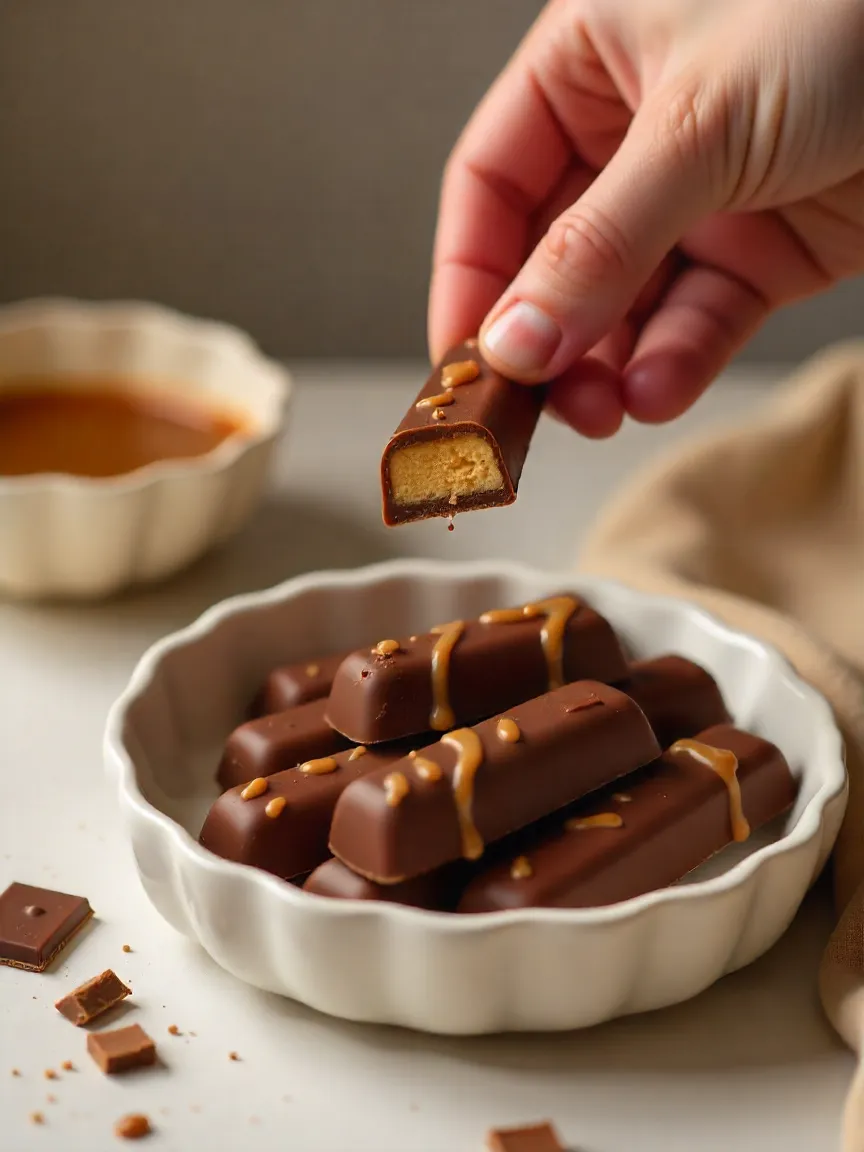
- Caramel swirls for a gooey surprise.
- Or hey, go wild: chili flakes, edible glitter, freeze-dried fruit — nothing’s off-limits.
🥣 Step-by-step: my kitkat-making ritual
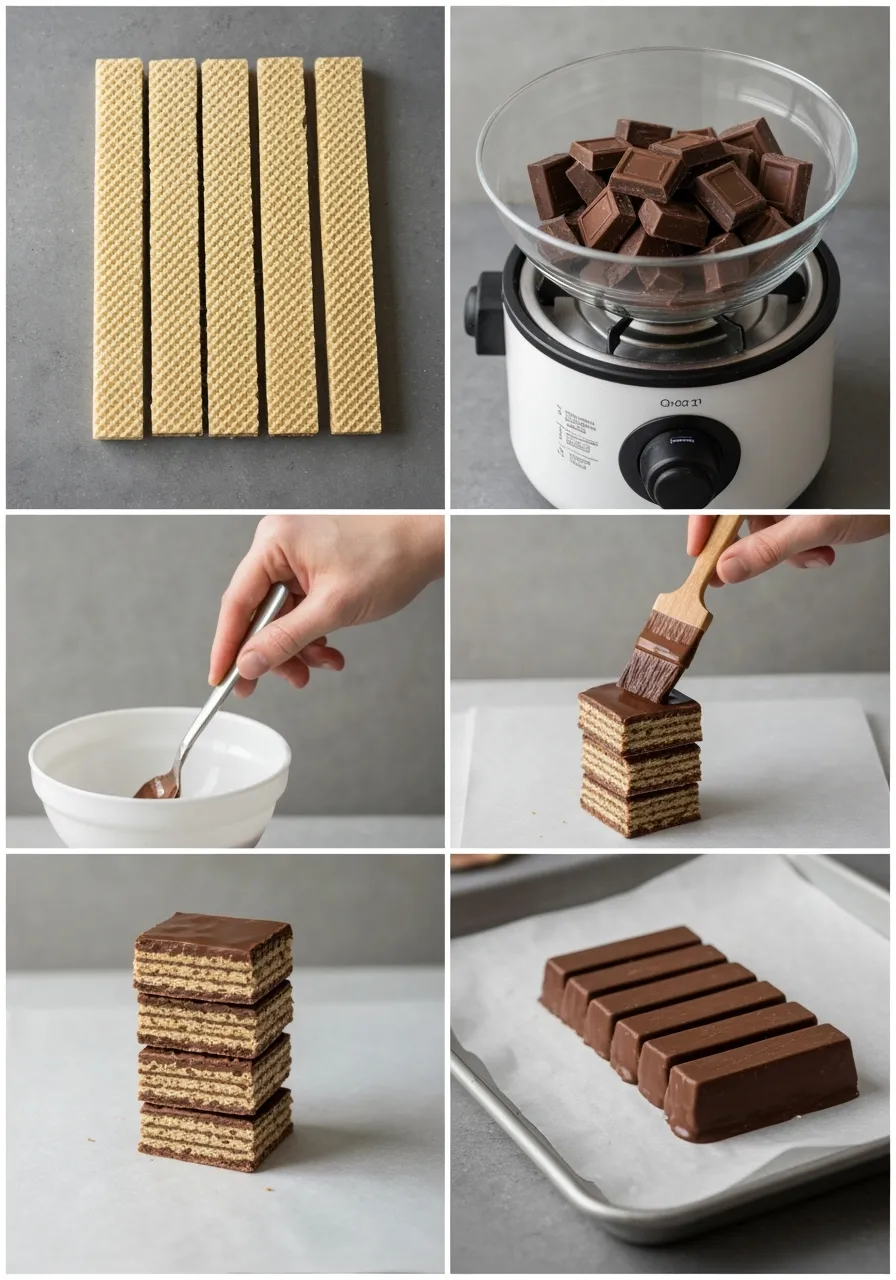
1️⃣ Prep the wafers
Think of this as setting the stage. If you bought your wafers, trim them into neat rectangles — about 2 cm by 8 cm feels just right in the hand. If you made them yourself, give them time to cool completely. Warm wafers + chocolate = soggy disaster, and we don’t want that.
2️⃣ Melt the chocolate
Break the chocolate into even chunks and drop them into a heatproof bowl. You’ve got two safe melting methods:
- Over a double boiler, letting the steam gently do its job.
- In the microwave, but only in short 20–30 second bursts, stirring each time.
The key word here? Patience. Burnt chocolate isn’t just a mistake — it’s a tragedy.
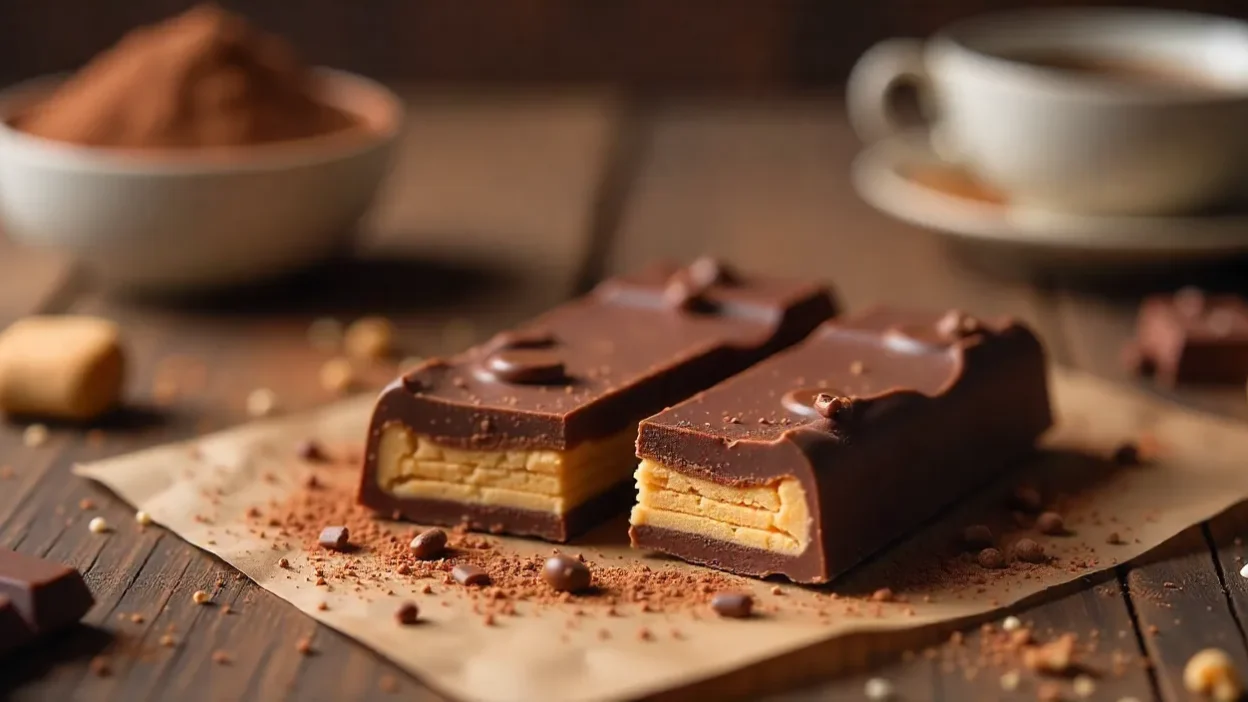
3️⃣ Stack and spread
Lay down your first wafer and brush it with a thin, even coat of melted chocolate. Add a second wafer on top, then repeat until you’ve got a tower of three or four layers. Press them gently so they stick together, but not so hard that you crush the delicate layers.
4️⃣ Coat completely
This is where it starts looking like a real KitKat. Either dip your stack right into the bowl of melted chocolate or spoon the chocolate over until the whole thing is covered. Give it a little tap on the counter to shake out any air bubbles hiding inside.
5️⃣ Chill and wait (the hardest part)
Place your coated bars on a parchment-lined tray and slide them into the fridge. 30–40 minutes should be enough for the chocolate to set. And yes, you’ll want to “just check” after 10 minutes — but trust me, it’s worth letting them firm up fully.
✨ Make it your own
Making KitKats at home might sound simple — and it is — but a few small details can make the difference between “wow, did I really make this?” and “oh… well, at least I tried.” Here’s what experience (and a few chocolate mishaps) taught me:
- Temperature is everything. Chocolate is a bit like a diva — it refuses to perform if the conditions aren’t just right. Melt it too fast, it seizes. Cool it too quickly, it blooms and loses that tempting shine. Treat it gently, with low heat and a bit of patience, and it will reward you with a glossy, smooth finish.
- Keep the wafers crisp. Wafers are all about that snap. Leave them sitting out on a humid day and they’ll go soft before you even start. I learned to keep mine sealed until the very last minute, like a secret weapon waiting to be deployed.
- Don’t skip the salt. It’s tempting to think, “Eh, it’s dessert — I don’t need salt.” But that tiny pinch works magic, making the chocolate taste deeper, richer, and more, well… chocolatey.
💡 A few lessons i learned along the way
- Temperature is everything. Chocolate hates sudden changes — melt it gently, cool it slowly.
- Keep wafers crisp. If they sit out too long in humid air, they lose their snap.
- Don’t skip the salt. Even a tiny pinch makes the chocolate taste more… chocolatey.
📦 Serving & storing
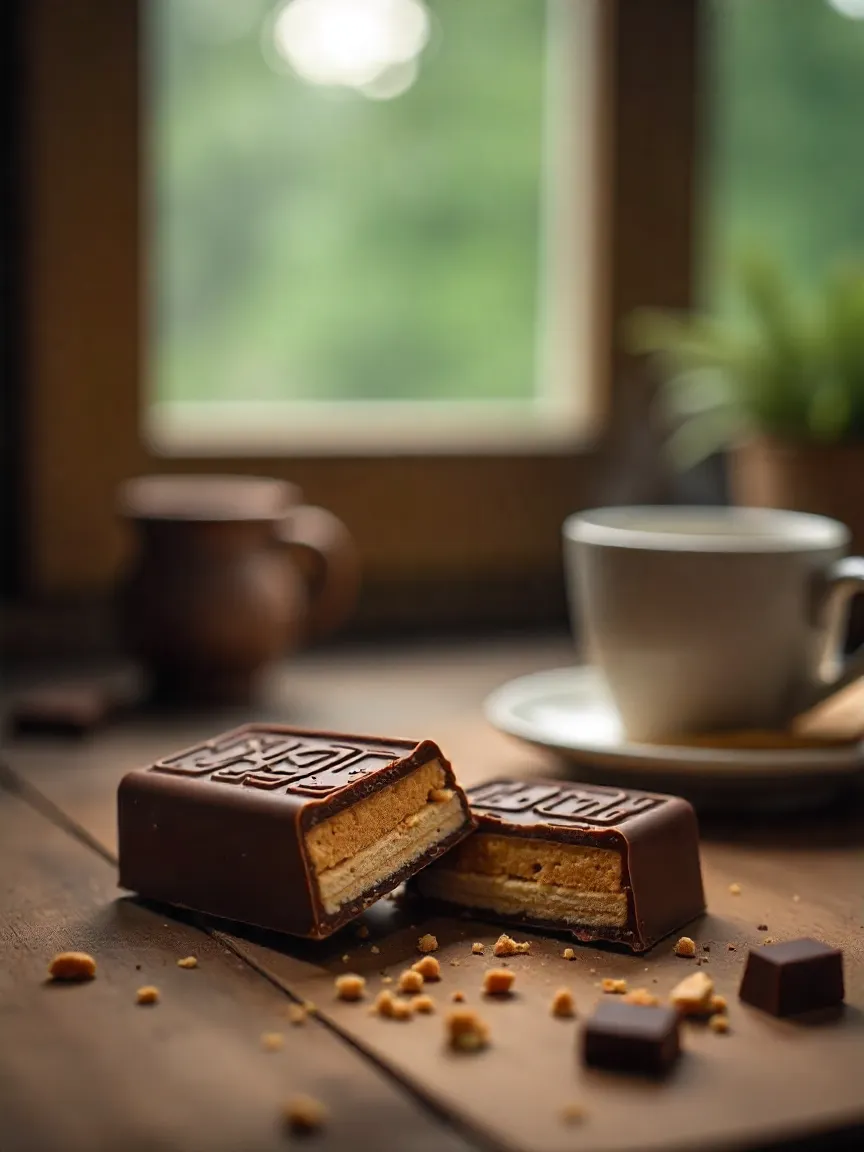
Once the bars are cooled and set, it’s time for the best part — turning them into that iconic “finger” shape. Grab a sharp knife (and maybe warm the blade slightly for cleaner cuts) and slice each bar into neat rectangles.
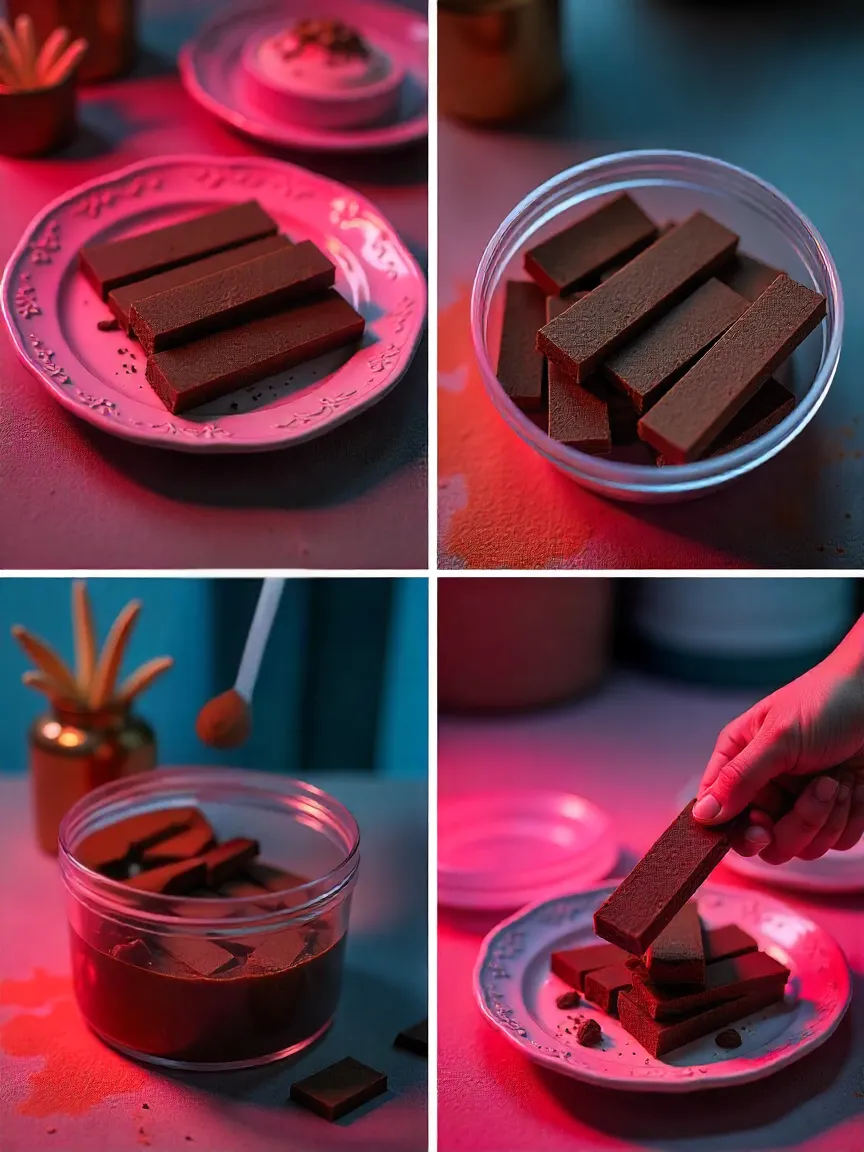
Store them in an airtight container somewhere cool and dry. They’ll keep for about a week… in theory. In reality? Mine rarely make it past day two. I tell myself I’ll save them for friends, but somehow the “sampling” stage gets out of hand.
❤️ Why i’m never going back to store-bought
The first time I bit into one of my own KitKats, it felt almost unreal. That same crisp wafer crunch, the same smooth chocolate… but there was something else. A kind of extra aliveness to the flavor. Maybe it was the fresher chocolate. Maybe it was the fact that I could add just a hint more salt, or a drizzle of caramel, or choose exactly the chocolate I love most.
Or maybe — and this is the truth I’ve landed on — it’s because food you make yourself just hits differently. You’ve touched every part of the process. You’ve poured in time, attention, and a little bit of love.
Now, when the craving strikes, I don’t reach for my car keys. I reach for my mixing bowl. And every time I snap that first piece in half, I’m reminded of something simple but sweet: some of the best things in life are the ones you create with your own hands. 🍫✨


Oh my gosh, YES! Couldn’t have said it better myself! That perfectly describes the KitKat experience. That “snap” is almost ASMR-worthy, and you’re totally right about the melt – pure bliss. I’m suddenly craving one! Thanks for articulating something I’ve always felt but never been able to put into words. ❤️🍫