Contents
- 🧁 What makes vanilla beignets so special
- 🛒 Ingredients you probably already have
- 🥄 How I make my beignets (step-by-step with real-world notes)
- 🧠 Extra tips I wish I knew earlier
- 🍓 Toppings and serving ideas that take it to the next level
- 🧊 How to store (and actually enjoy) leftovers
- 🧡 Final thoughts: Warm, sweet, and totally worth it
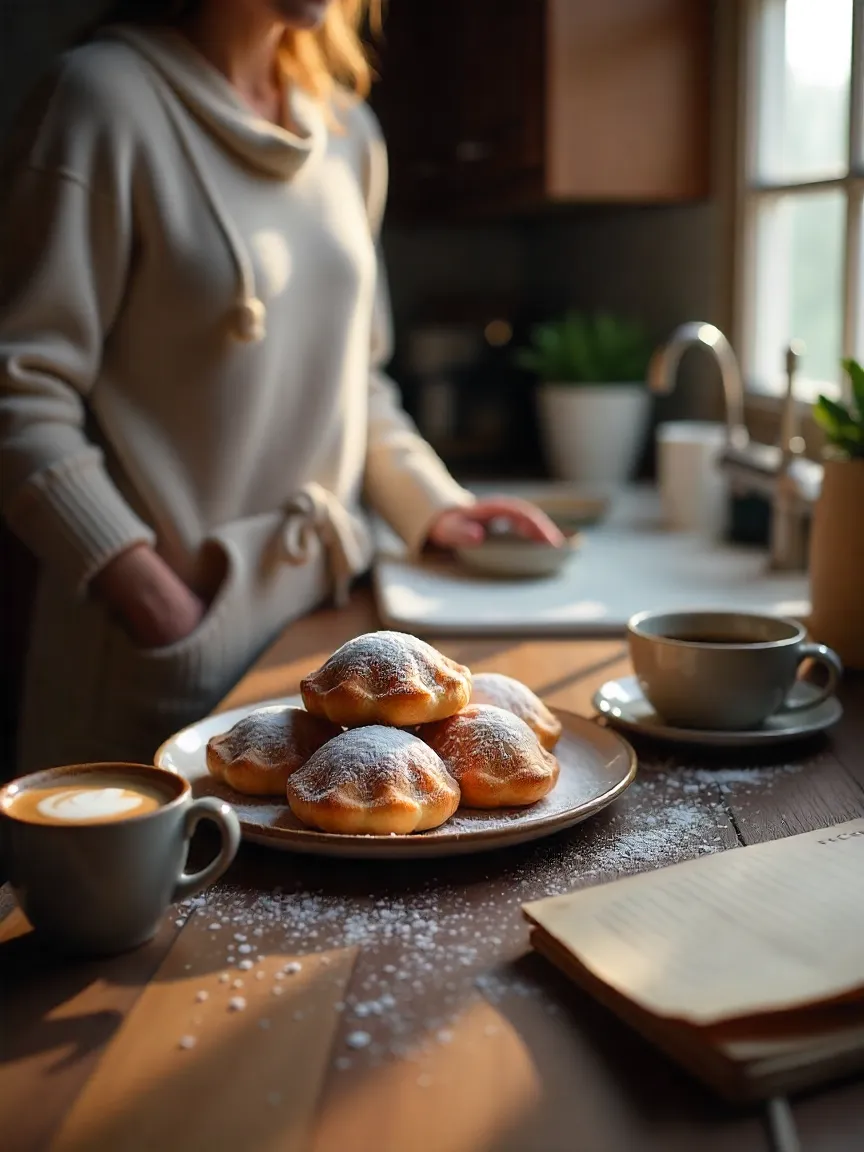
There’s something about slow, cozy mornings that makes me want to bake. Not the fussy kind of baking that requires a dozen mixing bowls and a science degree—but the kind where you roll up your sleeves, turn on your favorite playlist, and let the scent of warm vanilla fill the room.
That’s how I found myself chasing the idea of vanilla beignets. I’d had them once years ago in a hidden café in southern France. I still remember sitting by the window, sipping espresso while soft, powdered-sugar-covered pastries melted in my mouth. Since then, I’ve tried to recreate that memory more times than I can count. And finally… I’ve cracked it. 🎉
These vanilla beignets are soft inside, just slightly crisp on the outside, with a whisper of vanilla that makes them feel extra comforting. They’re easy enough for a beginner but feel like something you’d get from a fancy pastry shop. So here’s my full guide—no fancy tools, no stress, just honest homemade magic.
🧁 What makes vanilla beignets so special
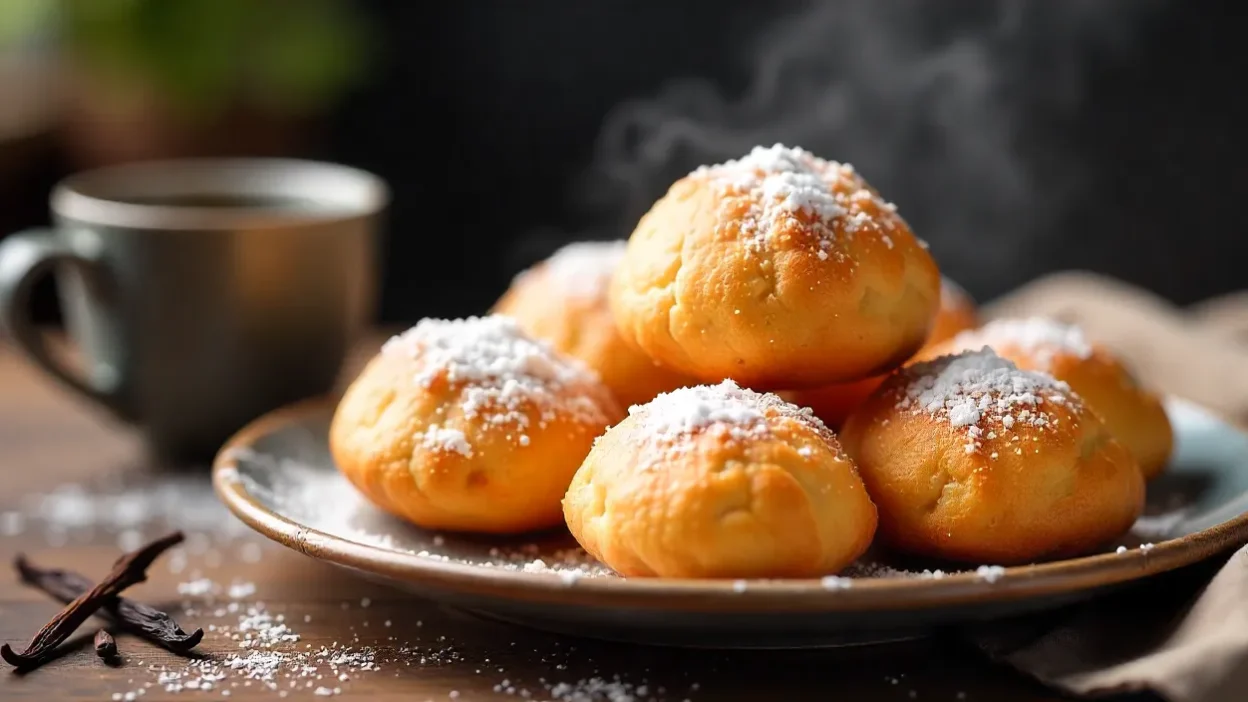
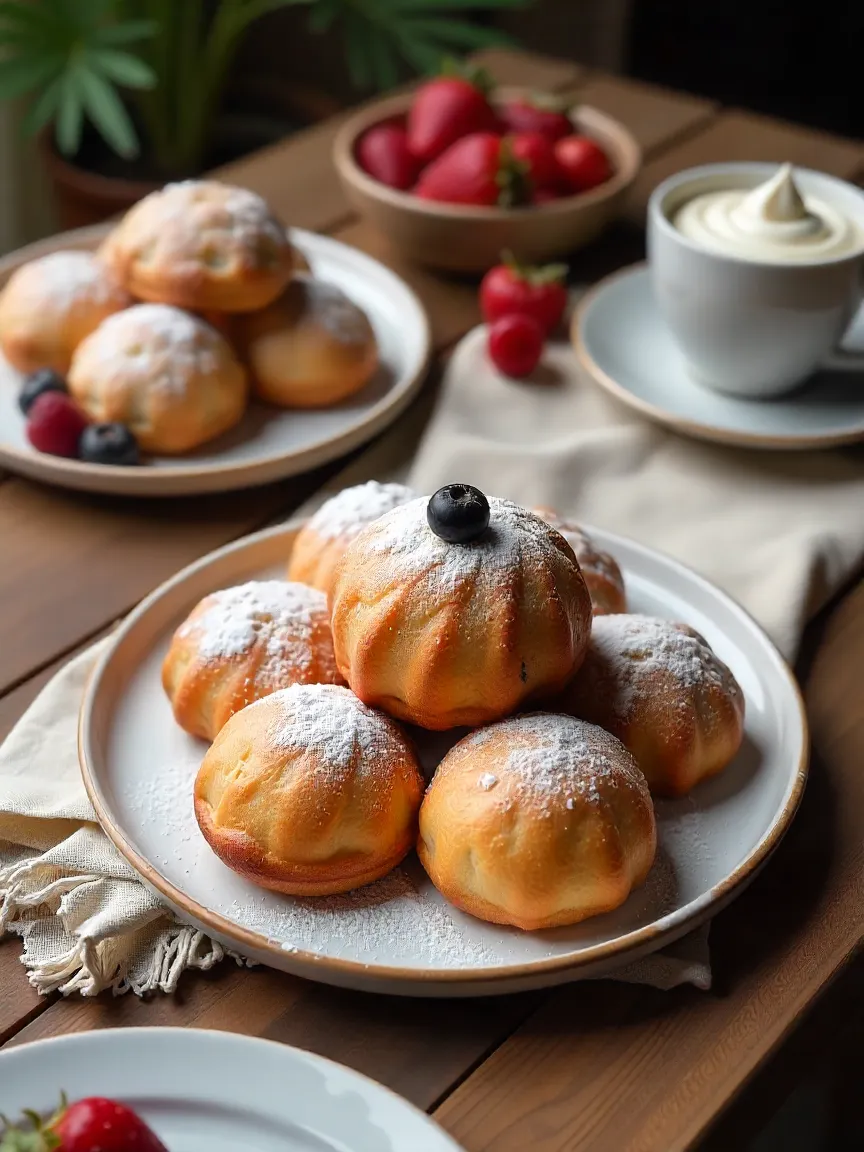
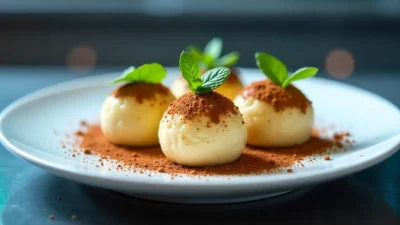
Imagine this: golden pillows of dough, still warm, dusted with snowy powdered sugar, with the faintest hint of vanilla rising in the steam. That’s what we’re going for. ✨
Beignets are often called the “French version of doughnuts,” but honestly, they deserve better than that label. Unlike their American cousins, they’re not cloyingly sweet or heavy. They’re lighter, airier, and more delicate—and in this version, vanilla steps in as the quiet hero that ties everything together.
Plus, there’s something deeply satisfying about making dough, watching it rise, shaping it with your hands, and then seeing it puff up in oil like a miracle. If you’ve never fried your own pastry before—don’t worry. I’ll walk you through every step.
🛒 Ingredients you probably already have
This recipe doesn’t require anything fancy, but each ingredient plays an important role. Here’s the full lineup I use every time:
- 🥛 1/2 cup warm whole milk (should feel like a warm bath to the touch—around 110°F or 43°C)
- 🍚 2 tablespoons white sugar (just enough to feed the yeast and lightly sweeten the dough)
- 🍞 2 cups all-purpose flour (sifted, so it’s light and lump-free)
- 🥚 1 large egg (room temp is best—it helps everything bind)
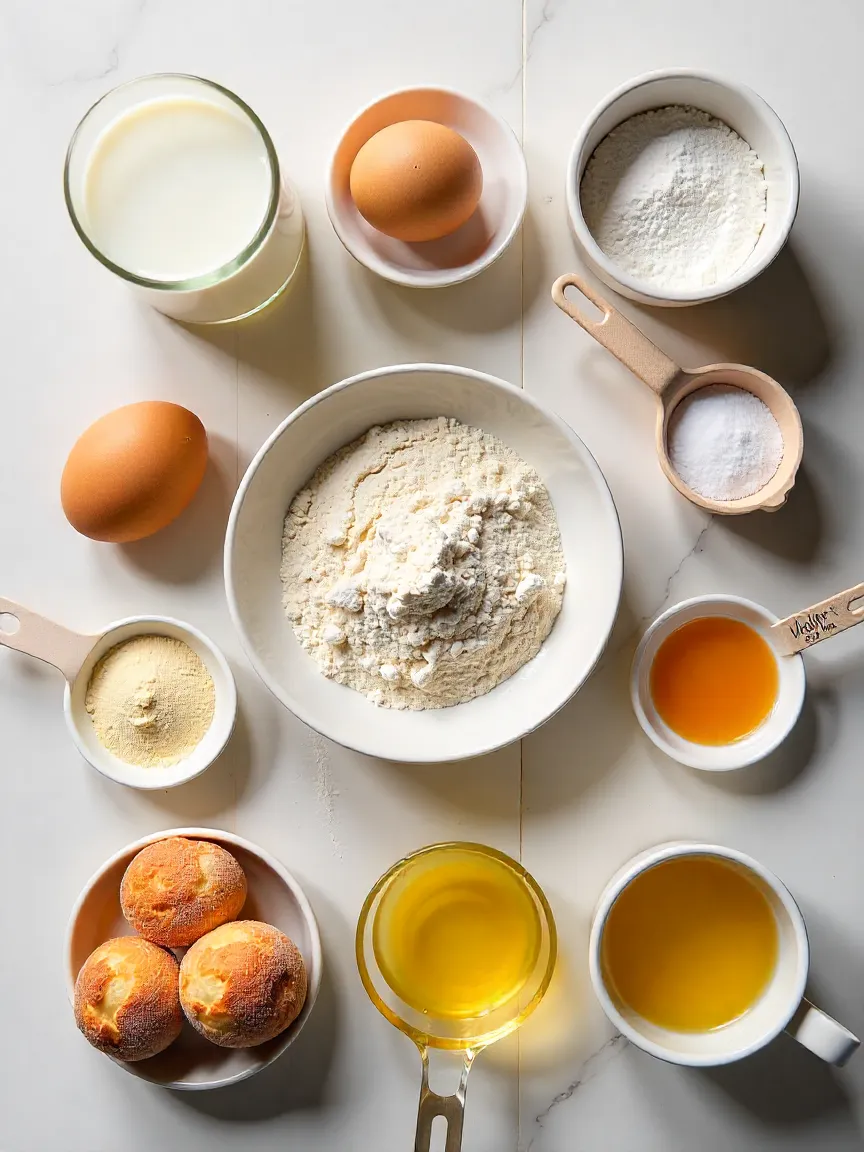
- 🧂 1/4 teaspoon sea salt (don’t skip this, it balances everything!)
- 🌿 1 teaspoon active dry yeast
- 🍦 1–1.5 teaspoons pure vanilla extract (or vanilla bean paste if you want extra flavor + those lovely black specks)
- 🛢️ Neutral oil for frying (I use sunflower or canola oil—anything flavorless works great)
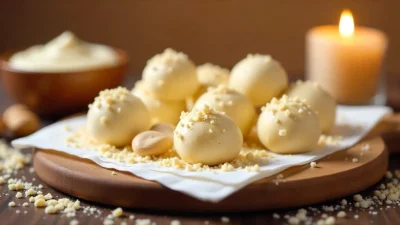
- ❄️ Powdered sugar (for dusting—it’s basically the finishing crown)
✨ Optional, but amazing: A touch of melted butter in the dough makes it richer and even more tender.
🥄 How I make my beignets (step-by-step with real-world notes)
1. Waking up the yeast 🌱
First things first: the yeast needs to “wake up.” I mix warm milk with sugar and sprinkle in the yeast, giving it a gentle stir. Then I leave it for 5–10 minutes. If it doesn’t bubble up into a frothy foam, your yeast may be expired—start again with a fresh packet.
2. Making the dough 🧺
In a big bowl, I whisk together flour and salt. I pour in the foamy yeast mixture, crack in the egg, and stir in the vanilla extract. Then I mix everything together with a spoon (or dough hook if I’m feeling fancy) until it starts pulling away from the sides of the bowl. It’ll be sticky—that’s a good sign.
3. Kneading and rising ⏳
I knead the dough on a floured surface for about 5–6 minutes until it’s smooth and elastic, but still a bit tacky. Then I pop it into a greased bowl, cover with a clean towel, and let it rise in a warm spot. It usually doubles in size in 1.5 hours.
While it’s rising, I clean the kitchen, put on a cozy playlist, or prep my toppings. (Sometimes all three!)
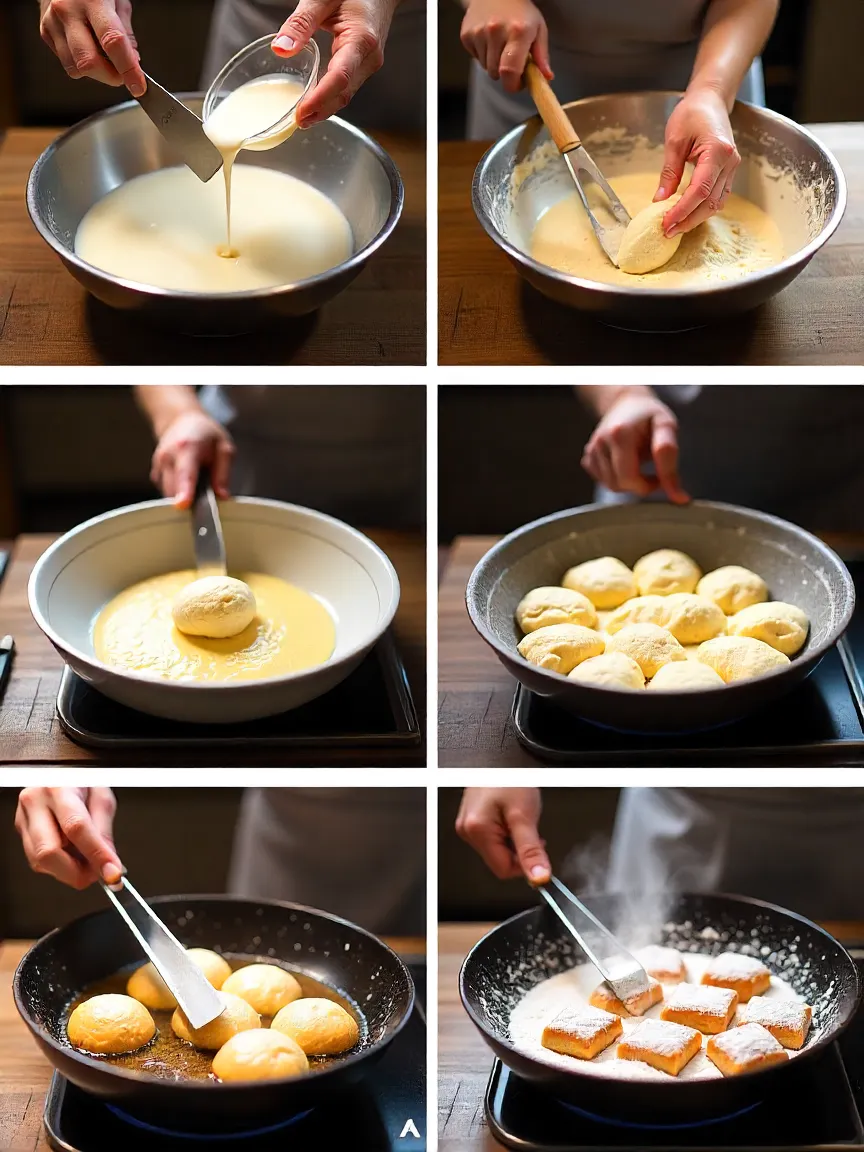
4. Shaping the dough ✂️
Once risen, I turn out the dough and gently press it flat. Then I roll it out to around 1/4-inch thickness. Using a knife or pizza cutter, I slice it into roughly even squares. No need to be too precise—rustic = charming. 🍃
5. Frying time 🔥
I heat oil in a deep pot to 350°F (175°C). A thermometer really helps here—too hot, and the outsides burn before the centers cook; too cold, and they turn greasy. I fry 3–4 pieces at a time for about 2–3 minutes per side until golden brown and puffed up like little clouds.
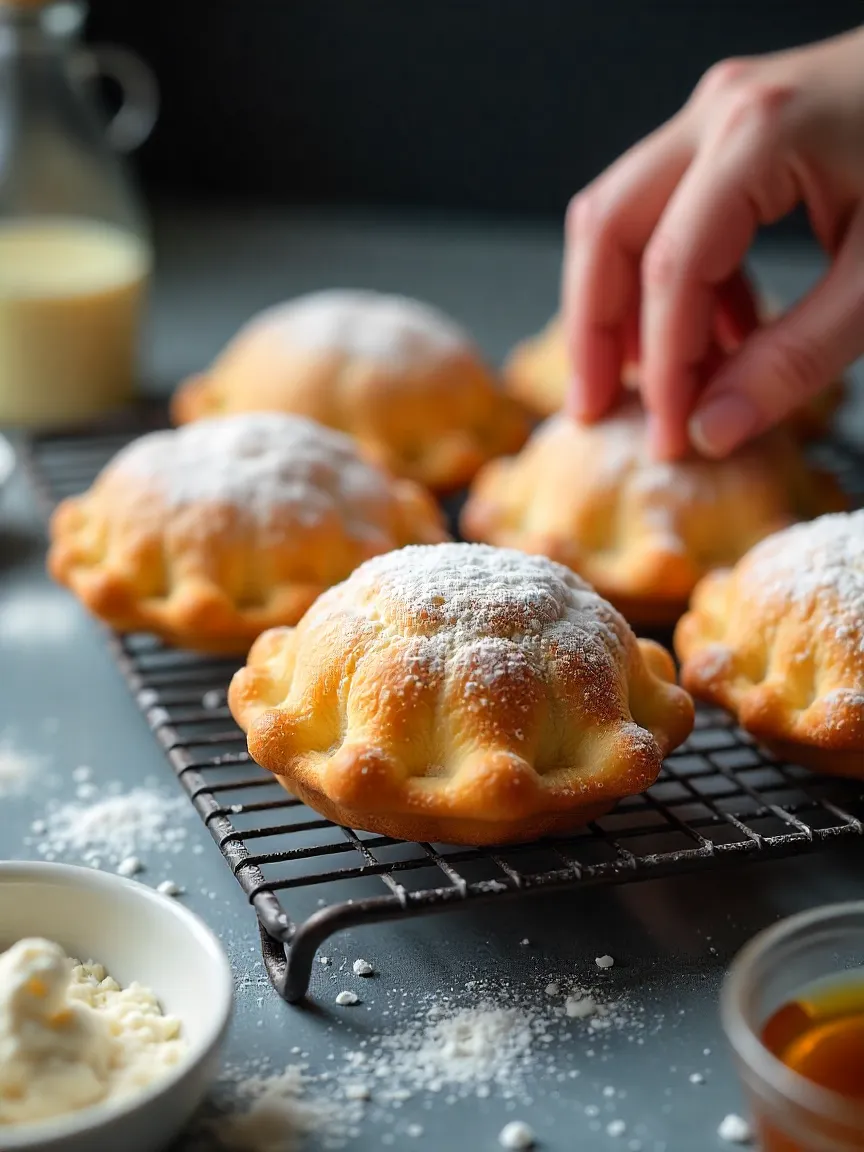
6. The best part: Powdered sugar rain ❄️
Once they’re out of the oil and draining on paper towels, I go to town with the powdered sugar. I like to sift it on with a mesh strainer for an even snow-like coating. And yes, I always taste one while it’s still warm. Quality control, right?
🧠 Extra tips I wish I knew earlier
- Let the dough rise fully. If you rush it, you’ll miss that soft, fluffy texture.
- Use real vanilla. Not that fake stuff. It’s worth investing in pure extract or paste.
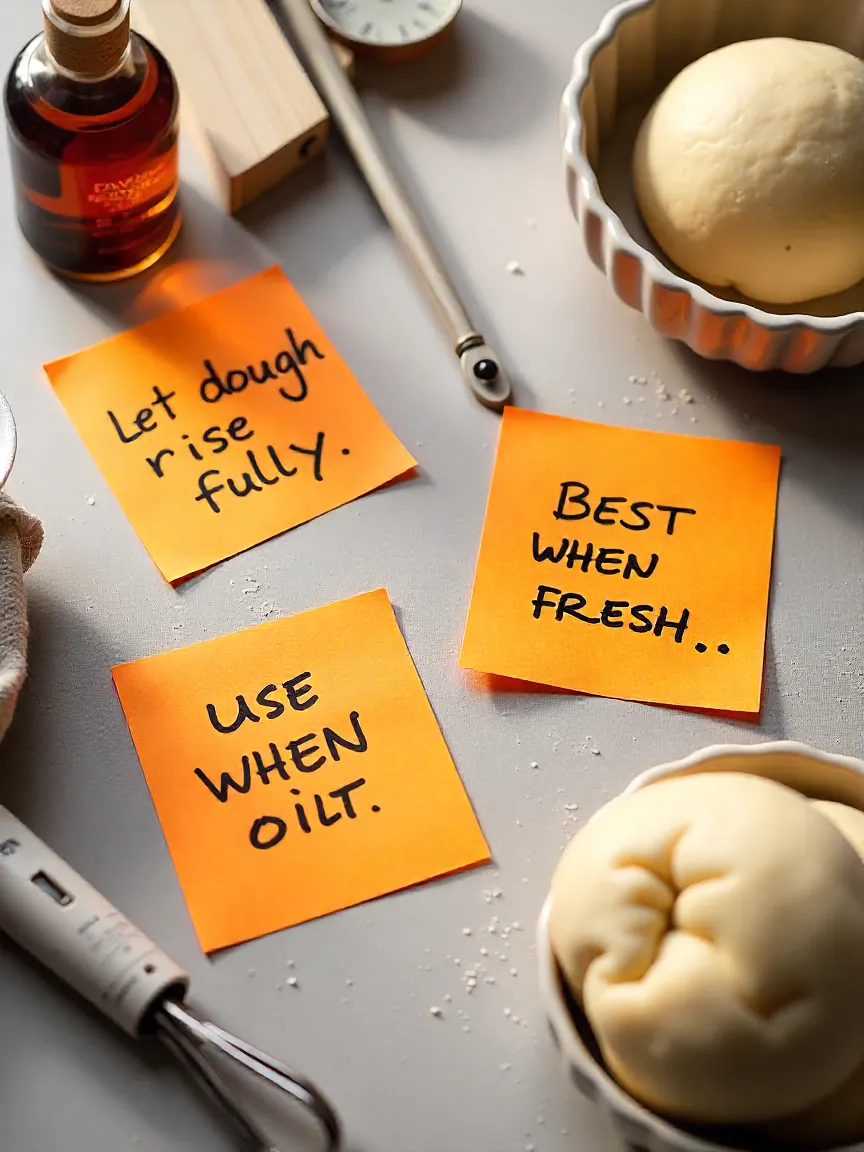
- Don’t crowd the oil. The more you fry at once, the harder it is to keep the temperature right.
- They don’t keep forever. These are best fresh. (But let’s be real, they rarely last that long.)
🍓 Toppings and serving ideas that take it to the next level
Powdered sugar is the classic way to go, but I like to mix it up depending on the mood or who I’m serving:
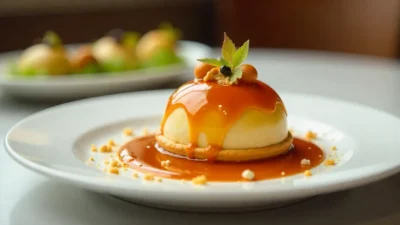
- 🍫 Dark chocolate sauce for dipping
- 🍯 Drizzle of honey or maple syrup
- 🍓 Fresh strawberries or raspberries on the side
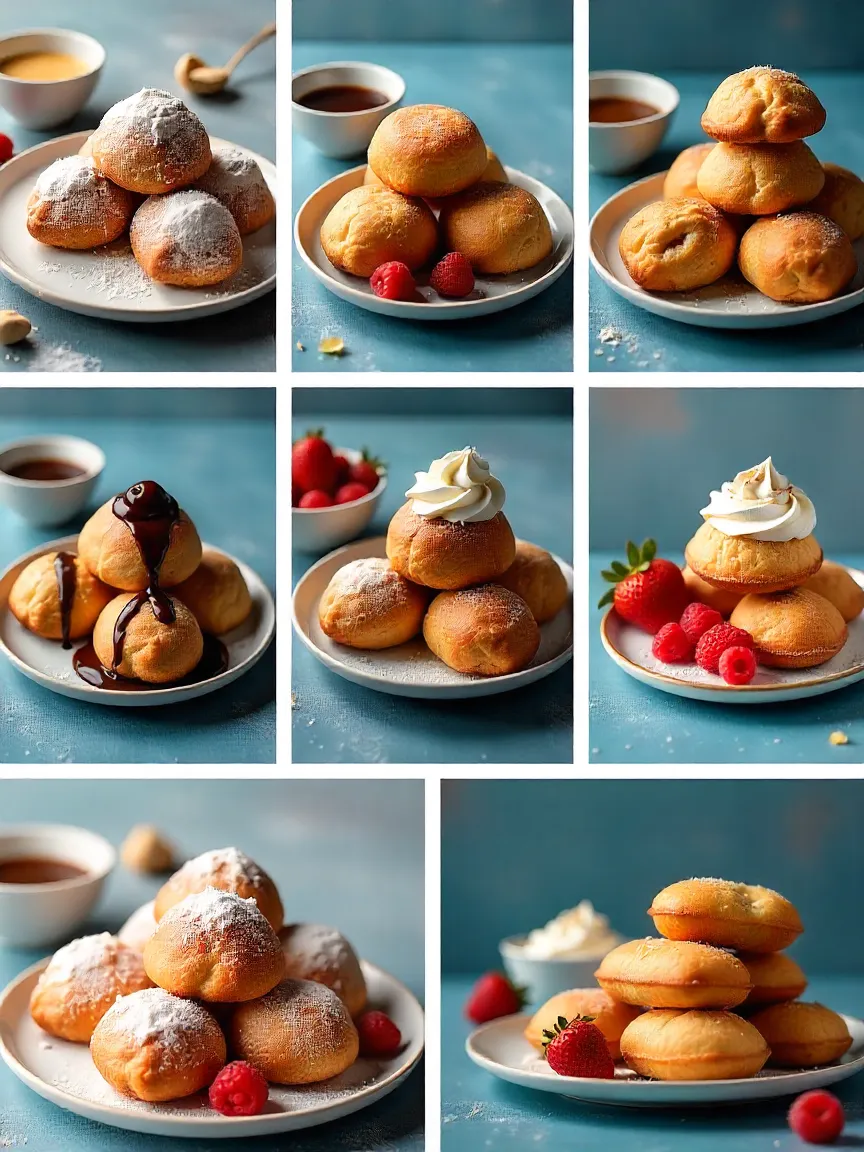
- 🧁 Vanilla whipped cream (because why not?)
- ☕ Strong coffee or chai tea—ideal pairing
They’re also amazing for brunch platters. Stack them high, dust them generously, and watch your guests’ eyes light up.
🧊 How to store (and actually enjoy) leftovers
Beignets are definitely a “best right now” kind of pastry—but if you happen to have leftovers (rare in my house!), here’s what to do:
Let them cool completely before storing.
Keep them in an airtight container at room temp for 1–2 days.
To reheat, use the oven (300°F for 5–7 minutes). Avoid the microwave unless you like them chewy.
Freeze for longer storage: lay them flat on a tray to freeze individually, then store in bags. Reheat straight from frozen in the oven.
🧡 Final thoughts: Warm, sweet, and totally worth it
Honestly, there’s just something joyful about making your own batch of beignets. They’re messy. They’re nostalgic. They’re indulgent in the best way. And every step—from mixing the dough to dusting the final sugar—feels like an act of care.
You don’t need to be a professional baker to make them. All you need is a bit of time, a splash of vanilla, and a kitchen that smells like love. 💛
If you give this recipe a try, I hope it becomes a new favorite in your home too.
Oh, man, slow mornings are *made* for baking! Nothing fancy, just the simple stuff. That warm vanilla smell…it’s pure magic. That’s exactly what happened to me this weekend – a craving for vanilla beignets hit me out of nowhere. Reminded me of this tiny place in the south of France, years ago…the best beignets I’ve ever had. Still trying to perfect my recipe to capture that memory.
I have recently started a web site, the info you provide on this site has helped me greatly. Thank you for all of your time & work. “‘Tis our true policy to steer clear of permanent alliances with any portion of the foreign world.” by George Washington.
Thank you for the good writeup. It in fact was a amusement account it. Look advanced to more added agreeable from you! However, how can we communicate?