Contents
Making no-churn ice cream is deceptively simple—if you start with the right building blocks. The star player here is sweetened condensed milk, which does much more than sweeten the mix. In this guide, you’ll learn how ice crystal formation works, why churned and no-churn methods differ, and how just two ingredients can deliver ice cream that’s creamy, rich, and scoopable—without any special equipment.
Homemade ice cream should be indulgent, smooth, and satisfying. But if you’ve ever ended up with a grainy, icy bowl that tastes more like frozen milk than dessert, you know the heartbreak of getting it wrong.
The problem almost always comes down to ice crystals. Tiny crystals melt seamlessly on your tongue, creating that custardy, velvety texture we expect. Large ones, though, turn your treat into a crunchy mess of ice shards. The good news? You don’t need an expensive machine to control them—you just need to understand the science.
Here, we’ll explore how sweetened condensed milk and its trusty partner team up to prevent iciness, mimic the effects of churning, and give you luscious no-churn ice cream every single time.
Why Ice Crystals Matter ❄️🍦
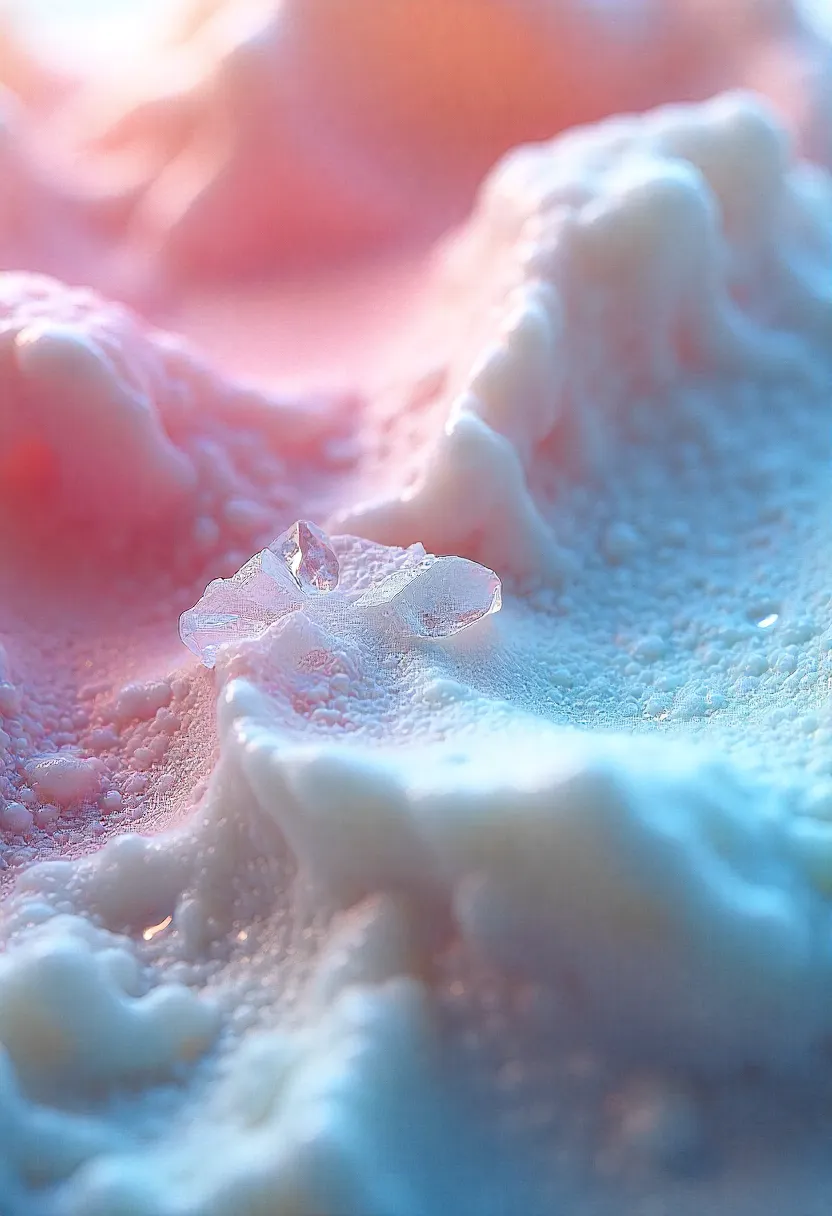
At its core, ice cream is a frozen foam built on millions of tiny ice crystals. They’re essential—they give the dessert its structure and that cool, refreshing sensation. But there’s a catch: those crystals need to be microscopically small to feel smooth and creamy.
Once ice crystals grow too large, they cross the line from silky to sandy. Research shows that most commercial ice creams maintain crystal sizes between 26–67 micrometers (μm). For context, the human tongue starts to detect grittiness at around 50 μm, and once crystals creep past 100 μm, the complaints pour in. That’s when ice cream stops being luscious and starts feeling like a snow cone.
So the real challenge—whether in a factory, ice cream shop, or home kitchen—is keeping those crystals tiny, uniform, and stable. The good news? With the right technique and ingredients, you can do it without fancy equipment.
How to Keep Ice Crystals Small ❄️🔬
There are two main strategies for stopping ice crystals from turning your ice cream into a crunchy mess. The first—and arguably most important—is adding a solute like sugar.
Add a Solute (Like Sugar) 🍬
When dissolved in liquid, sugar molecules cozy up to water molecules, interrupting the way they bond into large ice crystals. The result? Smaller, more dispersed crystals and a creamier texture. Salt works on the same principle, but unless you’re making salted caramel, it’s not exactly what you want in dessert. Sugar, however, is perfect.
To see how it works, compare different dairy products:
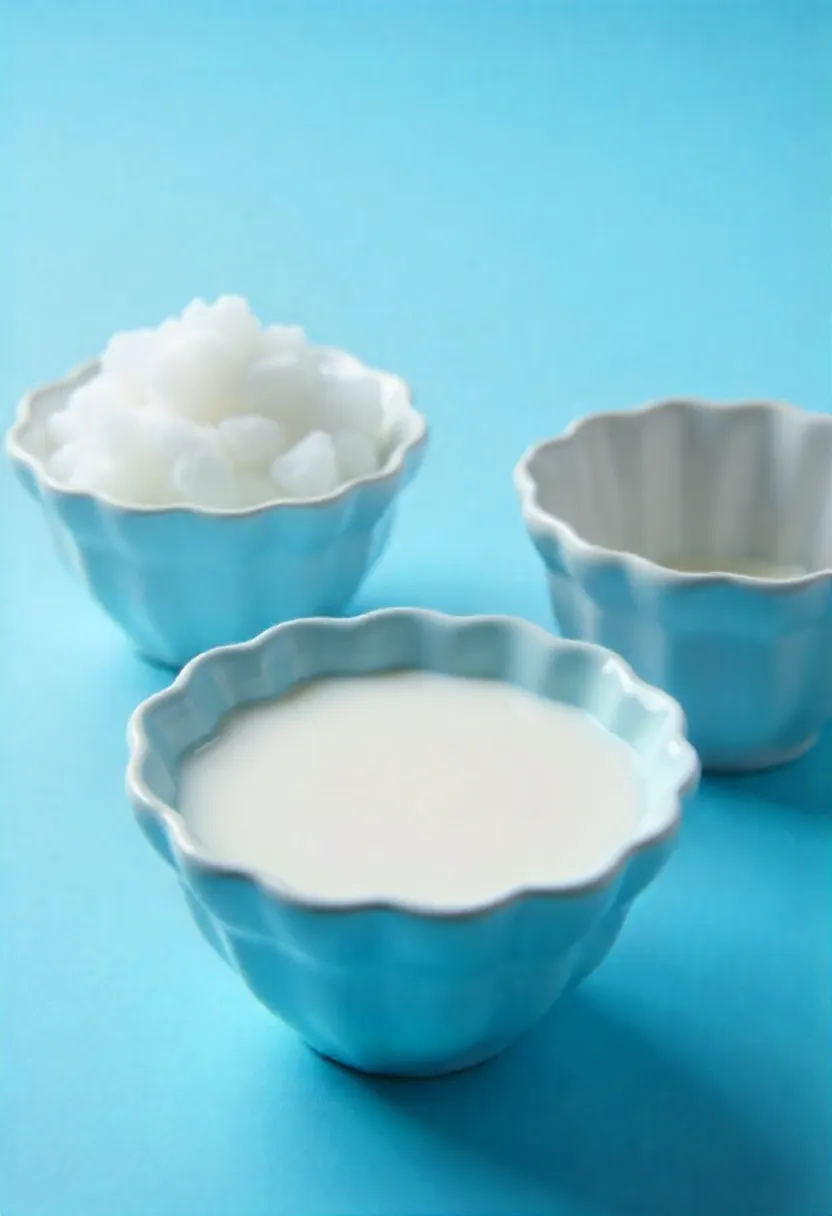
- Milk (87% water) and evaporated milk (≈60% water): Freeze them, and you get solid, icy blocks.
- Sweetened condensed milk (≈25–27% water): Freeze it, and it stays gooey, scoopable, and soft.
That magic comes from condensed milk’s very high sugar content—about 45% sugar by weight. Condensed milk is made by simmering regular milk under reduced pressure until ~60% of its water is removed, then enriching it with sugar. This heavy sugar concentration depresses the freezing point and helps keep the mixture semi-liquid, even in the freezer.
A quick breakdown of sweetened condensed milk’s composition:
- 8–9% fat
- 20–22% nonfat milk solids
- 10–11% lactose (natural milk sugar)
- 25–27% moisture
The only downside? Sugar itself can crystallize. Lactose, in particular, has a tendency to form gritty crystals. To prevent this, manufacturers seed condensed milk with ultra-fine lactose crystals that are too small to be detected by the tongue—ensuring the final product stays smooth.
So while sugar sweetens, it also structures your ice cream, locking in creaminess—as long as those sugar crystals stay microscopic.
Suppress Ostwald Ripening 🌀❄️
When I was a kid, we didn’t own an ice cream machine. My mom had her own hack: she’d freeze custard in ice cube trays, blitz the cubes in a blender, then refreeze. It was time-consuming, but it worked—the result was creamy, scoopable ice cream instead of a frozen brick. Without realizing it, she was fighting a process called Ostwald ripening.
This phenomenon sounds complicated, but the idea is simple:
- Small ice crystals shrink, while big ones grow.
- Water naturally migrates from less stable, tiny crystals to more stable, larger ones.
- Over time, this “feeding” effect leaves you with fewer, larger crystals—and that dreaded gritty texture.
So how do you stop it? There are two main strategies:
- Mechanical disruption: Ice cream makers constantly churn the base, breaking up growing crystals. A blender (like my mom’s trick) achieves the same effect by manually smashing crystals back into smaller fragments.
- Chemical control: By adding countless micro-sized “nucleation sites,” you give crystals a place to start forming—keeping them small and evenly distributed. Sweetened condensed milk does this brilliantly. Manufacturers seed it with superfine lactose particles, which flood the mixture with tiny crystals and prevent any one from getting too large.
In other words, whether through agitation or clever chemistry, suppressing Ostwald ripening is what keeps your ice cream smooth instead of icy. Without it, you’d end up crunching through a bowl of frozen shards instead of enjoying a creamy dessert.
How Ice Cream Makers Work 🍦⚙️
Commercial and home ice cream makers are designed with one mission in mind: control ice crystal size. They do this through a clever two-phase freezing system that keeps Ostwald ripening at bay.
1. Dynamic Freezing Phase ❄️🔄
The custard base is poured into a chilled bowl while the machine constantly churns it. As the liquid touches the cold walls, tiny ice crystals form. The rotating dasher immediately scrapes them off and distributes them back into the mixture. This process “seeds” the base with thousands of micro-crystals. The smaller the crystals at this stage, the smoother the finished ice cream will be.
2. Static Freezing Phase ❄️🧊
Once the mixture cools to about -5°C to -6°C (23–21°F), it moves to a standard freezer to harden at -18°C (-0.4°F). At this point, the size of the crystals is essentially locked in. Because the base already contains a well-distributed network of tiny crystals from the churning phase, it firms up into a creamy, scoopable consistency.
Skip that first phase of churning and seeding, and you’ll end up with large, jagged crystals—and a grainy texture that’s more snow cone than ice cream.
The Secret to Creamy Ice Cream Without an Ice Cream Maker 🍨✨
Owning an ice cream maker is convenient, but it comes with its downsides: cost, storage space, and the hassle of remembering to pre-freeze the bowl a full day in advance. Thankfully, there’s an easier path to velvety ice cream at home—no-churn ice cream.
Instead of relying on churning, no-churn recipes depend on ingredients that naturally inhibit ice crystal growth. The trick is to minimize “free water” in the mix, since free water is what turns into jagged, unpleasant crystals. Two powerhouse ingredients make this possible:
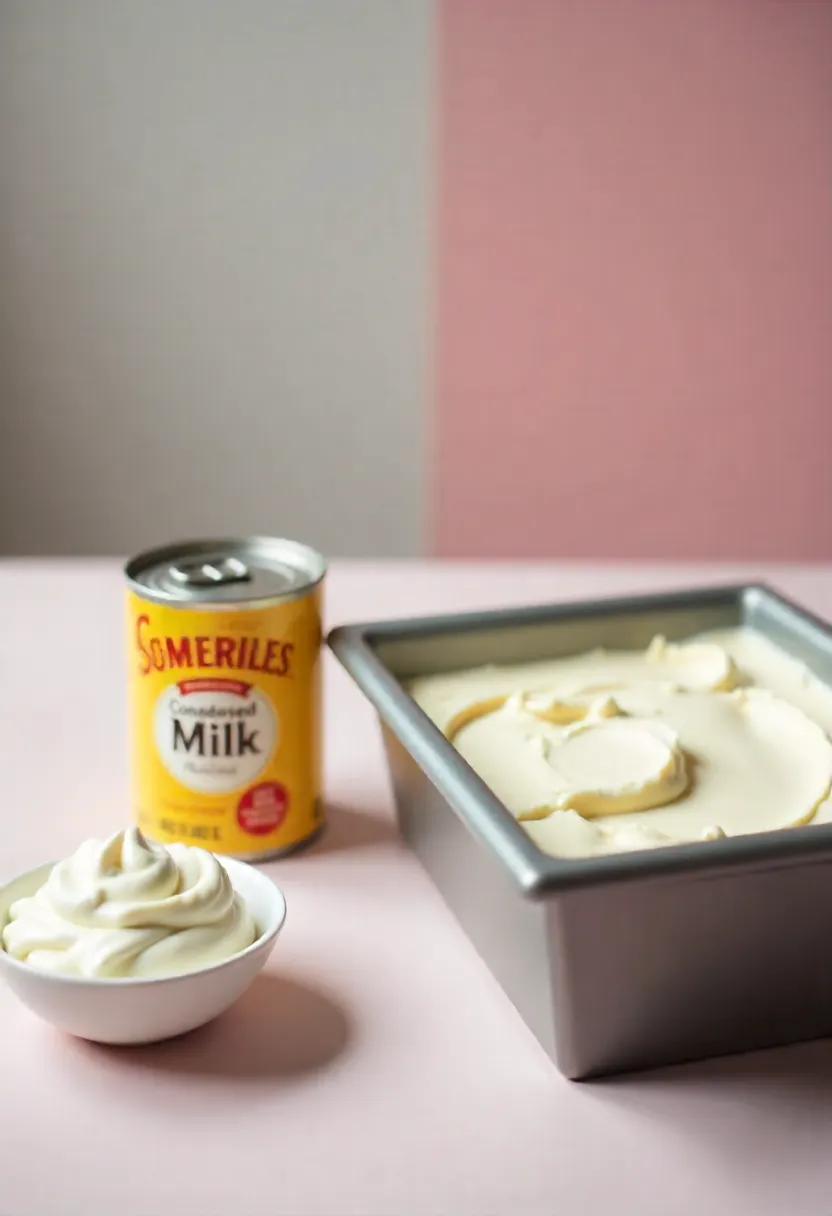
1. Sweetened Condensed Milk 🥛🍯
This is the hero of no-churn ice cream. With about 45% sugar and much less water than regular milk, condensed milk has a naturally low freezing point and syrupy texture. Instead of hardening into a block, it stays semi-fluid in the freezer, resisting ice crystal formation.
- Why it works:
- Sugar acts as a natural “anti-freeze,” preventing large ice crystals.
- Proteins and lactose bind the small amount of remaining water, leaving almost no “free water” to crystallize.
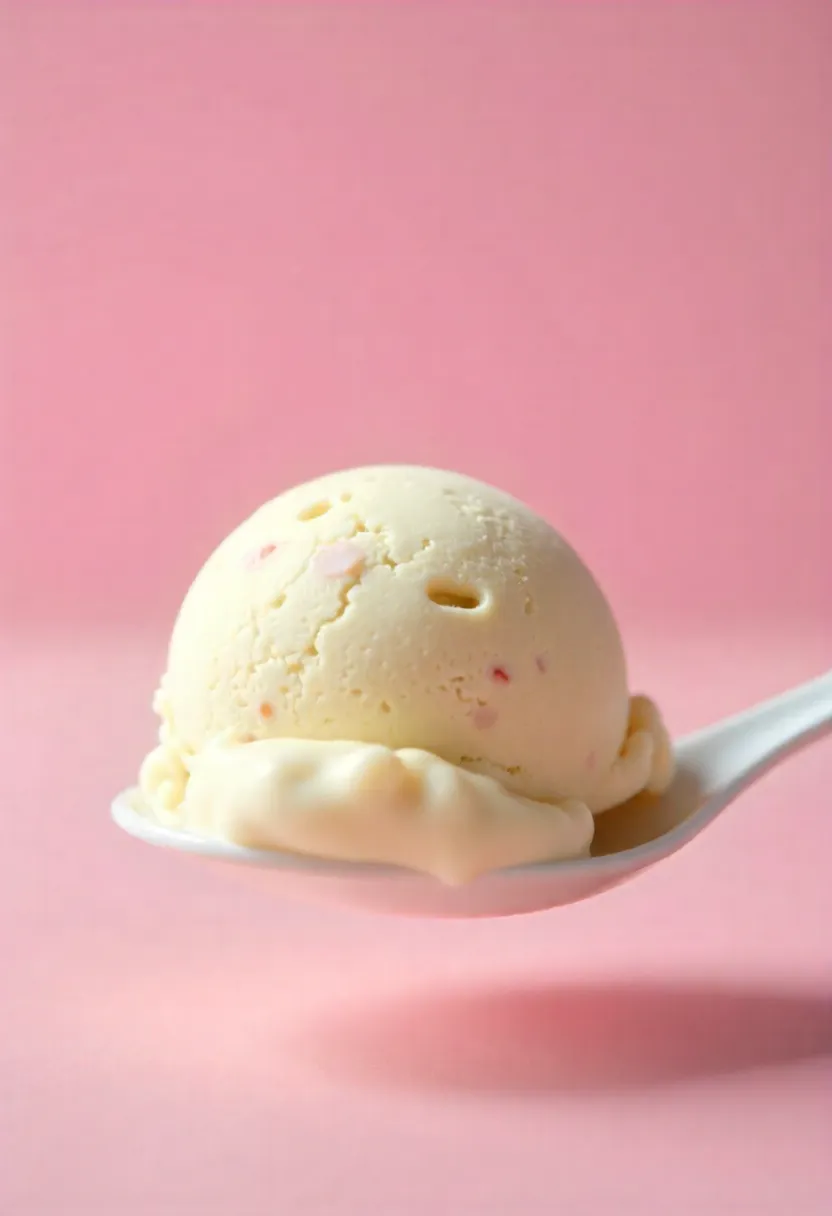
- The result: smooth, scoopable ice cream, even after days in the freezer.
2. Heavy Whipping Cream 🥛🍦
The second essential ingredient is whipped cream. Beaten to soft peaks, it traps air in a foam-like matrix that gives no-churn ice cream its signature lightness and volume—the same effect an ice cream maker provides mechanically.
- Why it works:
- Fat and air pockets disrupt crystal formation.
- High fat content enhances mouthfeel, keeping the texture rich and creamy.
- Creates physical “roadblocks” for water molecules, so they can’t cluster into big ice shards.
Together, condensed milk and whipped cream form a dynamic duo: one prevents crystallization chemically, the other physically. The result? A creamy, luscious ice cream that’s as satisfying as churned—no gadgets required.
A General Step-by-Step Guide to Making No-Churn Ice Cream 🍦📝
Now that we know the science, here’s how to put it into practice. With just two core ingredients and a little patience, you can whip up a pint of no-churn ice cream that’s every bit as creamy as the churned kind.
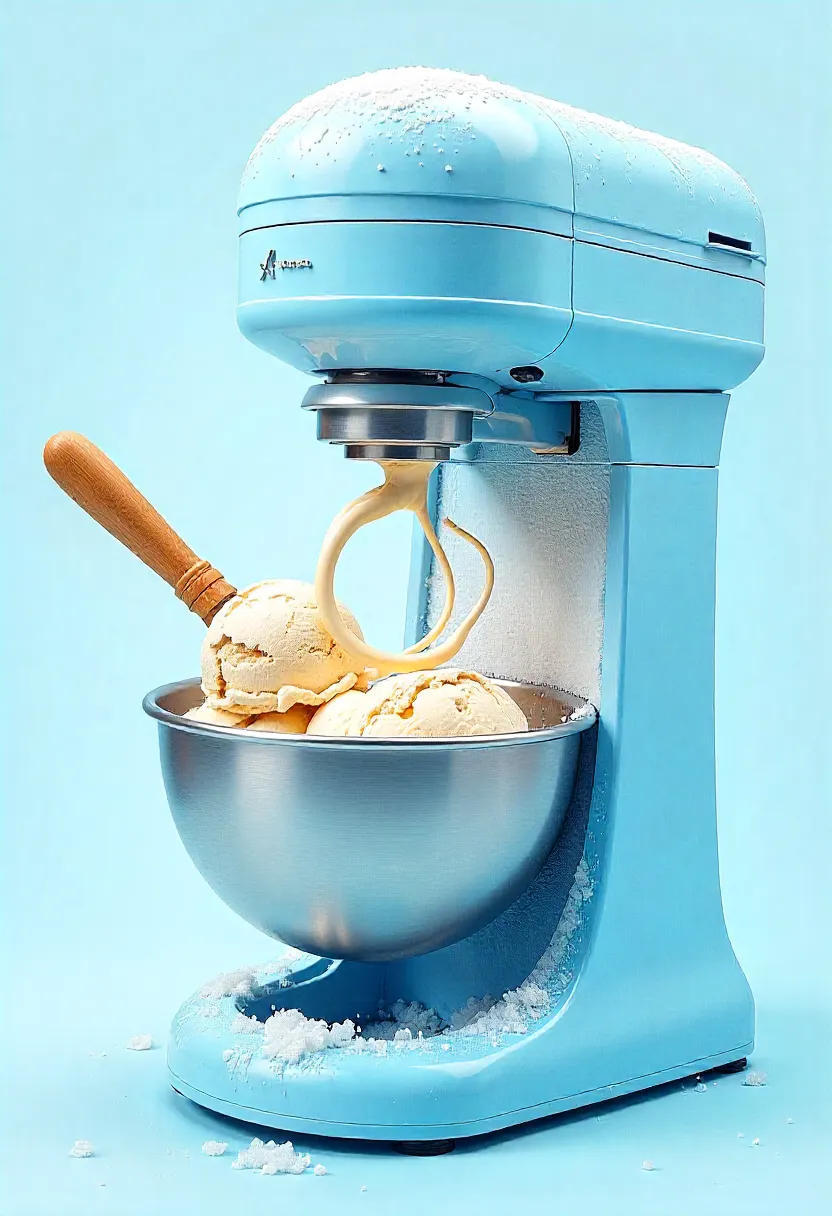
1. Whip the Cream
Whip 2 cups of cold heavy cream to soft peaks using a hand mixer, stand mixer, or food processor. The cream should be thick enough to hold its shape, yet smooth and pliable. Don’t over-whip—if it looks grainy or starts to separate, you’ve gone too far.
2. Add Sweetened Condensed Milk
Gently fold in one 14-ounce can of sweetened condensed milk until the mixture is fully combined. Fold slowly to preserve the air bubbles whipped into the cream—that trapped air is what makes the ice cream light and scoopable.
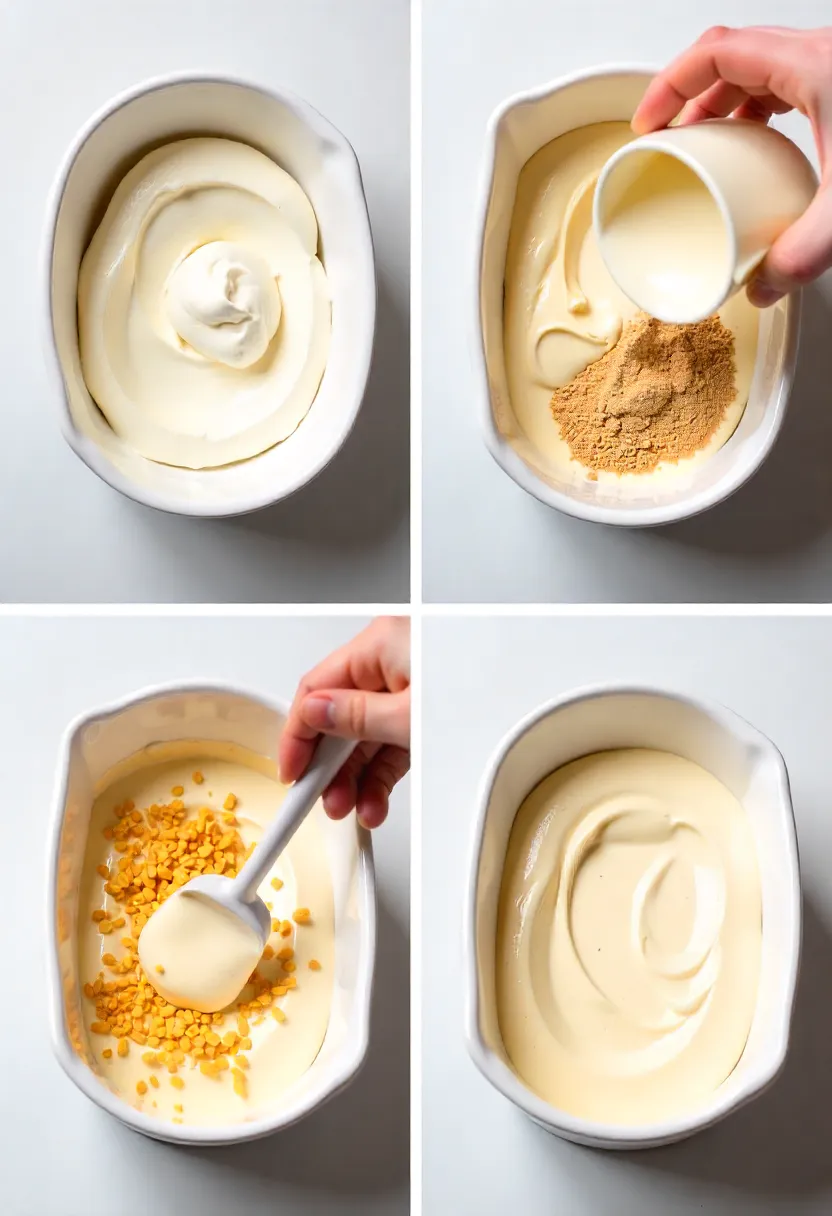
3. Flavor (Optional)
At this stage, add your flavorings or mix-ins—think vanilla extract, cocoa powder, peanut butter, fruit purees, or crushed cookies. Just be cautious with liquid-heavy additions, since too much water can lead to icy textures.
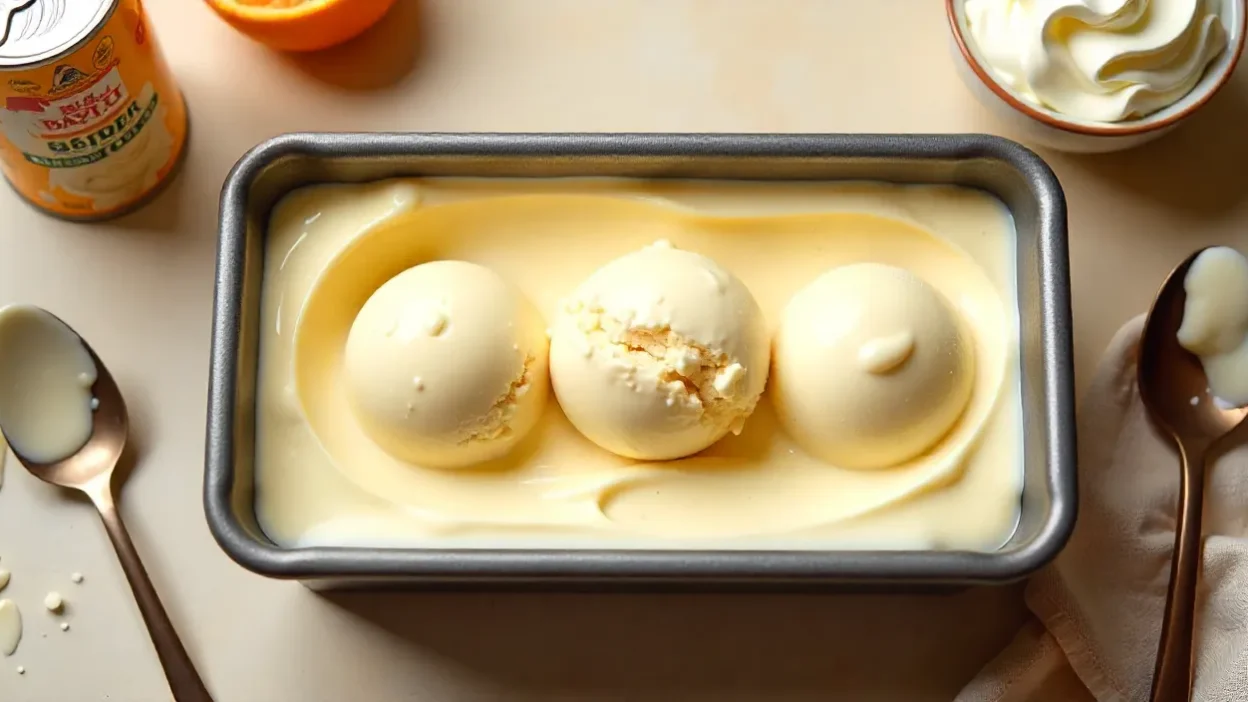
4. Freeze
Transfer the mixture to a loaf pan or freezer-safe container. Smooth the top, cover tightly with plastic wrap or a lid, and freeze until firm, at least 6 hours or overnight.
And that’s it. No expensive machine, no pre-frozen bowls, just a bit of folding and chilling—and you’ll have a batch of luscious, homemade ice cream that can stand proudly beside your favorite store-bought pint.
Adding Flavor Without the Icy Fallout 🍫🥭🥜
Once you’ve mastered the creamy no-churn base, the fun begins: flavoring. But here’s the catch—add the wrong ingredient, and you undo all your hard work. Fresh fruit, for instance, might sound tempting, but its high water content introduces free water back into the mix, which means iciness.
The solution? Choose ingredients that either bind water or contain little to none at all. Here are some safe and delicious options:
- Jams or cooked fruit purees: The sugar already binds to water, reducing free liquid.
- Nut butters or chocolate: Rich, bold flavors with minimal water content.
- Alcohols: A splash of liqueur, whiskey, or rum adds depth while lowering the freezing point.
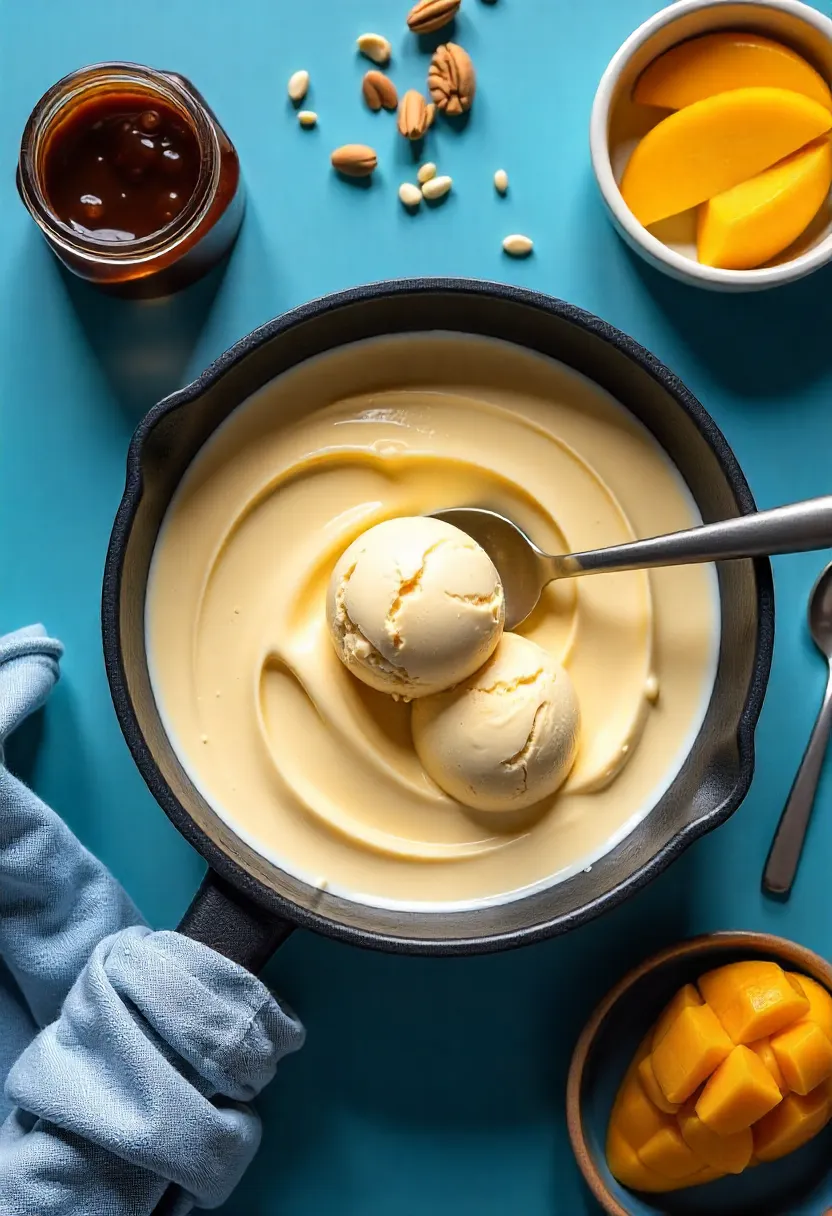
- Acidic fruits (like mango): Only when cooked down with sugar to concentrate flavor and reduce water.
👉 Example: In a no-churn mango ice cream, the puree is boiled with sugar first, creating a thick, syrupy consistency. When folded into the condensed milk base, it freezes into a smooth, tangy swirl—no icy shards, just creamy tropical perfection.
The rule of thumb: Cook it down, bind the water, or choose naturally low-moisture ingredients. That way, every spoonful stays rich, smooth, and scoopable.
The Final Scoop 🍦🔬✨
Ice cream isn’t just a treat—it’s a colloid, a multi-phase food system where solids, liquids, and gases all work together to create that dreamy texture:
- Solid: ice crystals and fat globules
- Liquid: sugar-dense syrup from condensed milk
- Gas: air pockets from whipped cream
This delicate microstructure is what separates ice cream from frozen milk. And the best part? You don’t need fancy tools to achieve it at home. With nothing more than sweetened condensed milk, heavy cream, and a simple mixer or blender, you can recreate that structure from scratch.
The result is a dessert that’s soft, creamy, and endlessly customizable. Add fruit purees, chocolate, nut butters, or a splash of your favorite liqueur, and you’ve got a pint that rivals anything from the freezer aisle.
A little kitchen chemistry, a bit of patience, and you’ve unlocked the magic of no-churn ice cream—simple ingredients, science-backed technique, and spoonfuls of pure joy.

You actually make it seem so easy together with your presentation but I find this topic to be really something that I feel I’d never understand. It kind of feels too complex and very wide for me. I’m taking a look ahead on your subsequent submit, I will attempt to get the cling of it!