
Contents
- 🥣 Why make bread at home in the first place?
- 🧾 From scratch: the soul of your loaf
- 🧰 Tools that make the journey smoother
- ✋ Getting started: making the dough
- ⏳ First rise (bulk fermentation)
- 🧱 Shaping your dough: the real transformation
- 💤 The final rise (proofing)
- 🔥 Baking day!
- 🧊 Cool down: the hardest part
- 🧺 Storing your bread so it stays fresh
- 💬 Final thoughts: bread as a way of being
You know, there’s just something about baking your own bread that hits different. It’s not only about that amazing smell that fills up your whole kitchen — though, honestly, that’s half the magic. It’s more about the whole vibe: the feeling of the dough squishing between your fingers, the way it slowly puffs up while you wait, and how you kind of have to just chill and be patient for a while. In our crazy busy world where everything’s fast and on-demand, making bread is one of those rare things that makes you slow down and actually enjoy the moment. It’s not quick, it’s definitely not easy, but that’s exactly why it feels so good when you finally pull that golden loaf out of the oven. ✨
And hey, this isn’t just some boring recipe you follow blindly. It’s more like celebrating this old, almost magical tradition of making something real and tasty with your own two hands. Whether you want a crusty, rustic loaf that cracks when you slice it or a soft, fluffy bun that you can pull apart and share with friends, this little journey will help you figure it all out — and maybe, just maybe, you’ll fall in love with baking all over again. 💛
🥣 Why make bread at home in the first place?
Let’s be real here. Life’s pretty convenient these days. You can walk into any store and grab a loaf of bread that’s perfectly sliced, wrapped in plastic, and supposed to stay “fresh” for weeks. But if you’ve ever had a bite of freshly baked homemade bread — with a crunchy outside and warm, soft inside — you know it’s on a whole different level.
When you bake your own bread, you’re doing more than just feeding yourself. You’re hitting pause on the crazy pace of life. You’re connecting with this ancient practice that’s been around forever, something people everywhere have done for generations. It’s about feeding your body, sure, but also about feeding your soul a little bit too. 🌍👐
And come on — there’s something seriously cool about telling someone, “Yeah, I made this myself.” It’s a small flex, but it never gets old. 😎
🧾 From scratch: the soul of your loaf
At first glance, bread might seem simple. A few ingredients, a little water, a little heat. But in reality, it’s chemistry, tradition, and love — all kneaded into one.
🌾 The core ingredients — each with a purpose
At first glance, bread looks pretty straightforward — just a few simple ingredients, some water, and heat. But if you dig a little deeper, it’s actually a fascinating mix of science, tradition, and a bit of patience. Baking bread at home isn’t just about making food; it’s about connecting with something ancient and comforting. You get to slow down, focus, and create something real with your own two hands.
🌾 Getting to know your ingredients — why they matter
Every ingredient in bread has a special job, and understanding what each one does can really change how your bread turns out.
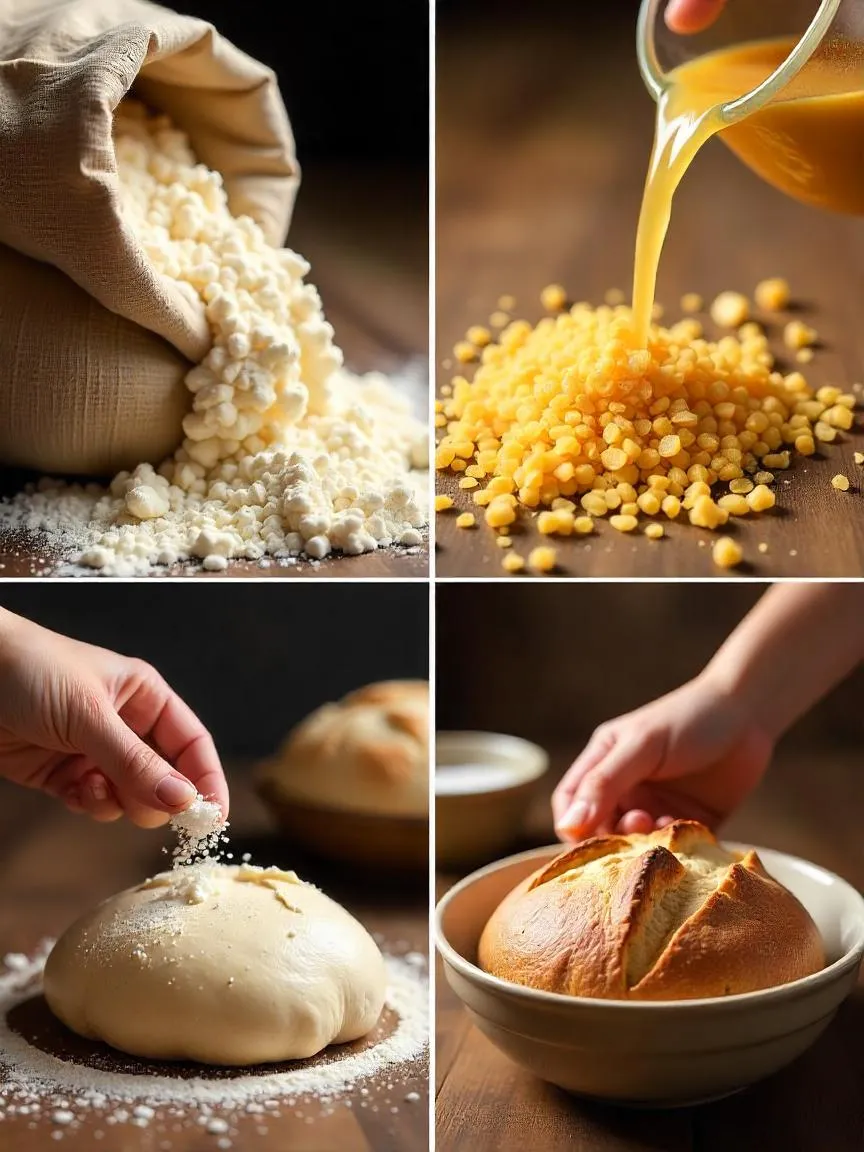
- Flour is the star of the show. It’s the structure that holds everything together. There are different types — bread flour has more protein, which means your bread will be chewier and have better rise. All-purpose flour is a good all-rounder, while whole wheat adds a nutty flavor and makes the bread denser. Mixing flours can give you the best of both worlds.
- Water might seem simple, but it’s super important. It wakes up the yeast and helps form the dough. The temperature matters a lot — it should be warm but not hot, around body temperature, so the yeast gets a nice cozy start.
- Yeast is like a tiny living helper. These little organisms eat sugars in the dough and produce bubbles of carbon dioxide that make the dough rise. You can pick from active dry yeast, instant yeast, or wild yeast (sourdough starter), each bringing something different to the table.
- Salt isn’t just for flavor. It slows down the yeast a bit so the dough doesn’t over-expand and fall flat. It also strengthens the dough’s structure and makes the bread taste richer.
If you want to get creative, you can add things like sugar or honey to sweeten and feed the yeast, or fats like butter or oil to soften the bread and keep it fresh longer. Toss in herbs, seeds, or cheese if you want to jazz things up.
🧰 Tools that make the journey smoother
You don’t really need a fancy bakery setup to bake delicious bread at home. Honestly, just a handful of simple tools can make the whole baking experience way easier and way more enjoyable. Of course, you can get by with the bare minimum, but having the right gear actually helps you work with the dough better, bake more consistently, and get that crust and crumb texture you’re dreaming about. 🍞✨
- Mixing bowls — it’s super handy to have at least two: a big one to mix all your ingredients together and a medium one where your dough can chill and rise comfortably. Watching your dough grow and almost double in size? It’s one of those simple pleasures that makes baking feel magical. If you use glass or clear bowls, you can keep an eye on it without disturbing the process. 👀
- Measuring tools — when it comes to baking, getting your measurements right really matters. Measuring cups and spoons work fine, but if you want to level up your game, a digital kitchen scale is the way to go. Weighing your flour and liquids makes sure your bread turns out great every time — plus, it keeps the mess to a minimum. ⚖️👌
- Bench scraper — this small, flat tool might seem basic, but it’s a total game-changer when you’re working with sticky dough. It helps you scrape dough off the counter, cut it into portions, and fold it neatly without wasting flour or getting your hands too sticky. 🙌🧽
- Dutch oven or baking stone/steel — these tools are what give your bread that professional bakery touch. A Dutch oven traps steam, making the crust crispy and golden, while baking stones or steels soak up and spread heat evenly, helping your bread rise perfectly and get that beautiful crunch. 🔥🥖
- Towel or plastic wrap — covering your dough while it’s rising is super important to keep it from drying out. A clean linen towel lets the dough breathe a little, while plastic wrap locks in moisture tightly. Depending on what recipe you’re following or your kitchen’s humidity, either one works just fine. 🧺🥖
- Wire cooling rack — after your bread comes out of the oven, it needs to cool properly. Placing it on a wire rack allows air to circulate all around, so the bottom doesn’t get soggy and the crust stays nice and crisp. 🌬️🍞
- Sharp knife or lame — scoring your dough before baking isn’t just to make it look pretty. It controls how the bread expands while baking. A lame (which is basically a razor blade on a handle) or a really sharp knife lets you make clean cuts without tearing the dough. ✂️🥖
- Thermometer (optional but handy) — if you want to be sure your bread is baked perfectly, an instant-read thermometer is a smart tool to have. Most breads are done when the inside temperature hits between 190 and 210°F (about 88–99°C). This way, you won’t risk undercooking or overcooking your loaf, and it’ll always taste just right. 🌡️👌
✋ Getting started: making the dough
Ready to get your hands in the flour? Let’s break it down step-by-step.
1️⃣ Mixing the ingredients
Start by combining your dry ingredients in a large bowl: flour, salt, and maybe a pinch of sugar. In a separate cup, dissolve your yeast in warm water. Let it sit for 5–10 minutes until it looks bubbly and foamy — that means it’s alive and ready.
Slowly pour the liquid into the flour and stir with a wooden spoon or your hand. The dough will look messy and sticky. Don’t worry — that’s exactly what we want at this stage.
🌟 Optional step: Let the mixed dough rest (covered) for 20–30 minutes before kneading — this is called autolyse, and it helps gluten form naturally.
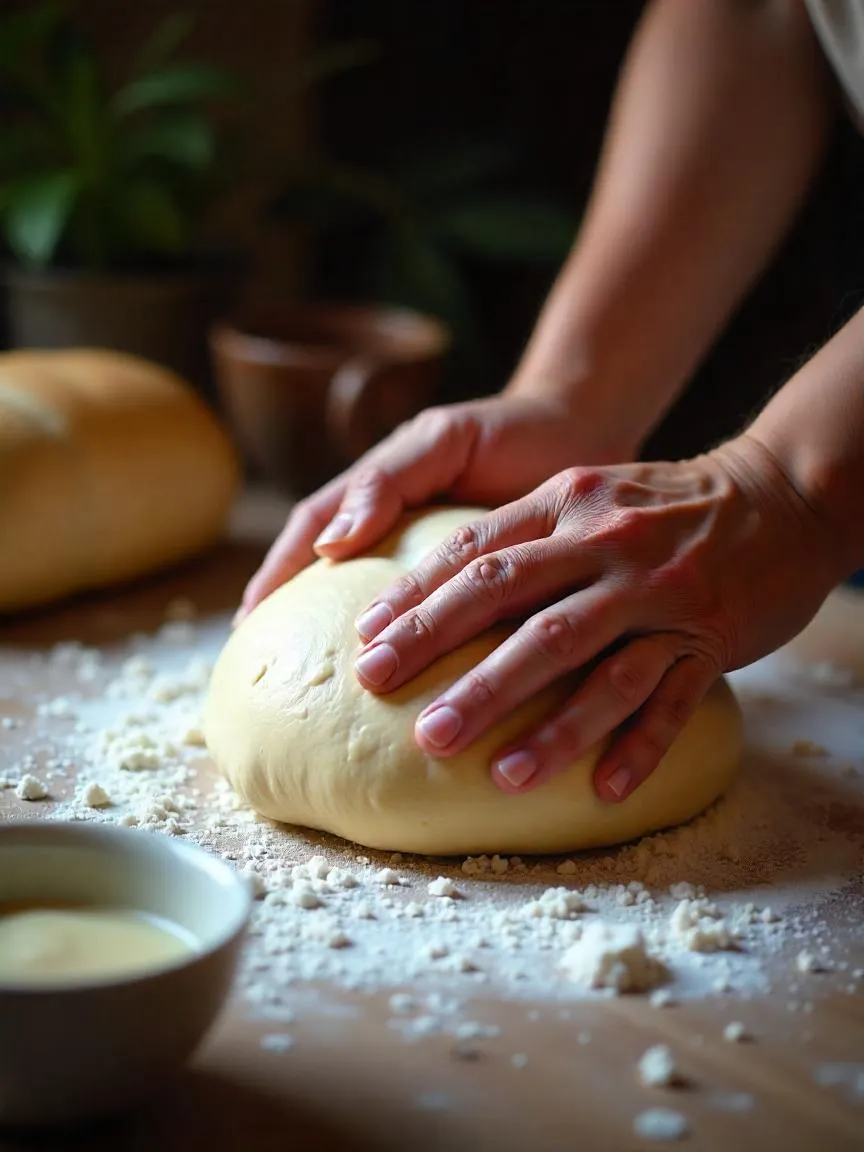
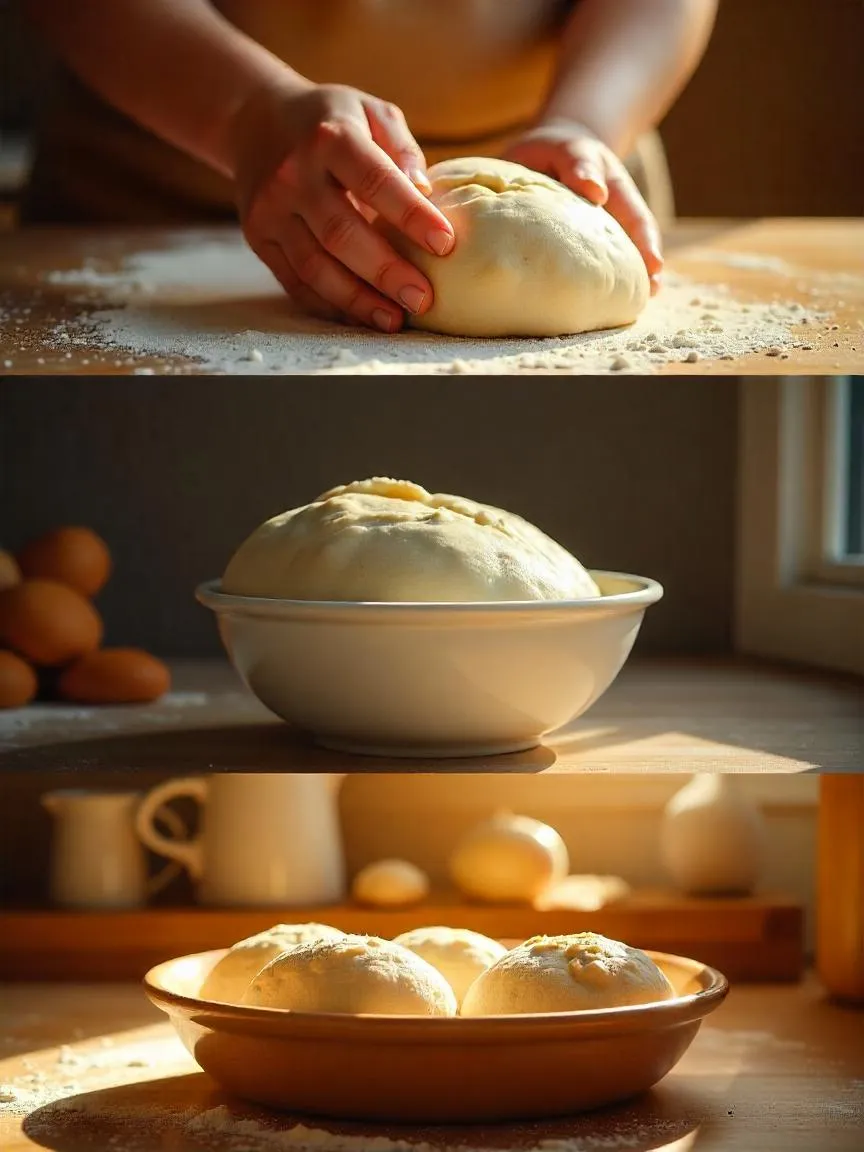
2️⃣ Kneading: wake up that dough!
Now comes the rhythm. Fold, press, turn, repeat. You’re not just mixing — you’re building strength and elasticity.
Here’s what to watch for:
In the beginning: sticky, lumpy dough
After a few minutes: smoother, stretchy
After 8–10 minutes: elastic, holds its shape
Test: Stretch a small piece. If it forms a thin “windowpane” without tearing — it’s ready. 🙌
💡 Too tired to knead? Try the no-knead method: mix your dough and let it ferment longer — 12–18 hours — so time does the work.
⏳ First rise (bulk fermentation)
Transfer your dough to a clean, lightly oiled bowl. Cover it with a towel or plastic wrap and place it somewhere cozy. Room temperature (around 75°F/24°C) is ideal.
Now… wait. ⏱️
Depending on the dough and room temperature, this step can take anywhere from 60 minutes to 2 hours. Some bakers like to slow things down with a cold ferment in the fridge overnight for better flavor.
Watch the dough, not the clock. It should double in size and feel soft, airy, and puffy when gently poked.
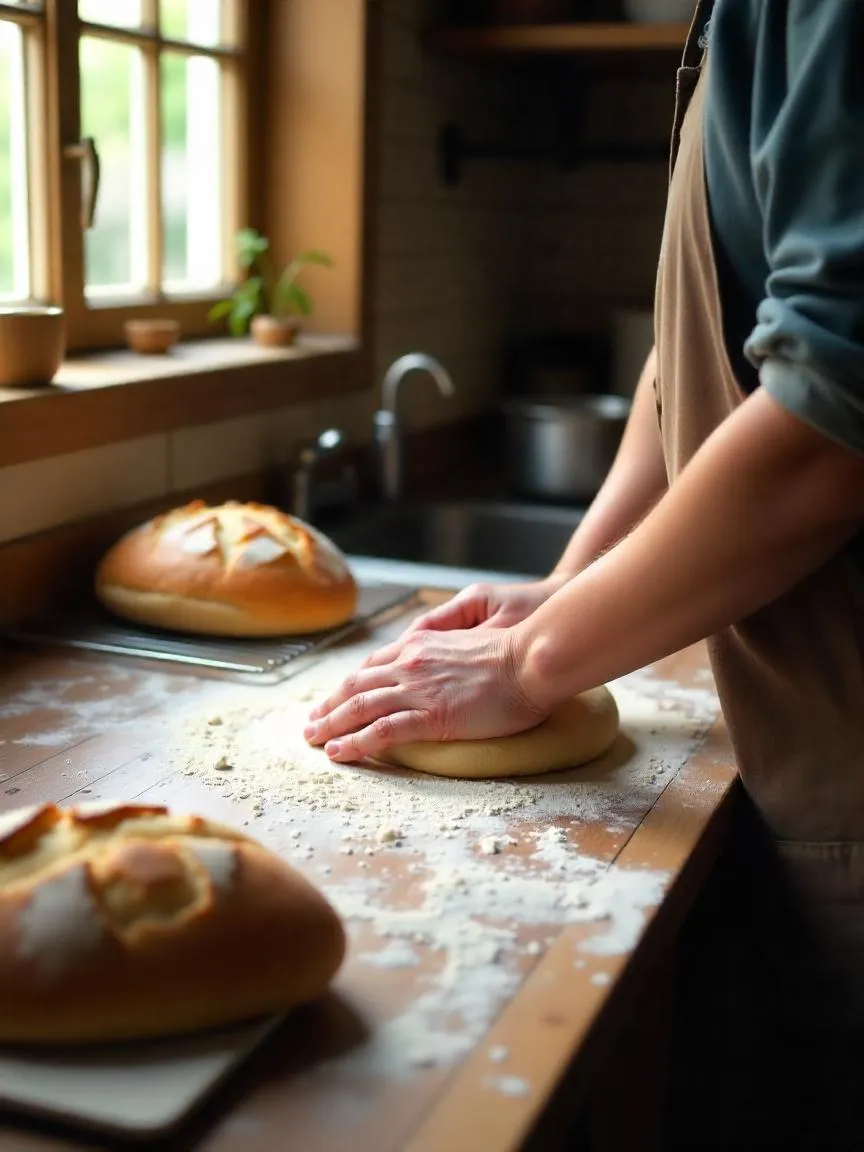
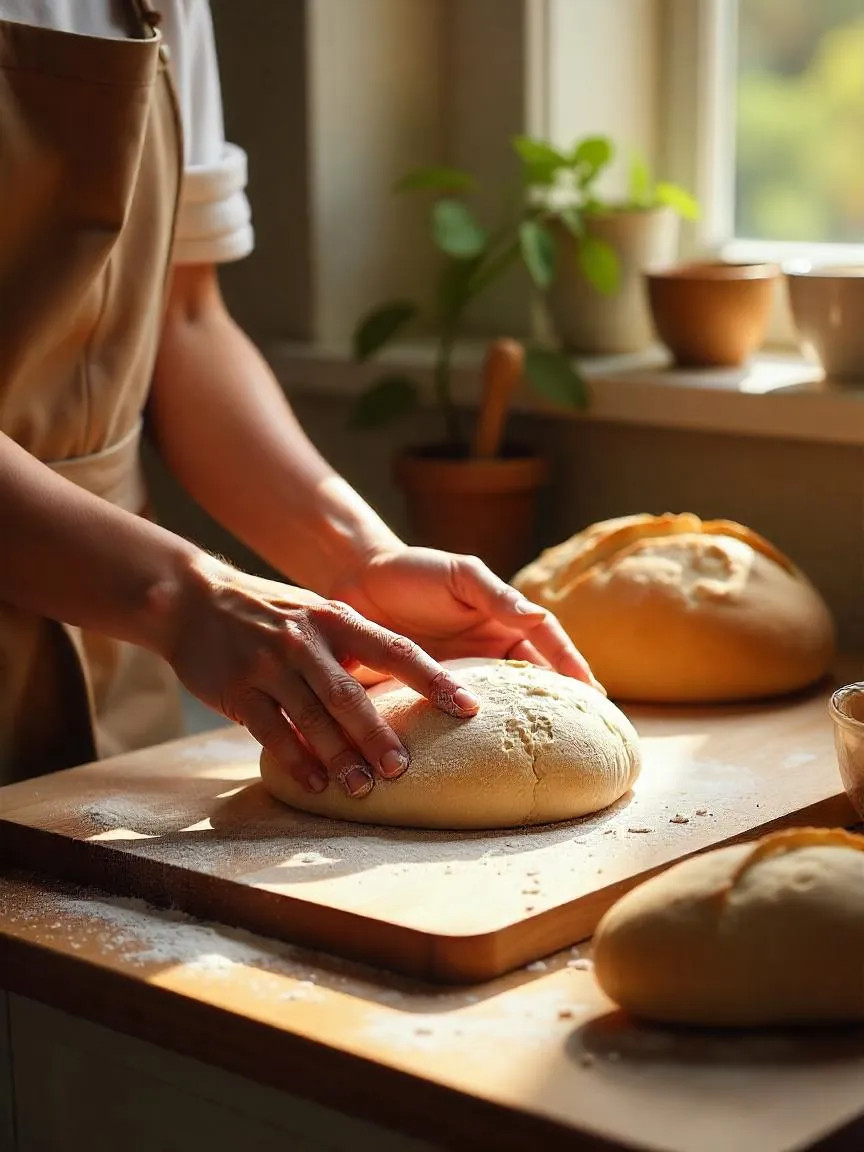
🧱 Shaping your dough: the real transformation
Once your dough is risen and full of life, turn it out onto a floured surface. Now we shape!
- Gently press out the air bubbles.
- Fold the dough inward from all sides.
- Flip it seam-side down and tuck it into a ball or loaf shape.
- Place it into a greased pan or onto parchment paper for free-form loaves.
🔁 Want rolls, baguettes, braids, or even focaccia? Go wild — shaping is an art, not a rulebook.
💤 The final rise (proofing)
Cover your shaped dough again and let it rise a second time. This can take 30–60 minutes. It should puff up but still hold its shape.
Quick test: Gently press the dough with your fingertip — if the dent springs back slowly, it’s ready to go into the oven.
Too long? It overproofs and collapses. Too short? You’ll get dense bread. But don’t worry — even imperfect bread tastes pretty darn great. 😄
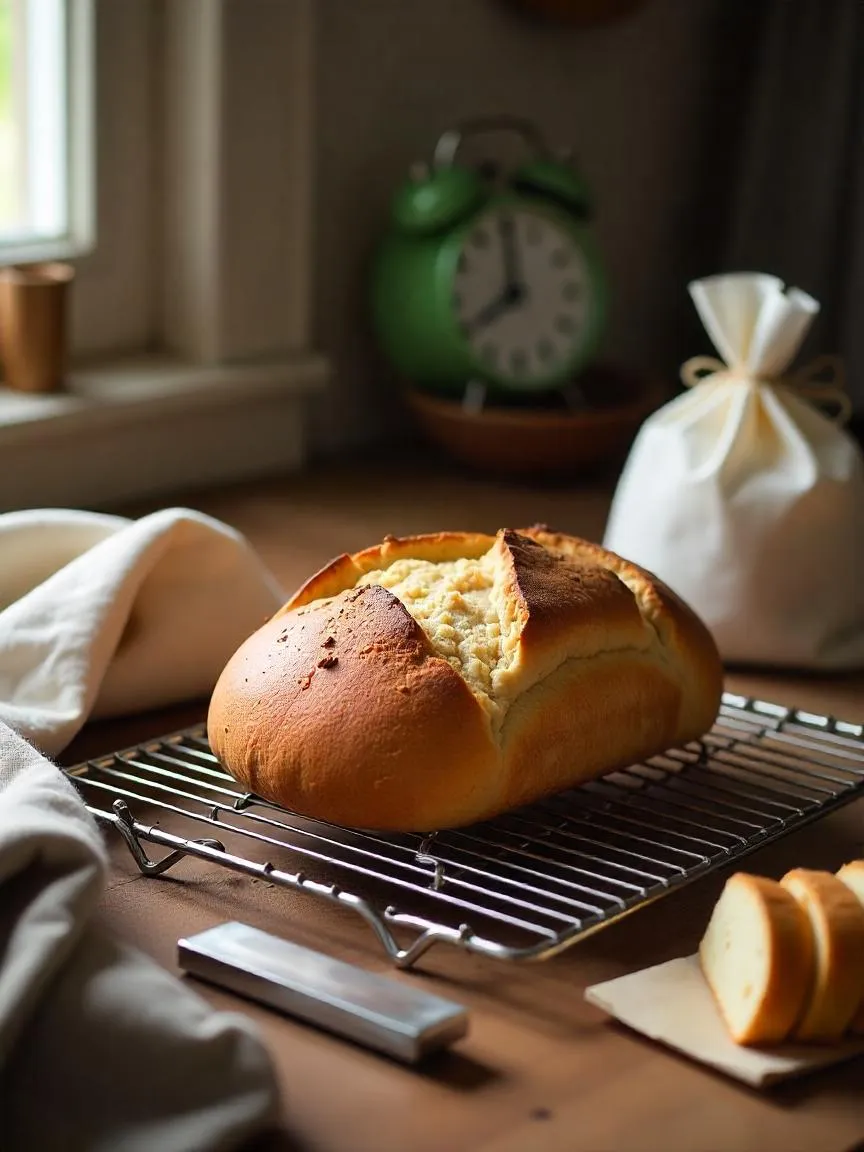
🔥 Baking day!

You’re finally ready for the big moment. Preheat your oven — really, don’t skip this. A hot oven = better oven spring and crust.
- Most crusty loaves bake at 450–475°F (232–246°C)
- Soft loaves (like sandwich bread) go at 350–375°F (176–190°C)
💨 Pro tip: Throw a few ice cubes into a hot tray on the oven floor when you put your bread in. The steam helps build a crackling crust.
Bake time? 25 to 45 minutes depending on loaf size. It’s done when:
- It’s golden brown all over
- It sounds hollow when you tap the bottom
- Internal temp is above 190°F (use a thermometer if unsure)
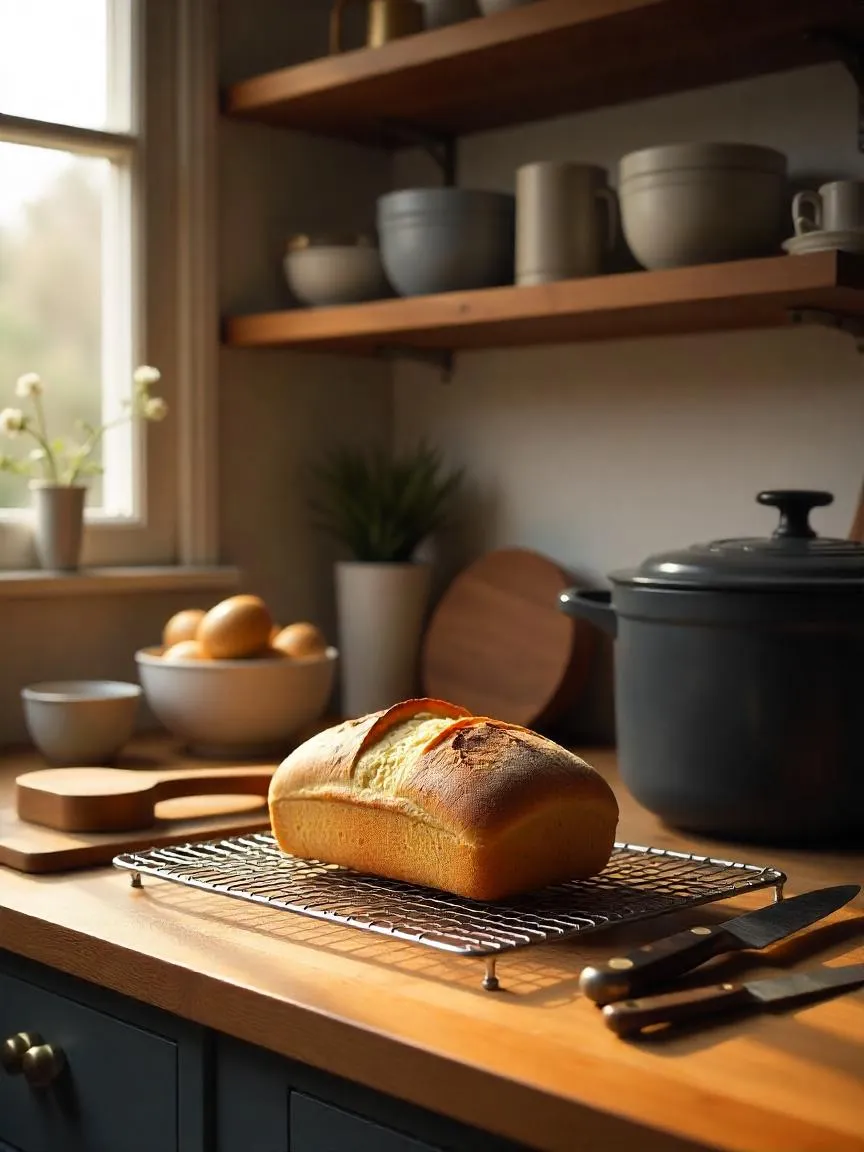
🧊 Cool down: the hardest part
Once it’s out of the oven, let your loaf cool completely on a wire rack. It needs at least 1 hour to finish setting inside — slicing too soon makes it gummy.
It’s torture, we know. But worth it.
🧺 Storing your bread so it stays fresh
- Short term (1–2 days): Keep it in a paper bag or wrapped in a tea towel on the counter.
- Mid-term (3–4 days): Wrap tightly in foil or a reusable bag.
- Long-term: Slice and freeze. Use freezer bags and pull out a slice when needed — toast straight from frozen!
- DO NOT refrigerate bread — it dries it out faster than leaving it on the counter.
💬 Final thoughts: bread as a way of being
Baking bread at home isn’t just a skill. It’s a ritual, a retreat, and a reminder that not everything in life needs to be fast and optimized. Some of the best things require time, touch, and trust in the process.
And hey — even if your first loaf is flat or a little weird-looking, it’ll still be warm, wholesome, and made by you. That’s something to be proud of. 💪🍞
So go on. Get flour on your clothes, dough under your


This resonated with me so deeply! I completely agree that the magic of baking bread goes far beyond the delicious result. That feeling of connection to the process – the tactile experience of the dough, the anticipation of the rise – is truly meditative. It’s a beautiful counterpoint to our fast-paced lives. My question is, have you found any particular bread recipes that are especially good for beginners who want to embrace this mindful process, but maybe aren’t quite ready for sourdough yet?