Contents
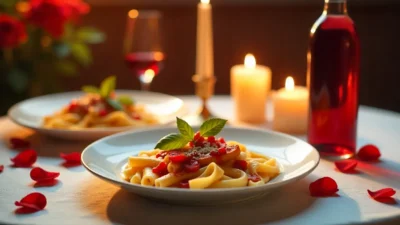
Flat lays are more than just trendy shots for Instagram—they’re a powerful way to tell a visual story with food. When done well, vibrant food flat lays transform everyday ingredients into eye-catching masterpieces that spark curiosity and appetite. Whether you’re a passionate food blogger, a chef with a camera, or someone who simply loves making meals look good, mastering the art of flat lay composition will elevate your photography game.
Creating mouthwatering visuals means more than snapping a quick overhead shot. It involves thoughtful styling, strategic placement, and understanding how color, texture, and negative space interact on your canvas. From rustic breakfasts to colorful smoothie bowls, a well-executed flat lay invites your audience to taste with their eyes before a single bite is taken.
And remember—it’s not just about beautiful images. Sharing your work effectively can turn a hobby into a brand. Learn how to style, shoot, and share like a pro, and your food photography won’t just look good—it’ll get noticed.
✅ Key Takeaways (Refined):
- Food flat lays make your dishes pop visually and attract engagement
- Styling with color theory and layout principles creates stronger impact
- Strategic sharing helps grow your audience and boost visibility
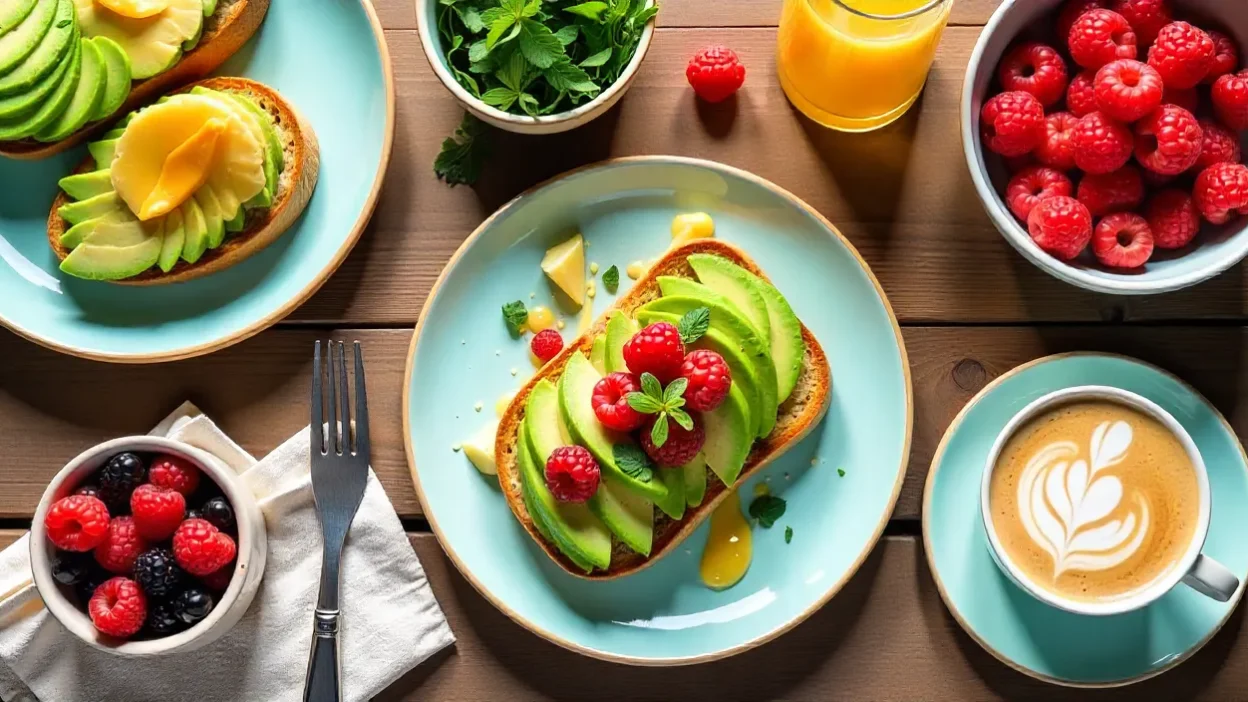
📷 The Art & Science Behind Vibrant Food Flat Lays
Creating striking food flat lays isn’t just a matter of snapping from above—it’s about crafting a story that looks as good as it tastes. Whether you’re styling a cozy brunch scene or a bright smoothie spread, understanding the foundational techniques will take your photos from average to absolutely scroll-stopping.
🎯 What Is Flat Lay Photography (And Why It Works So Well)
Flat lay photography is the art of arranging food and props on a flat surface and capturing it from a top-down angle. It’s all about showcasing your food in the most visually compelling way possible.
But there’s more to it than simply laying items on a table. Flat lays thrive on intentional design. Think of your setup like a canvas—you’re not just showing food, you’re creating visual harmony.
Key principles:
- Balance: Distribute elements evenly to avoid clutter or lopsidedness.
- Negative space: Leave breathing room to let focal items stand out.
- Layering: Add depth with textiles, plates, garnishes, and utensils.
- Texture & color: Mix contrasting surfaces—like rustic wood and glossy glaze—for visual intrigue.
Straight-down shots are classic, but don’t be afraid to slightly tilt your camera for a more dynamic feel.
💡 Lighting & Color: Your Flat Lay’s Best Friends
Lighting can make or break your food photography. For vibrant, natural-looking flat lays, soft natural light is your best friend.
Tips for perfect lighting:
- Shoot near a window for even, diffused light.
- Avoid overhead bulbs—they create unflattering shadows and color casts.
- Use white reflectors (like foam boards) to bounce light and soften harsh areas.
- Golden hour (morning or late afternoon) offers the most flattering light tones.
Color is another secret weapon. Use complementary or contrasting colors to make your dishes pop. A bowl of berries on a turquoise napkin? Instant eye-catcher. Think in palettes and mood—what emotion do you want your viewer to feel?
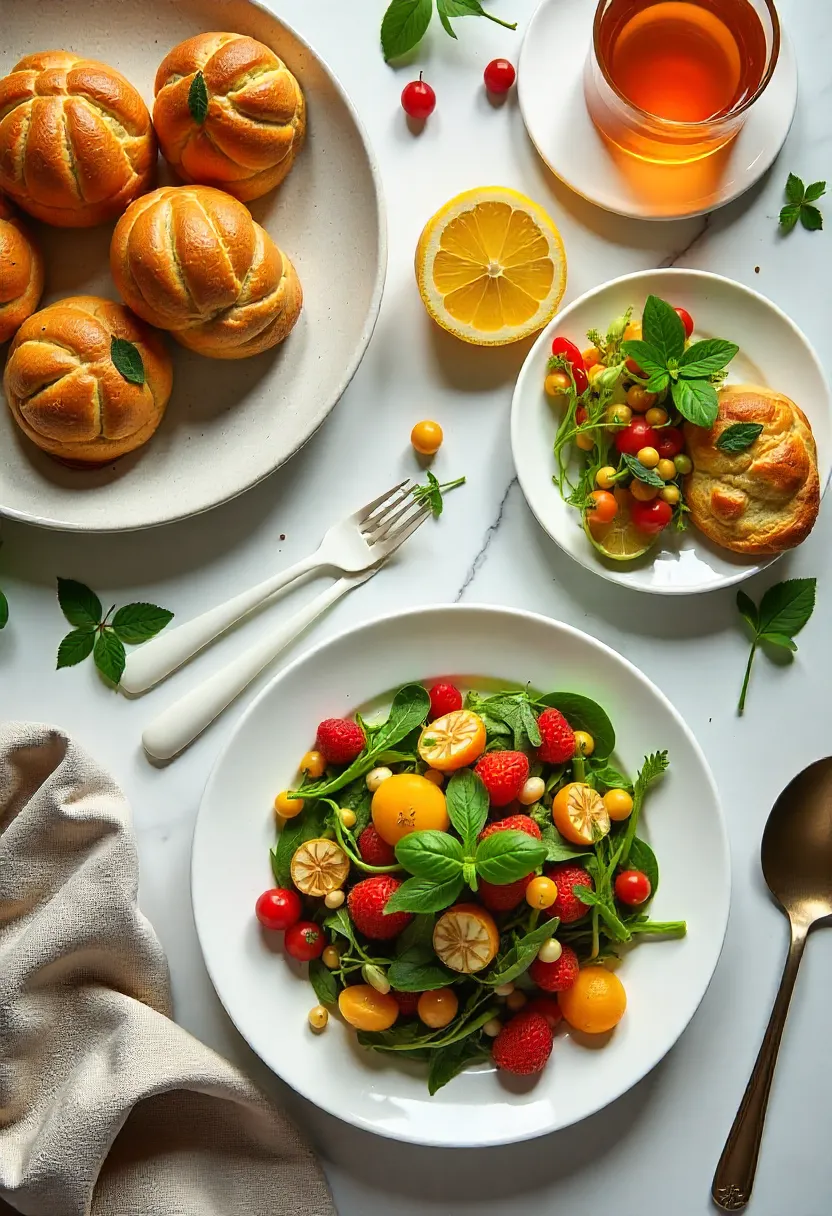
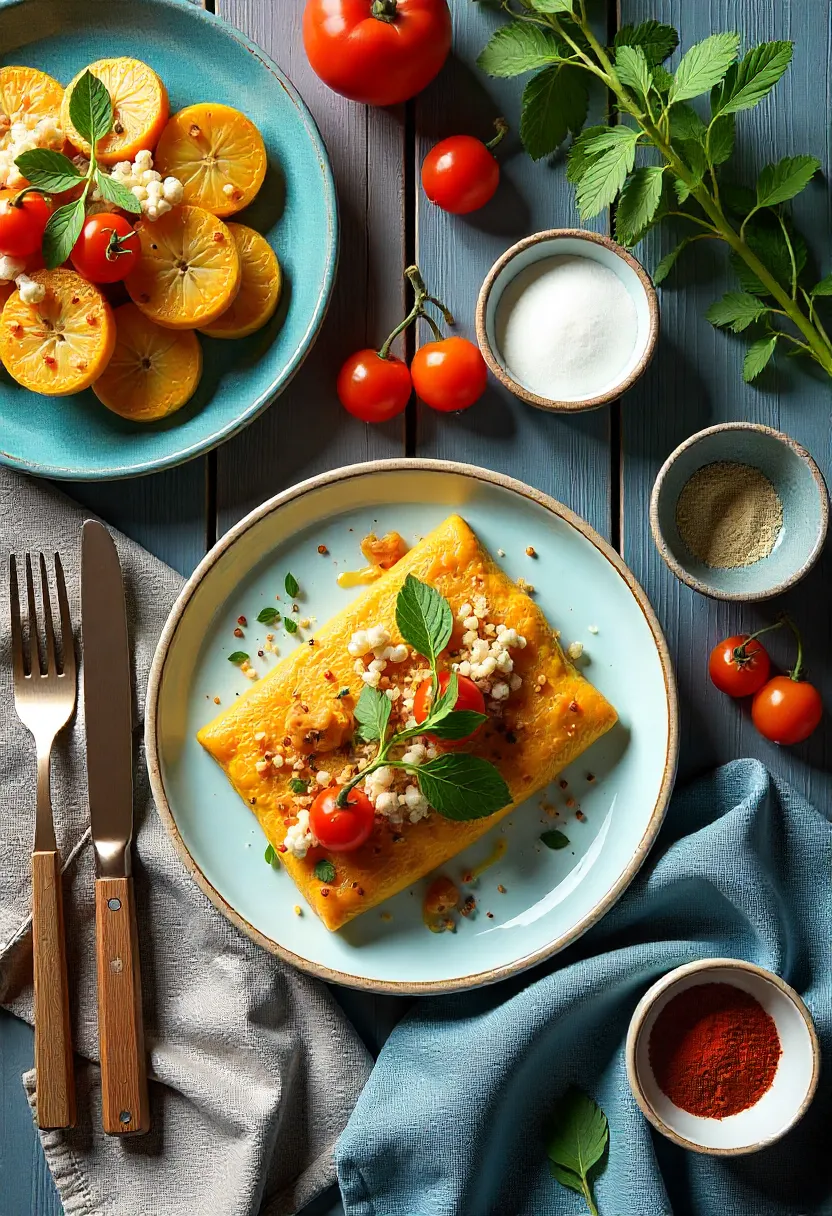
🍽️ Tell a Story With Every Plate
A strong flat lay tells a visual story. It’s not just a dish—it’s a vibe. Whether it’s a farmer’s market haul or a festive dessert spread, every item on the table should serve a purpose.
Start with the star of the show—your main dish. Then build around it with supporting players:
- Fresh herbs, sauces, and ingredients for context
- Utensils or cookware to ground the scene
- Napkins or textured backdrops to set the tone
- Layered props (like cutting boards or cake stands) for added height and dimension
Step back often. Check your frame. Is it balanced? Does it feel intentional? Sometimes, removing a single item is what gives your shot that clean, editorial edge.
📸 Mastering the Technical Side of Food Flat Lays

Camera settings, lighting tips, and creative depth techniques for scroll-worthy shots.
Capturing vibrant food flat lays isn’t just about aesthetics—it’s also a technical game. To turn your styled scene into a crisp, captivating photo, you’ll need to understand how to control exposure, lighting, and depth with precision. Here’s how to do it like a pro.
⚙️ Dial In Your Camera Settings for Picture-Perfect Exposure
Great food photography begins with manual control. Auto mode won’t give you the precision you need—so flip that dial and take charge.
Essential camera settings:
- Aperture (f-stop):
Use a wider aperture like f/2.8 to f/4 for a soft background blur (aka bokeh) that keeps your dish sharp and the rest dreamy. For full-scene sharpness, try f/8+. - ISO:
Keep it low—ISO 100–200—to avoid grain and ensure clean, crisp images. - Shutter Speed:
Balance it with your aperture and lighting. If you’re shooting handheld, use at least 1/125s to avoid blur. For slower speeds (especially in lower light), use a tripod.
Lighting tips:
- Natural light is king—shoot near a window with indirect light.
- Use reflectors or diffusers to soften shadows or redirect light where needed.
- Avoid overhead lighting unless you’re controlling it with softboxes.
Pro Tip: Always shoot in RAW format so you have more flexibility when editing your photos later.
🧩 Add Visual Depth and Dynamic Composition
Great flat lays feel layered and immersive—not flat and lifeless. Composition and spatial play are what set beginner shots apart from pro-level content.
Try these techniques to add depth and structure:
- Rule of Thirds:
Use your camera’s grid lines to position key elements along vertical and horizontal thirds. This gives your image balance and natural flow. - Layering:
Add height variation using plates, bowls, or risers. This creates visual movement and keeps the eye exploring the image. - Foreground + Background:
Introduce elements slightly out of focus in the foreground or background—like herbs, linens, or utensils—to give a 3D feel. - Color Contrast:
Play with complementary or analogous colors to make your food pop. A vibrant salad on a cool-toned background? Chef’s kiss. - Use a Bubble Level:
Flat lays must be flat. A crooked top-down shot ruins the illusion—use a bubble level (digital or physical) to make sure your camera is perfectly aligned.
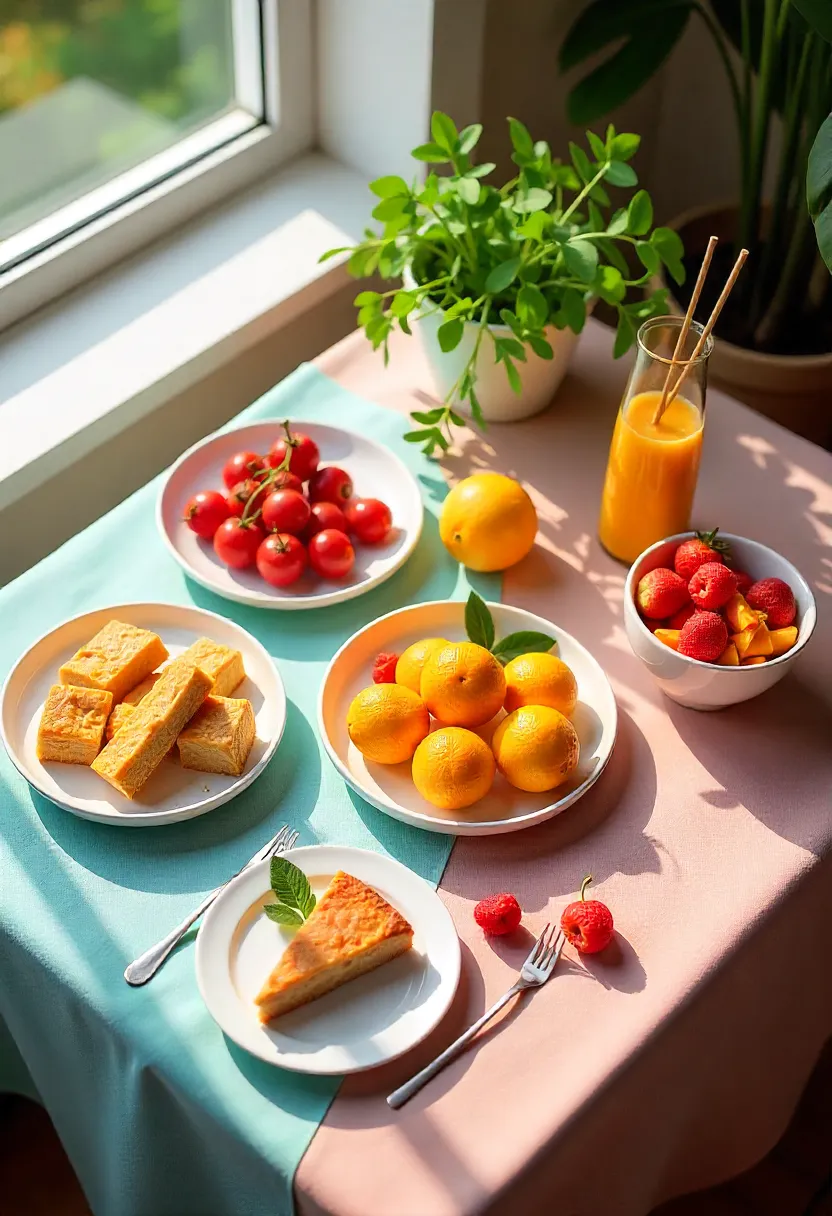
🎨 Styling & Aesthetics: How to Make Food Flat Lays Unforgettable
Color, texture, props, and food presentation that truly pop.
Visual storytelling is at the heart of every vibrant food flat lay—and it all starts with styling. From bold color choices to thoughtful use of textures and props, your aesthetic decisions can transform a basic overhead shot into a scroll-stopping masterpiece.
🖌️ Pick a Color Scheme That Works the Frame
Color drives emotion—and in food photography, it also drives appetite. Choosing the right color scheme sets the tone and helps your subject shine.
Tips for color success:
- Go bold and balanced: Use vibrant colors to highlight the star dish, but avoid going overboard. Less is more.
- Leverage complementary colors (like red + green or blue + orange) for contrast and energy.
- Choose warm tones (red, orange, yellow) for cozy, inviting feels; or cool tones (blue, teal, lavender) for a calm, clean vibe.
- Use neutral backgrounds (white, gray, wood tones) to let the food colors pop without distraction.
- Maintain negative space to avoid clutter and draw focus.
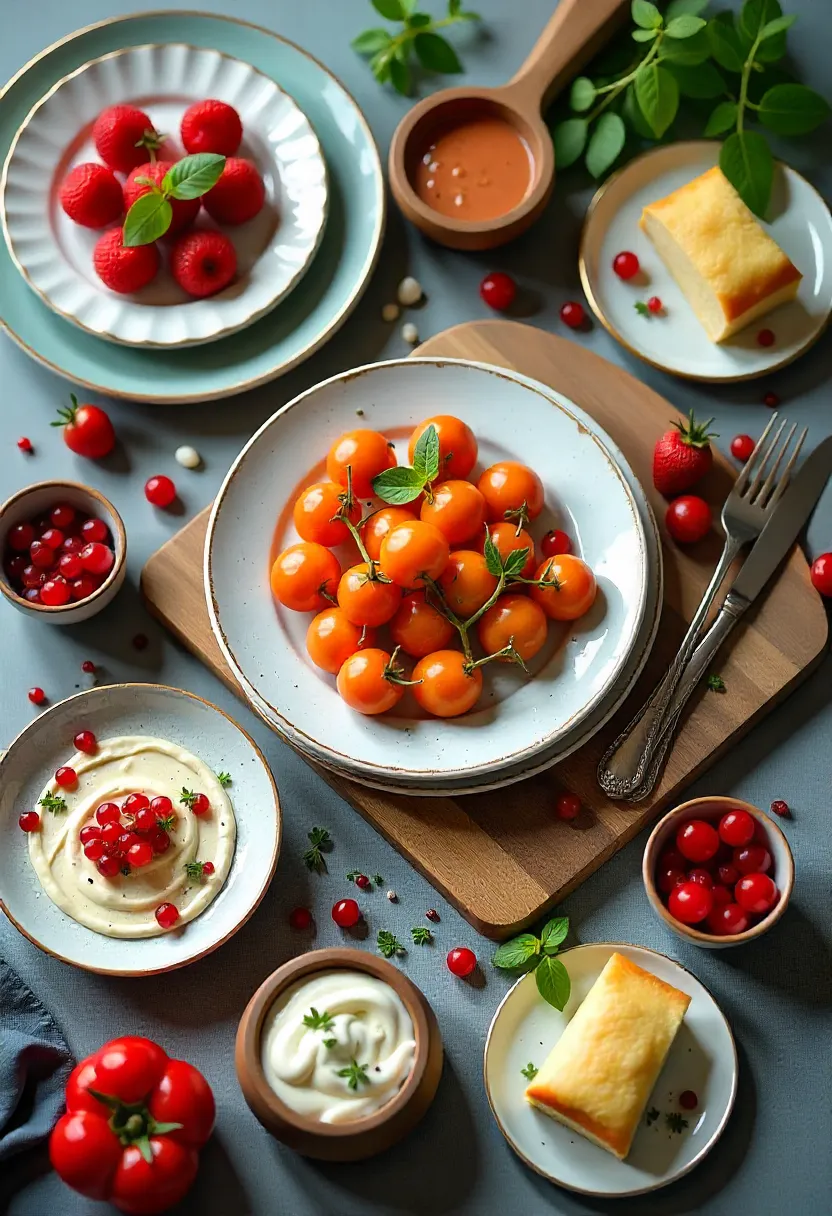
🧺 Props & Textures: Build the Scene Without Stealing the Show
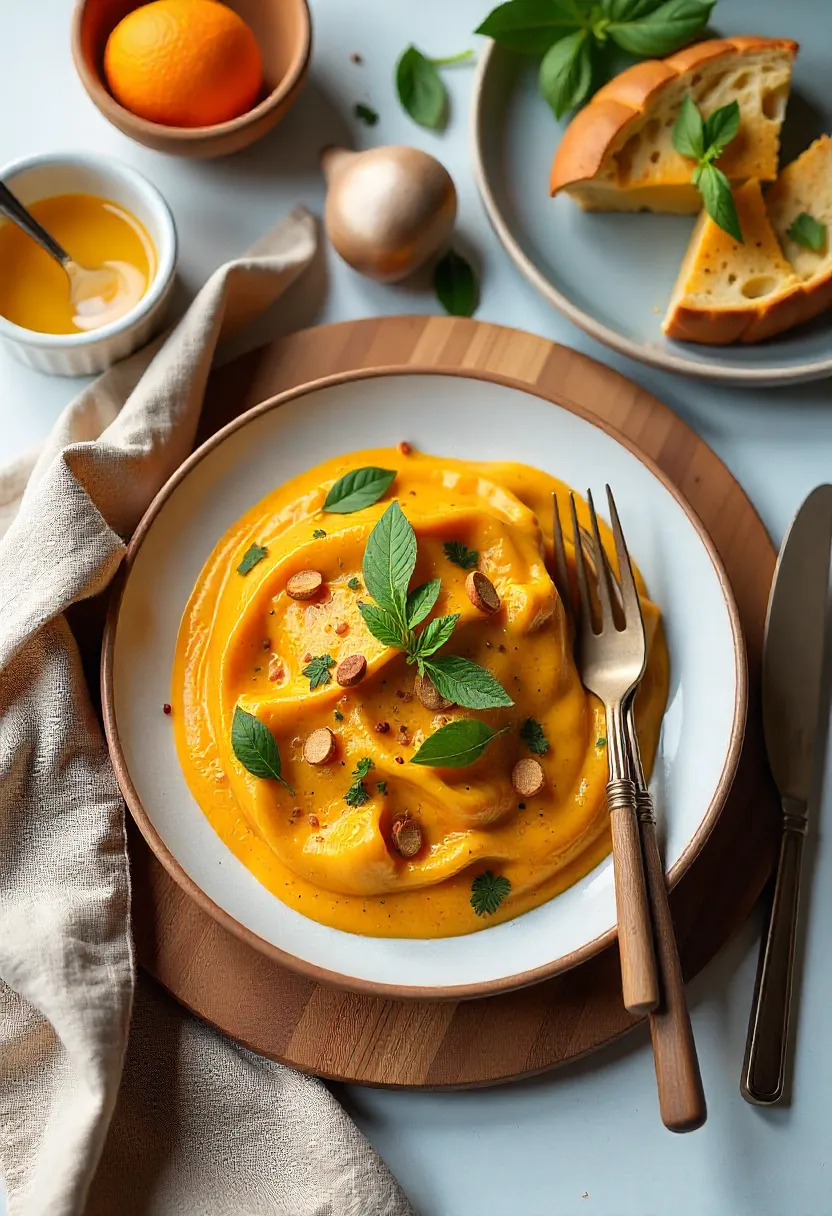
Props add context and personality—but they should never outshine the food.
Smart prop choices:
- Cutlery & utensils that match your food’s vibe (vintage for rustic dishes, matte black for modern).
- Linens and fabrics for soft textures and layered warmth.
- Wood, marble, or slate boards to introduce tactile contrast.
- Glassware & cups to add dimension and break visual monotony.
Mixing rough and smooth, shiny and matte, or soft and structured textures makes your flat lay feel tactile and touchable. Just make sure every prop serves a purpose.
🍽️ Food Styling Fundamentals: Make It Look as Good as It Tastes
Your dish is the hero—so treat it like one. How you style your food directly impacts how appetizing (and professional) your photo feels.
Styling tips:
- Cut produce in interesting ways (diagonals, wedges, thin slices) to add texture and visual variation.
- Garnish with fresh herbs, seeds, or spices for pops of color and detail.
- Arrange food naturally—but intentionally—to create flow across the frame.
- Vary shapes and sizes on the plate for visual intrigue.
Use props to frame—not crowd—the dish. Keep your audience in mind: a rustic brunch flat lay won’t look the same as a clean, modern vegan spread. Your styling should match your brand and your viewer’s tastes.
Pro Tip: Take test shots while styling. Use your camera screen to adjust angles, balance elements, and eliminate clutter before committing to your final setup.
📢 Sharing & Marketing Food Flat Lays That Actually Get Noticed
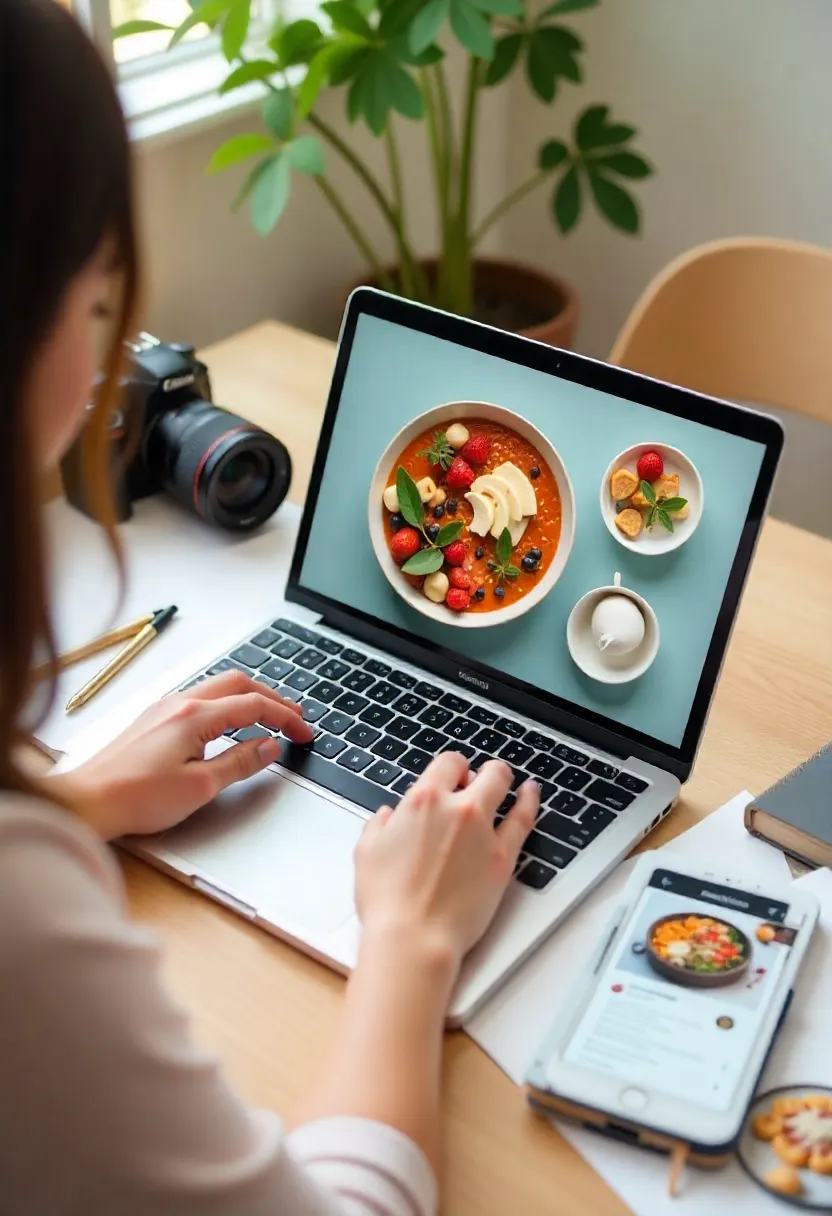
Boost engagement, grow your following, and build a visual brand that’s instantly recognizable.
You’ve styled the perfect flat lay, nailed the lighting, and captured the shot—now what? To make your content work for you, smart sharing and marketing strategies are essential. Whether you’re aiming to grow your following or promote a food blog, these tips will help your visuals reach the right eyes and leave a lasting impression.
📱 Tailor Content for Each Social Media Platform
Different platforms call for different strategies. What performs well on Instagram won’t necessarily gain traction on Pinterest or TikTok. Here’s how to tailor your flat lays for each:
- Post high-resolution, square or 4:5 ratio images for maximum feed impact.
- Use niche hashtags like
#flatlayfood,#foodstyling, or#brunchgoals. - Write engaging captions that tell a story or ask a question to encourage interaction.
- Use carousel posts to show the setup process or alternate angles.
- Create vertical pins (2:3 aspect ratio) with clear overlays (e.g. recipe title or style tips).
- Optimize pin descriptions with SEO keywords (e.g. “vibrant food photography,” “aesthetic flat lay ideas”).
- Join group boards or collaborate with bloggers to amplify reach.
TikTok & Reels
- Share behind-the-scenes clips, quick styling tutorials, or time-lapse edits of your shoot.
- Include trending audio and brief text overlays for accessibility.
- Add value in the caption—think “5 flat lay tricks in 15 seconds.”
Pro Tip: Use tools like Later, Planoly, or Tailwind to schedule posts and analyze performance.
🎯 Build a Visual Brand That Feels Uniquely You
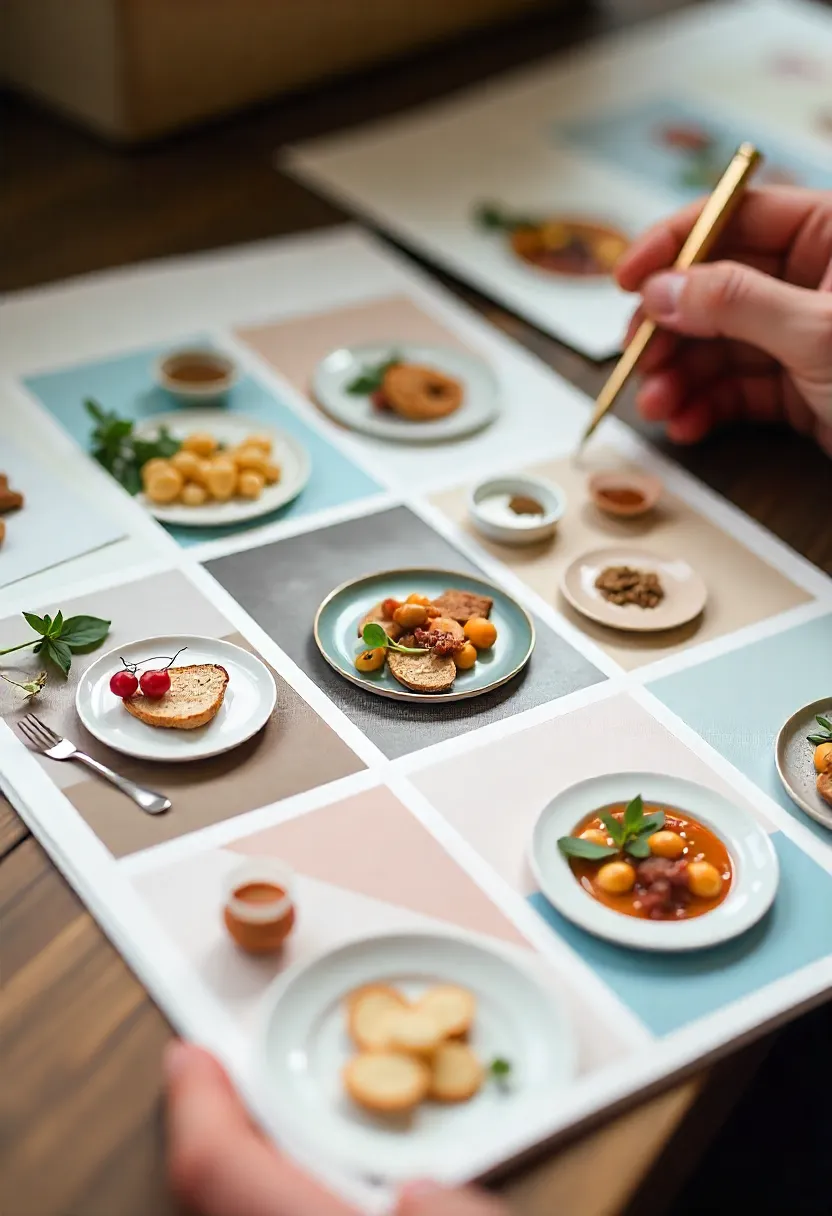
Your flat lays should be instantly recognizable. Whether it’s your editing style, use of props, or choice of color palette, consistency builds trust and memorability.
How to build a strong visual identity:
- Choose 2–3 core colors and stick to them across platforms.
- Use consistent lighting and editing presets to maintain a unified aesthetic.
- Develop a style “voice”—rustic, clean, cozy, vibrant, minimalist—whatever fits you.
Post a mix of content:
- Feature both polished flat lays and casual behind-the-scenes shots.
- Show the creative process to make your brand feel relatable and authentic.
- Share tips, recipes, or product mentions to position yourself as an expert in your niche.
Engage intentionally:
- Ask questions in captions (e.g., “Which dish would you try first?”).
- Respond to comments and DMs to foster community.
- Tag brands or collaborators when appropriate—they might re-share your work!
Bottom Line:
You don’t need a massive budget or follower count to market your flat lays like a pro. You just need strategy, consistency, and a little bit of personality. Combine sharp visuals with smart distribution and you’ll be well on your way to building a loyal, engaged audience.


Hi there! This is my first comment here so I just wanted to give a quick shout out and tell you I genuinely enjoy reading your blog posts. Can you recommend any other blogs/websites/forums that deal with the same subjects? Appreciate it!