Contents
- 🛠️ Essential Ingredients and Equipment for Homemade Cheese & Yogurt
- 🧰 Useful Tools for Making Cheese & Yogurt at Home
- 🧫 Starter Cultures & Additives: What They Are and Why They Matter
- 👩🍳 Step-by-Step Methods to Make Homemade Cheese
- 🧁 Making Ricotta Cheese at Home + Flavoring & Storage Tips
- 🌿 Tips for Flavoring & Storing Fresh Cheese
- 🥣 How to Make Delicious Homemade Yogurt
- 💪 How to Make Greek Yogurt
- 🍓 Flavor Variations & Topping Ideas
- ✅ Final Tips for Success
- 🛡️ Troubleshooting & Safety Tips for Homemade Cheese and Yogurt
Believe it or not, making fresh, delicious dairy products at home doesn’t require special equipment or advanced skills. With just a few basic ingredients — like milk, yogurt, and lemon juice or vinegar — you can start creating your own homemade cheeses and yogurts that taste far better than store-bought.
This simple process gives you full control over what goes into your food — no additives, preservatives, or unnecessary sugars. Whether you’re looking for creamy yogurt, thick yogurt cheese (labneh), or soft, crumbly cheese like paneer or ricotta, the journey starts with a few natural steps and a bit of patience.
🥛 Why Try Homemade Dairy?
- ✅ Simple ingredients — just milk, yogurt, and a few tools
- ✅ Saves money in the long run
- ✅ Customizable flavor and texture
- ✅ Healthier and fresher than store-bought versions
- ✅ Fun and educational DIY project for all skill levels
From straining yogurt through cheesecloth to culturing warm milk into tangy curds, this guide will walk you through easy, satisfying methods to make your own cheese and yogurt at home. You don’t need fancy equipment — just a little curiosity and a clean kitchen!
🛠️ Essential Ingredients and Equipment for Homemade Cheese & Yogurt
Before diving into the process of making homemade cheese or yogurt, it’s important to understand the key ingredients and simple tools that set you up for success. Luckily, you don’t need a professional kitchen — just a few quality items and a clean workspace.
🥛 Choosing the Right Milk
Milk is the foundation of all dairy-making. The type and quality of milk you choose has a major impact on taste, texture, and yield.
✅ Best Choice: Fresh, Whole Milk
Whole milk contains the right amount of fat and protein to make rich, creamy yogurt and solid, flavorful cheese. It produces a smooth texture and satisfying mouthfeel.
🚫 Avoid Ultra-Pasteurized Milk
Ultra-pasteurization (often labeled as UHT) damages the milk proteins, making it much harder — or even impossible — for curds to form properly. Always check the label.
🐐 Alternative Milks: Goat & Sheep Milk
You can also experiment with goat or sheep milk for distinct flavors and slightly different textures.
- Goat’s milk creates softer, tangier products
- Sheep’s milk is richer and higher in fat, perfect for creamy cheeses
🧂 Raw Milk (Optional)
Raw milk can offer stronger, more complex flavor, but must be used with care and hygiene. It should be sourced from a trusted provider and heated properly before culturing.
🧫 Starter Cultures & Acids
Depending on what you’re making, you’ll need:
- Plain yogurt (with live cultures) — as a starter for homemade yogurt or labneh
- Lemon juice or vinegar — natural acid to separate curds when making fresh cheese like paneer or ricotta
- Rennet (optional) — for firmer cheeses that need coagulation beyond acidity
- Mesophilic or thermophilic cultures — if you’re diving deeper into aged cheeses
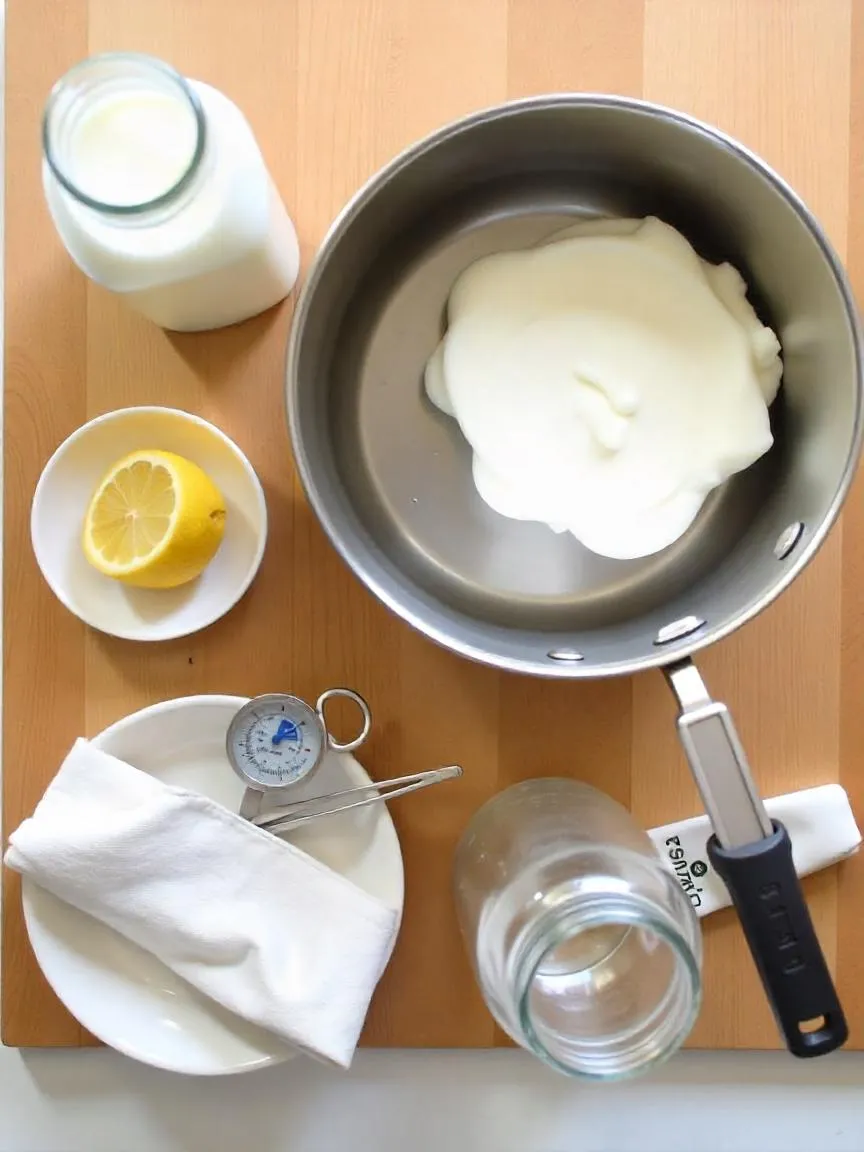
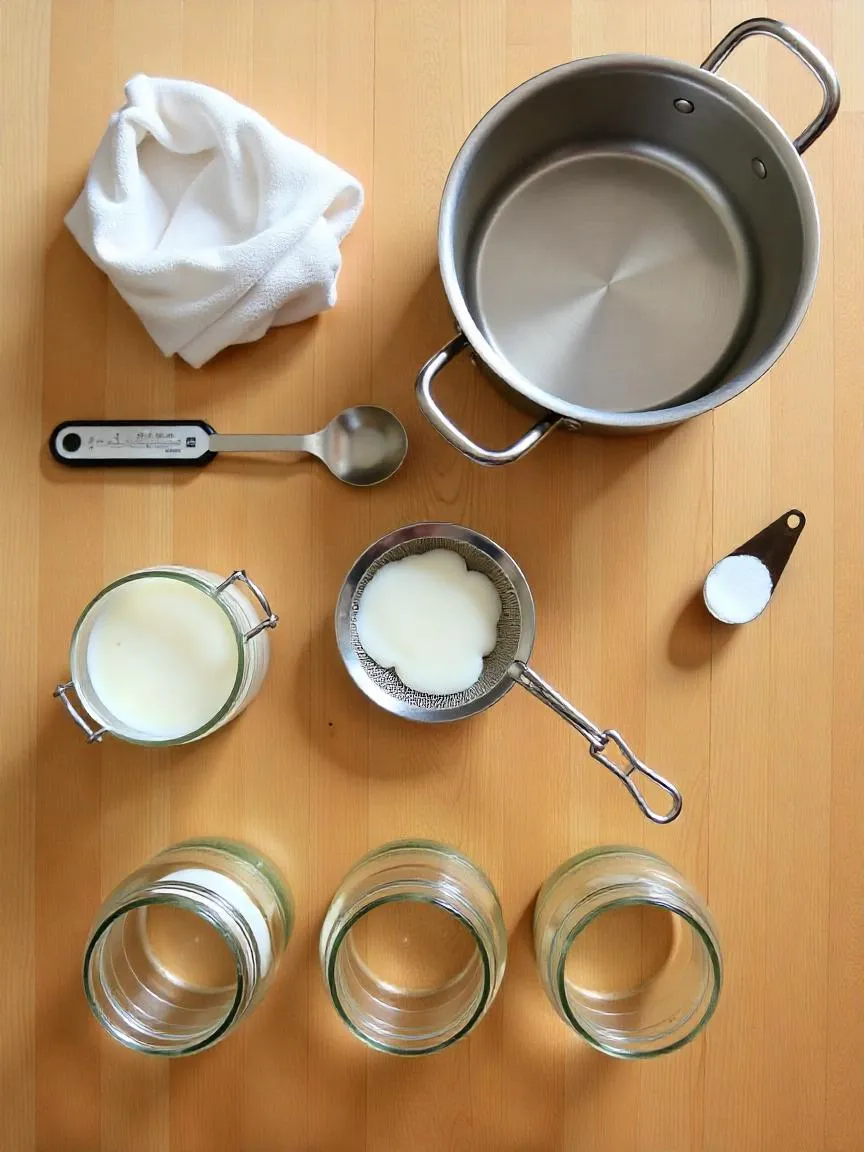
🧰 Basic Equipment You’ll Need
You likely already have most of these in your kitchen:
- Heavy-bottomed pot — for gently heating milk without scorching
- Thermometer — to monitor exact temperatures (important for yogurt and some cheeses)
- Cheesecloth or nut milk bag — for straining whey from curds or yogurt
- Strainer & bowl — to catch the strained liquid
- Ladle or slotted spoon — to transfer curds gently
- Containers with lids — for storing finished products
📌 Tip: Always sterilize your equipment before use — clean tools = better fermentation and fewer surprises!
With these essentials ready, you’ll be well equipped to start crafting your own fresh dairy delights right at home.
🧰 Useful Tools for Making Cheese & Yogurt at Home
While you don’t need a high-tech kitchen to start making homemade dairy, having a few key tools on hand makes the process easier, cleaner, and more consistent. These items help control temperature, handle curds gently, and maintain good hygiene — all important factors in successful yogurt and cheese making.
🌡️ 1. Dairy Thermometer (Essential!)
A thermometer is one of the most important tools when working with milk.
✅ It ensures milk is heated to the right temperature when:
- Starting yogurt cultures (usually 110–115°F / 43–46°C)
- Separating curds (often 180–190°F / 82–88°C)
Too hot, and the cultures die. Too cold, and fermentation may not happen at all.
🔪 2. Curd Knife
A long, thin curd knife allows you to cut curds cleanly and evenly without crushing them.
This helps release the whey gently and supports better curd formation, especially for semi-soft or aged cheeses.
🧻 3. Cheesecloth or Butter Muslin
Used to drain whey from curds or yogurt and to shape soft cheeses like labneh, ricotta, or paneer.
- Butter muslin is finer and reusable
- Regular cheesecloth works well for larger curds or straining yogurt
🔁 Tip: Always rinse and sterilize after each use for hygiene and reusability.
🍲 4. Large Heavy-Bottomed Pot
You’ll need a pot big enough to hold 1–2 liters (or more) of milk.
Choose one with:
- Thick base to prevent scorching
- Stainless steel for even heating and easy cleaning
🥄 5. Slotted Spoon or Ladle
Used for stirring gently and lifting delicate curds from whey without breaking them.
This tool helps maintain the shape of your cheese curds.
🥣 6. Covered Glass or Plastic Containers
Perfect for:
- Culturing yogurt in a warm environment
- Storing finished yogurt or cheese
Use BPA-free containers with lids to keep everything safe and fresh.
🧼 Bonus: Clean Towels or Wraps
Use kitchen towels or plastic wrap to cover resting or draining cheese and keep it protected from air exposure or drying out too fast.
🧀 Final Tip:
Prep your workspace before starting! Having all tools clean and within reach makes each step smoother — and helps avoid mistakes or contamination.
🧫 Starter Cultures & Additives: What They Are and Why They Matter
When making homemade cheese and yogurt, it’s not just milk that does the magic — you’ll also need starter cultures and a few optional additives. These natural helpers control fermentation, flavor, and texture, making the difference between a runny mess and perfect curds or creamy yogurt.
🦠 What Are Starter Cultures?
Starter cultures are beneficial bacteria that feed on lactose (milk sugar) and transform it into lactic acid. This process gives cheese and yogurt their tangy flavor, firm texture, and long shelf life.
✅ Common Types:
- Yogurt starter culture – Usually just a spoonful of plain yogurt with live active cultures (like Lactobacillus and Bifidobacterium)
- Mesophilic culture – Used for cheeses made at lower temperatures (cheddar, cream cheese, gouda)
- Thermophilic culture – For cheeses made at higher temperatures (mozzarella, swiss, parmesan)
If you’re just starting out, yogurt with live cultures is all you need for homemade yogurt or labneh.
🧬 What Is Rennet?
Rennet is an enzyme that helps milk form firm curds. It’s essential in most cheese recipes (but not needed for yogurt).
- Comes in liquid, tablet, or powder form
- Available in animal-based or vegetarian versions
- Used in small amounts — a few drops per batch!
Rennet works best when milk is at just the right temperature, so be sure to use a thermometer for accuracy.
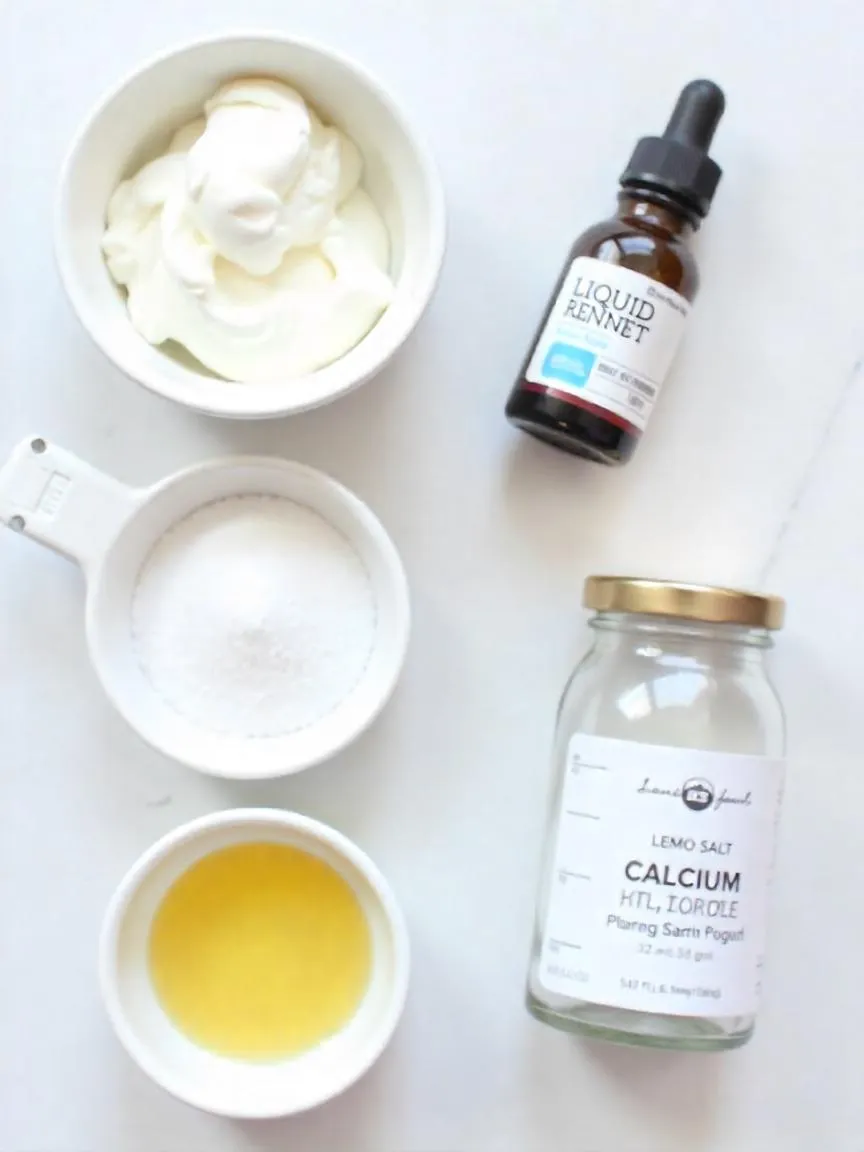
🧂 Salt: Flavor & Preservation
Salt in cheese-making is more than just seasoning — it also:
- Draws out moisture
- Inhibits bad bacteria
- Improves texture
Use non-iodized salt (like cheese salt, kosher, or sea salt), as iodine can interfere with bacterial cultures.
🧪 Calcium Chloride (Optional, But Helpful)
If you’re using pasteurized or store-bought milk, it may lack the natural calcium structure needed for proper curd formation.
✅ Add calcium chloride (diluted in water) before rennet to improve curd setting.
🧀 Why the Right Balance Matters
Using the right mix of:
- Starter cultures
- Rennet
- Salt
- (Optional) Calcium chloride
…ensures your cheese or yogurt will turn out safe, flavorful, and consistent every time. Skip or mismeasure one, and you might end up with something too runny, bitter, or bland.
🧪 Tip: Store your cultures and rennet in the fridge or freezer to extend their shelf life and maintain potency.
👩🍳 Step-by-Step Methods to Make Homemade Cheese
You don’t need to be a cheesemaker to enjoy fresh, delicious cheese made right in your kitchen. In fact, some of the most satisfying cheeses — like paneer, ricotta, or labneh — require only a few ingredients and tools. The key is to follow a simple process with attention to detail.
Different cheeses require different steps, but the core method remains the same: heat → curdle → strain → enjoy.
🧀 Simple Soft Cheese Recipes You Can Make at Home
Soft cheeses are the easiest for beginners and don’t require aging, special cultures, or rennet. Perfect for quick results!
🔥 Step 1: Heat the Milk
Start by pouring whole milk (fresh and preferably not ultra-pasteurized) into a heavy-bottomed pot.
- Heat gently over medium-low until it reaches about 180°F (82°C)
- Stir occasionally to avoid scorching the bottom
- Don’t boil — just heat until it’s steaming and frothy
🍋 Step 2: Add Acid to Curdle the Milk
Once heated, turn off the heat and slowly add your acid:
- Lemon juice
- White vinegar
- (Use about 2–3 tablespoons per liter/quart of milk)
Stir gently in one direction. Within minutes, the milk will separate into white curds and yellowish whey.
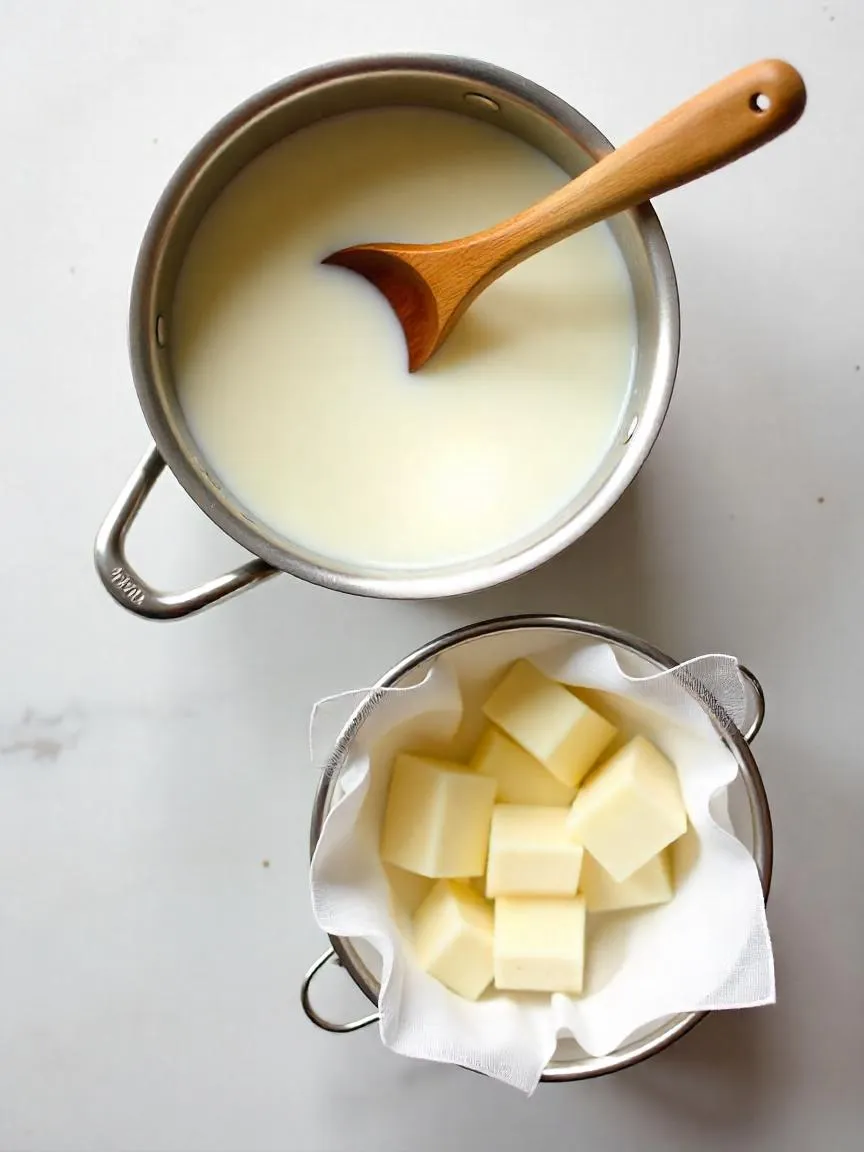
🧺 Step 3: Strain the Curds
Line a strainer or colander with cheesecloth or a clean kitchen towel, and place it over a large bowl.
- Carefully pour the curdled mixture into the cloth
- Let the whey drain out — this may take 1–2 hours depending on how firm you want the cheese
- For firmer cheese (like paneer), gather the cloth and press with a weight for a few hours
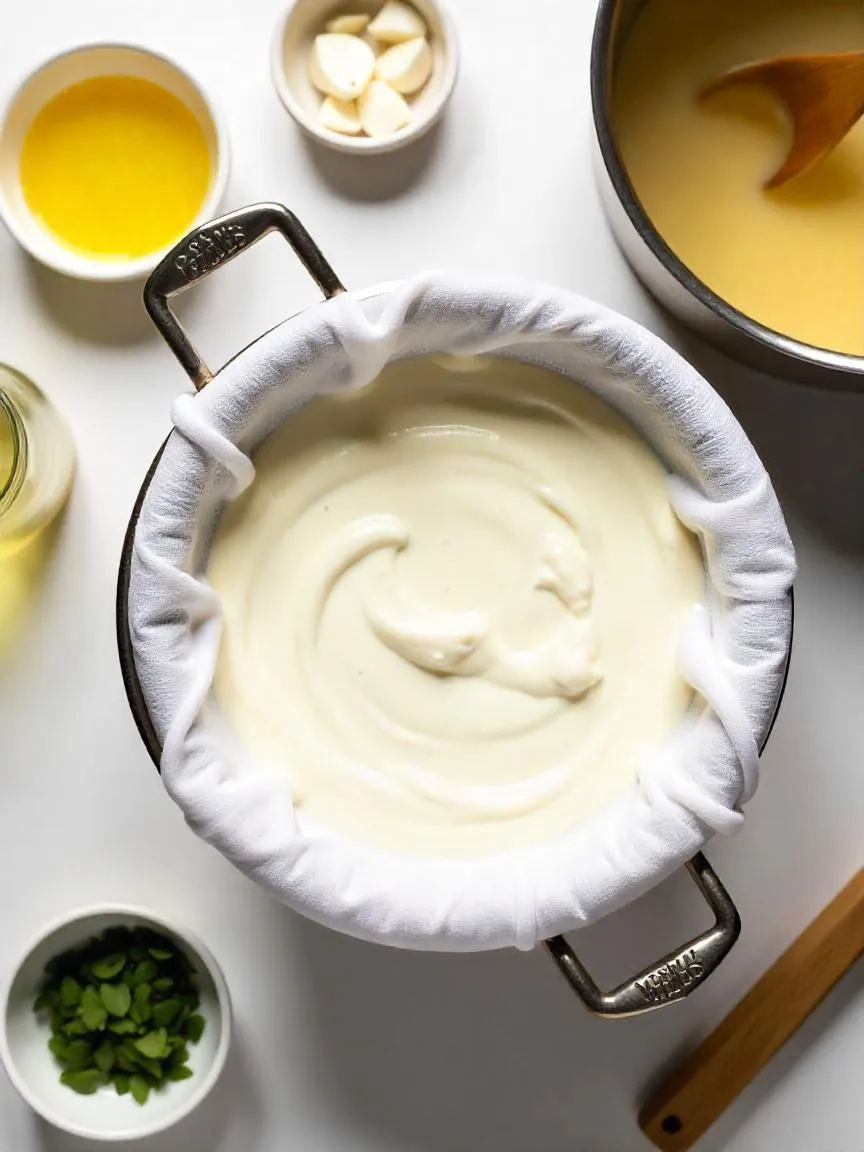
🌿 Step 4: Flavor & Serve
Once drained, you’ll be left with a soft, spreadable or sliceable cheese. You can enjoy it plain or mix in:
- Chopped herbs
- Garlic or chili flakes
- Olive oil or lemon zest
- Salt (add after draining to avoid drawing out too much moisture)
🍽️ How to Use Fresh Homemade Cheese
- Spread it on toast or crackers
- Crumble it into salads
- Use it in wraps or stuffed vegetables
- Slice paneer and fry it for curries or bowls
🧼 Tip: Store fresh cheese in an airtight container in the fridge. It’s best consumed within 3–5 days for optimal freshness.
🧁 Making Ricotta Cheese at Home + Flavoring & Storage Tips
Ricotta is one of the easiest and most rewarding cheeses you can make in your own kitchen. Creamy, mild, and versatile — it’s perfect for stuffing pasta, baking into desserts, or spreading on toast with a drizzle of honey. And the best part? You only need milk, acid, and a few minutes.
👩🍳 How to Make Homemade Ricotta Cheese
🥛 Ingredients:
- 1 liter (or quart) of whole milk (or leftover whey from other cheese)
- 2–3 tbsp lemon juice or white vinegar
- Pinch of salt (optional)
🔥 Step-by-Step:
- Heat the milk or whey in a saucepan until just below boiling (about 190°F / 88°C). Stir occasionally to avoid scorching.
- Add the acid slowly, while stirring gently. You’ll see soft, fluffy curds begin to form almost immediately.
- Let it sit off the heat for 5–10 minutes to allow full separation.
- Strain the curds using cheesecloth or a fine mesh strainer. Drain for 10–30 minutes depending on desired creaminess.
✅ For smooth texture, stir gently while heating and avoid pressing the curds too much.
🥗 How to Use Homemade Ricotta
- Mix into lasagna, stuffed shells, or ravioli
- Spread on toast with honey, berries, or herbs
- Add to pancakes, cakes, or baked goods
- Use in savory dips or mix with herbs for a quick spread
🌿 Tips for Flavoring & Storing Fresh Cheese
Homemade cheese doesn’t just have to be plain — you can infuse it with flavor and character using simple, natural ingredients.
🌱 Flavoring Ideas:
- Fresh herbs (chives, dill, basil)
- Roasted garlic or crushed pepper
- Lemon zest or smoked paprika
- Olive oil + sea salt
✨ Add these only after draining, once the cheese is soft but not too wet. Gently stir in flavors for even distribution.
🧊 Smart Storage Tips:
- Wrap cheese in wax paper or parchment paper — this protects texture while allowing it to breathe
- Avoid plastic wrap, which can trap moisture and lead to spoilage
- Store in an airtight container in the fridge for up to 5–7 days
- Label with the date made so you can keep track
- If liquid collects, drain it gently to keep the cheese fresh longer
🚫 Always discard if it smells sour, has mold, or changes texture dramatically.
With just a few ingredients and tools, you can create fresh cheeses that taste amazing and reflect your style. 🧀 Whether spread on toast or stirred into pasta, homemade ricotta and other soft cheeses bring simple joy to everyday meals.
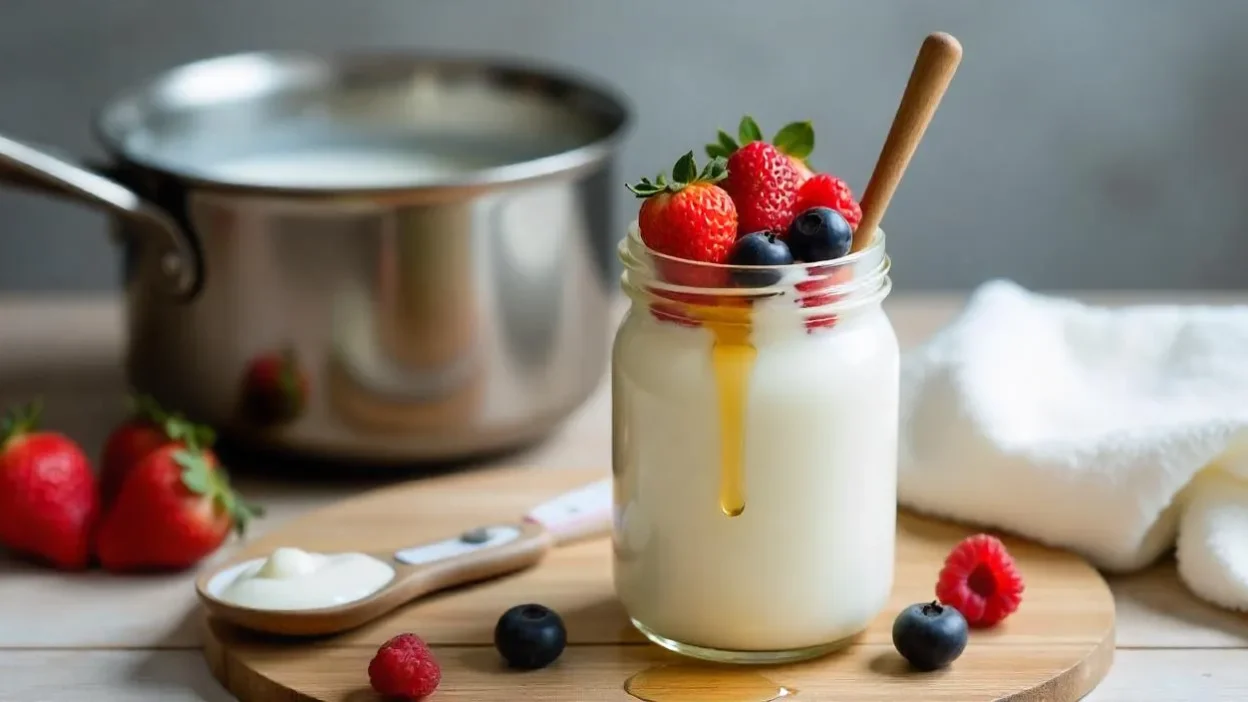
🥣 How to Make Delicious Homemade Yogurt
Homemade yogurt is one of the easiest and most rewarding DIY kitchen projects. With just milk, a spoonful of yogurt, and a warm space, you can create your own batch of creamy, tangy goodness — fresh, natural, and fully customizable.
🧪 Traditional Yogurt Preparation Technique
To make classic yogurt at home, follow this simple, time-tested method:
🔥 Step 1: Heat the Milk
Pour whole milk into a saucepan and heat it slowly to 180°F (82°C).
This step:
- Kills any unwanted bacteria
- Alters milk proteins so the yogurt sets properly
Stir occasionally to prevent burning. Don’t boil — just gently heat until it’s steamy and starts to froth around the edges.
❄️ Step 2: Cool the Milk
Let the milk cool down to around 110°F (43°C) — the ideal temperature for fermentation. You can speed up cooling by placing the pot in a cold water bath.
🥄 Step 3: Add the Starter
Stir in 1–2 tablespoons of plain yogurt with live cultures (store-bought or saved from a previous batch). Mix gently but thoroughly — avoid vigorous stirring.
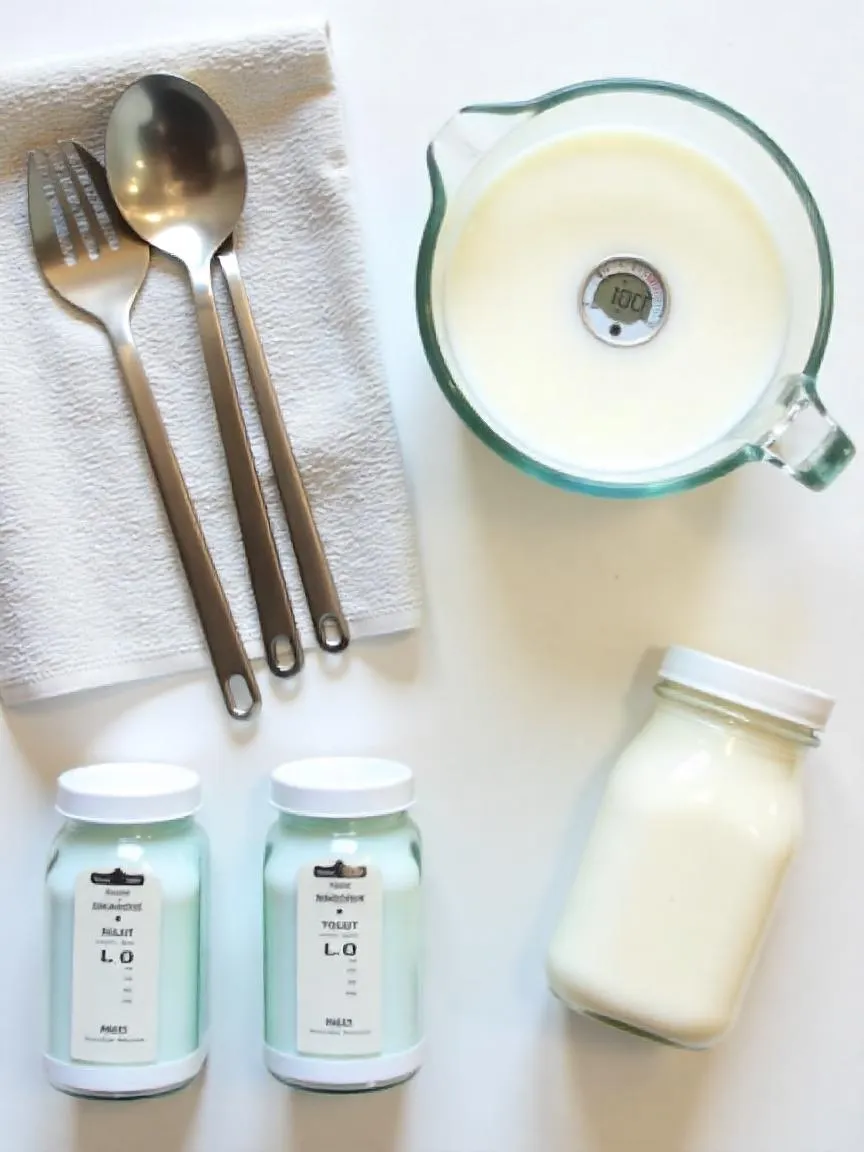
🌡️ Step 4: Incubate
Transfer the mixture to a clean container or jars. Keep warm (around 110°F/43°C) for 4 to 12 hours:
- Shorter time = milder taste
- Longer time = thicker and tangier
Incubation methods:
- Yogurt maker
- Warm oven with light on
- Wrapped in towels inside a cooler
- Instant Pot (yogurt setting)
Once thickened, refrigerate for a few hours to firm up and stop the fermentation.
💪 How to Make Greek Yogurt
Greek yogurt is simply strained regular yogurt — but it feels like a whole different experience! Rich, creamy, and protein-packed.
🧺 What You Need:
- A bowl
- A fine mesh strainer or sieve
- Cheesecloth, nut milk bag, or coffee filter
🥣 The Process:
- Place strainer over the bowl and line with cloth or filter
- Spoon in regular yogurt
- Let it strain in the fridge for 4–12 hours
More time = thicker yogurt. You can even strain it longer to make yogurt cheese (labneh)!
Greek yogurt has more protein, less lactose, and a luscious texture — perfect for breakfast bowls, dips, marinades, or dessert.
🍓 Flavor Variations & Topping Ideas
Once your yogurt is chilled, it becomes a blank canvas for flavor and creativity. Here are some ideas to elevate your homemade batch:
🍯 Sweet & Fruity:
- Fresh berries, mango, or banana slices
- Honey, maple syrup, or agave
- Chopped nuts or granola
- Vanilla extract, lemon zest, or cinnamon
🌿 Savory & Functional:
- Mix yogurt with garlic, mint, and cucumber for tzatziki
- Stir into smoothies for creaminess
- Use as a base for herb dips or salad dressings
✨ Tip: Always add flavors after fermentation and chilling, so they don’t affect the culturing process.
✅ Final Tips for Success
- Use whole milk for richer yogurt
- Always use a fresh, active starter
- Store yogurt in sealed containers for up to 1 week
- Save a few spoonfuls to start your next batch
With just a few ingredients and a bit of patience, you can enjoy delicious, nutritious, homemade yogurt every day — tailored to your taste and packed with probiotic goodness. 🥄💛
🛡️ Troubleshooting & Safety Tips for Homemade Cheese and Yogurt
Making dairy at home is fun and satisfying — but like any fermentation process, it requires a bit of care to avoid mistakes and ensure your yogurt and cheese stay safe, fresh, and delicious.
Here are common issues and how to prevent them, plus storage tips to keep your creations at their best.
❌ Common Mistakes to Avoid
🌡️ 1. Wrong Temperature
Different dairy products require specific temperatures to culture or curdle properly:
- Yogurt: 110°F (43°C)
- Soft cheese (like paneer): 180–190°F (82–88°C) before adding acid
- Curd setting with rennet: around 90°F (32°C)
Too cold? The culture may not activate. Too hot? It might kill the bacteria or deactivate rennet.
✅ Tip: Use a kitchen thermometer for accuracy.
🥄 2. Stirring Too Much or Too Roughly
- Vigorous stirring can break curds or interfere with setting.
- Once curds start to form, stir slowly and minimally to protect texture.
🧼 3. Using Unclean Tools
This is a common beginner mistake and a major cause of:
- Off smells
- Slimy textures
- Mold growth
Always:
- Wash all pots, spoons, jars, and cloths
- Sanitize with boiling water or white vinegar
- Dry with clean towels
Sterile tools = safe, delicious results.
🧊 Proper Storage & Shelf Life
Homemade dairy needs the right storage to stay fresh and food-safe.
🧀 How Long Does It Last?
- Fresh cheese (paneer, ricotta, labneh): up to 7 days in the fridge
- Yogurt: up to 14 days, though flavor may get tangier over time
✅ Always store in airtight containers to prevent drying and odor absorption.
🕵️♀️ Signs It’s Gone Bad:
- Slimy surface
- Foul or sour odor (beyond natural tang)
- Mold spots (unless you’re making mold-ripened cheese — which is another story!)
📌 If in doubt, throw it out.
🏷️ Bonus Tip: Label Everything
Date each container when you make a new batch. This helps:
- Track freshness
- Avoid mix-ups
- Know which batch is your starter for next time
With clean tools, careful temperatures, and proper storage, your homemade yogurt and cheese will turn out consistently delicious — and safe. 🧼💛


This is so exciting! I’ve always been intimidated by the idea of making dairy products at home, picturing complex processes and specialized equipment. Your post completely shifts that perspective. I’m particularly intrigued by the possibility of making labneh – I love its tangy creaminess. My question is: what’s the biggest hurdle beginners usually face when starting out with homemade dairy, and do you have any tips for overcoming it?