Contents
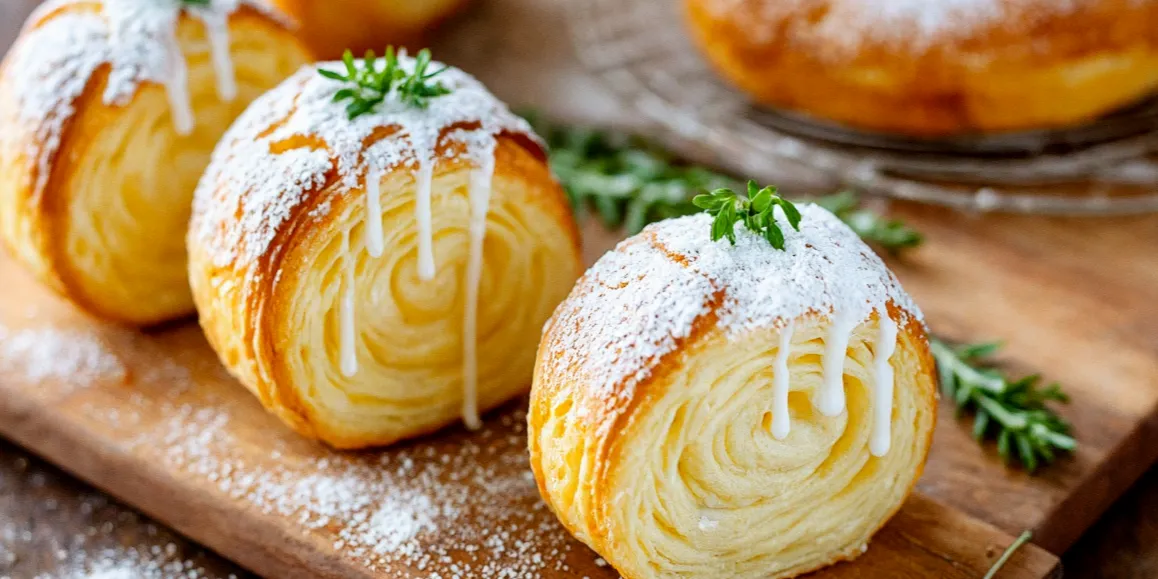
Have you ever tried a dessert that made you pause mid-bite and go, “Hold on, what IS this magic?” That was me the first time I tasted a Cromboloni. I didn’t even know how to pronounce it properly at first — was it “cromb-oh-lo-nee” or “crom-buh-lon-ee”? Either way, I didn’t care. I was hooked.
Cromboloni are like if a croissant and a filled doughnut had a lovechild — flaky, golden, buttery on the outside, and soft and creamy on the inside. It’s not just a pastry; it’s an experience. And the best part? You don’t need to fly to Italy or Paris to try it. You can make it at home with a bit of patience, some decent ingredients, and a free Saturday morning.
Let me take you through how I make them, what works, what doesn’t, and why they’re 100% worth the effort.
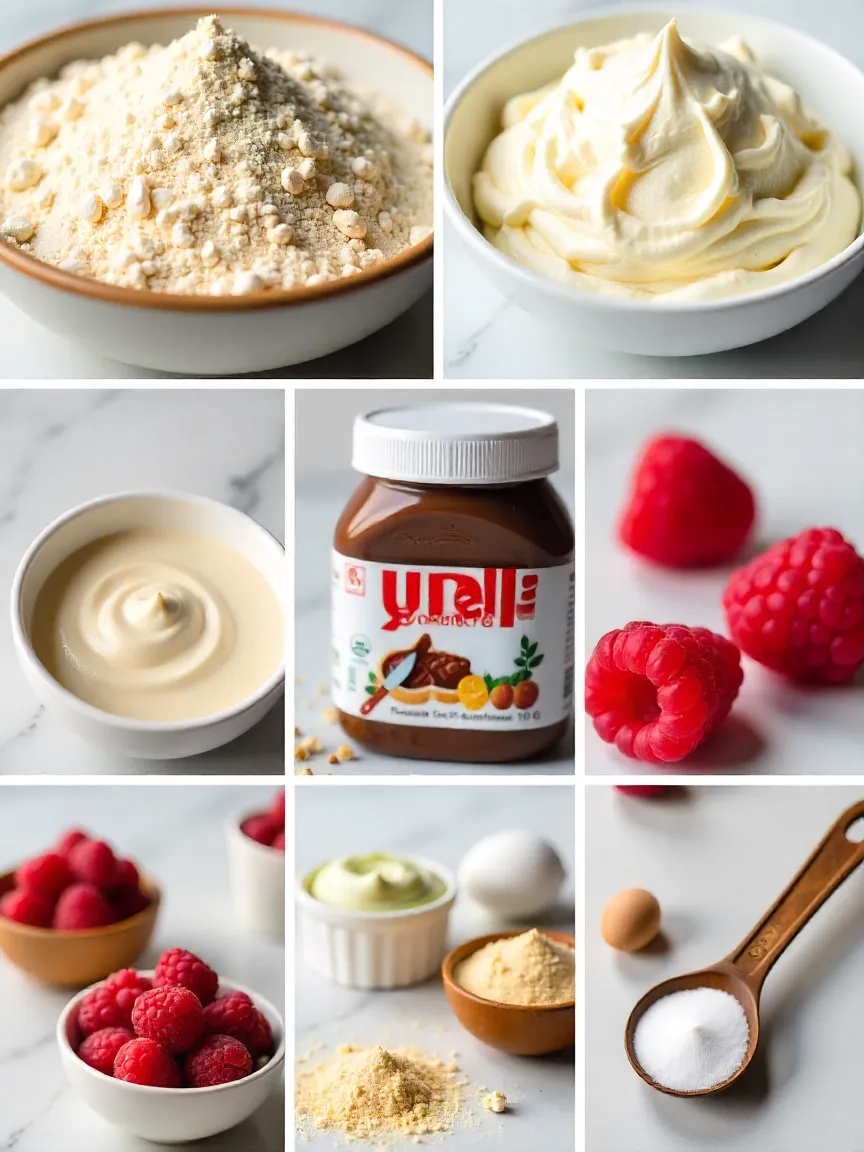
🧾 Ingredients that make or break your cromboloni
Baking is a bit like chemistry — if you mess up the formula, things fall apart. And Cromboloni dough is no exception. You’ll need a few simple ingredients, but the quality and combination really matter.
🥖 Flour: More important than you think
Most beginner bakers grab whatever flour is in the pantry — but when it comes to laminated dough, not all flours work the same. What you want is bread flour, with a higher protein content. Why? Because it helps create gluten, which gives the dough that stretchy, elastic structure that holds butter layers without tearing.
All-purpose flour can work, but the dough will be softer and might not give you that signature puff. Avoid cake flour — it’s way too delicate.
📌 Tip: Weigh your flour. Don’t scoop. A cup of flour can vary wildly depending on how you measure it, and too much or too little will throw everything off.
🧂 Yeast & fermentation: Where the flavor lives
Cromboloni don’t just look good — they also have a subtle, rich flavor that develops over time. That’s where yeast comes in.
You can use instant or active dry yeast. I personally go with instant — no need to dissolve it first, and it’s super reliable. Either way, you’ll want a warm liquid (milk works beautifully) to activate things.
The trick is not to rush it. Let the dough rise slowly, ideally in the fridge overnight. It might seem annoying to wait, but long fermentation brings out complex, slightly tangy notes that make the pastry taste like it came from a bakery in Milan.
⏱️ Pro move: Do a second proof after shaping. That last rise gives you that light, cloud-like crumb inside.
🍫 Fillings: This is where you can get creative
Once your dough is laminated (more on that in a sec), it’s time to decide what goes inside. Here’s the fun part — you can go traditional or totally rogue.
Some of my faves:
- Nutella and crushed hazelnuts (a no-brainer)
- Pastry cream with fresh raspberries
- Pistachio cream with orange zest
- Ricotta with honey and lemon zest for a savory-sweet combo
Just make sure the filling isn’t runny — it should be thick enough to stay put inside while baking, otherwise you’ll get an oozy mess.
🥄 Hack: You can make the filling the day before and chill it. Cold filling is easier to handle and won’t melt into the dough.
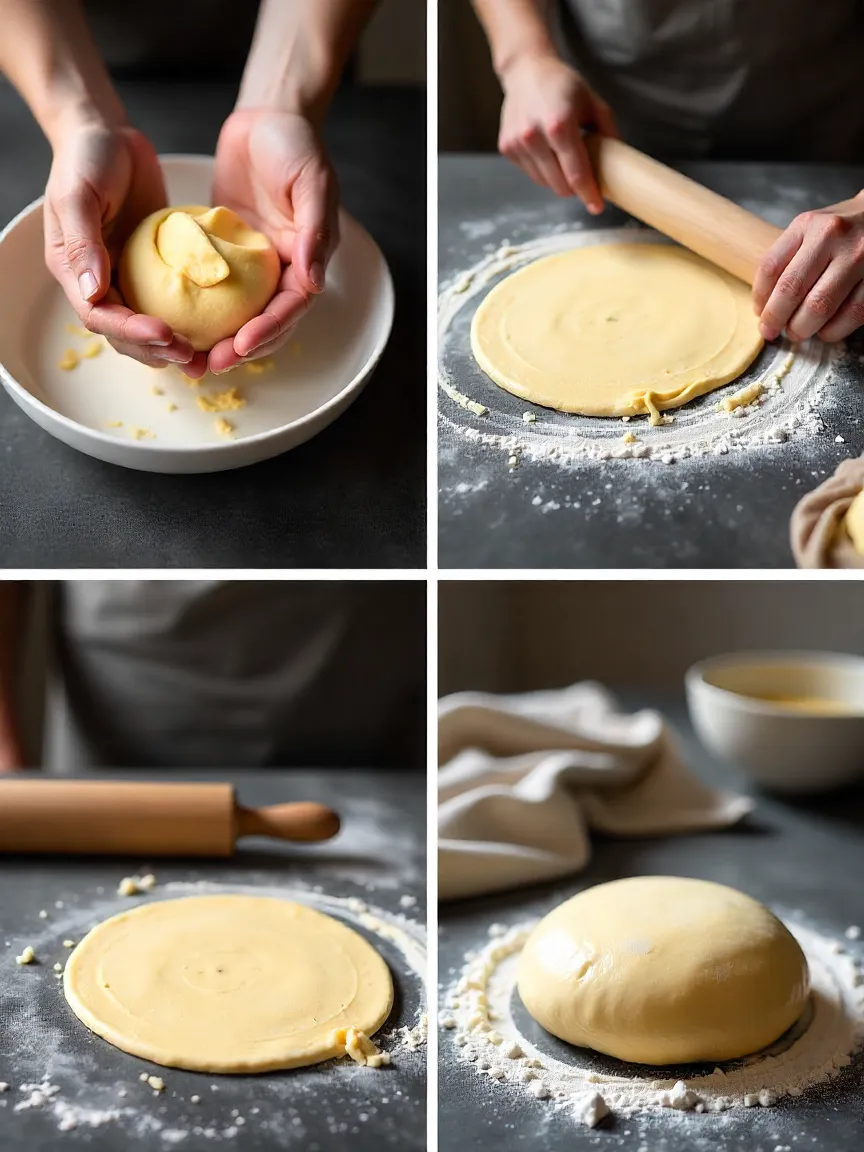
👩🍳 Let’s talk dough: The real work (and the real joy)
Making Cromboloni dough is a bit of a workout, not gonna lie. But if you’ve ever made croissants, this will feel familiar.
Here’s a breakdown:
🥣 Mixing & kneading
You start by combining your flour, yeast, sugar, salt, warm milk, and softened butter. Use a stand mixer if you have one — or roll up your sleeves and knead by hand for about 10 minutes until the dough is soft, smooth, and slightly bouncy.
Then let it rest. Cover with a towel or plastic wrap and leave it to rise in a warm spot until it doubles in size. Depending on the room temp, this can take anywhere from 1 to 2 hours.
🧊 Laminating: Layers on layers
This is where the pastry magic happens. Laminating means folding layers of cold butter into the dough over and over, creating dozens of tiny, flaky sheets that puff up beautifully in the oven.
- Roll your dough into a rectangle.
- Place a thin, chilled sheet of butter in the center.
- Fold the dough like a letter (top third down, bottom third up).
- Chill for 30 minutes.
- Repeat the rolling, folding, and chilling at least three times.
The goal is to keep everything cold. If the butter melts into the dough at any point, you lose the flake.
📌 Pro tip: If your kitchen is warm, freeze your rolling pin and use chilled baking sheets to work on. Seriously.
🌀 Shaping the cromboloni
Once laminated and chilled, roll out your dough again — about ½ inch thick.
Use a biscuit cutter or drinking glass to cut out circles. Pair them up — one for the base, one for the top. Place a dollop of filling in the center of the bottom piece, moisten the edges with water, and seal with the top.
Now here’s the fun part: gently shape them into rings, or twist the edges for a crimped look. I like to make little puffs that look like filled doughnut pillows 🛏️
Let them rise one more time (30–45 minutes), and then you’re ready to bake.
🔥 Baking to golden perfection
Preheat your oven to 375°F / 190°C. Line a baking tray with parchment paper and give each pastry some space — they’ll expand as they bake.
Bake for 18 to 22 minutes, depending on size. Watch the tops — they should turn golden brown and crisp, but not too dark. If they’re browning too fast, lower the temp slightly and finish with a few extra minutes.
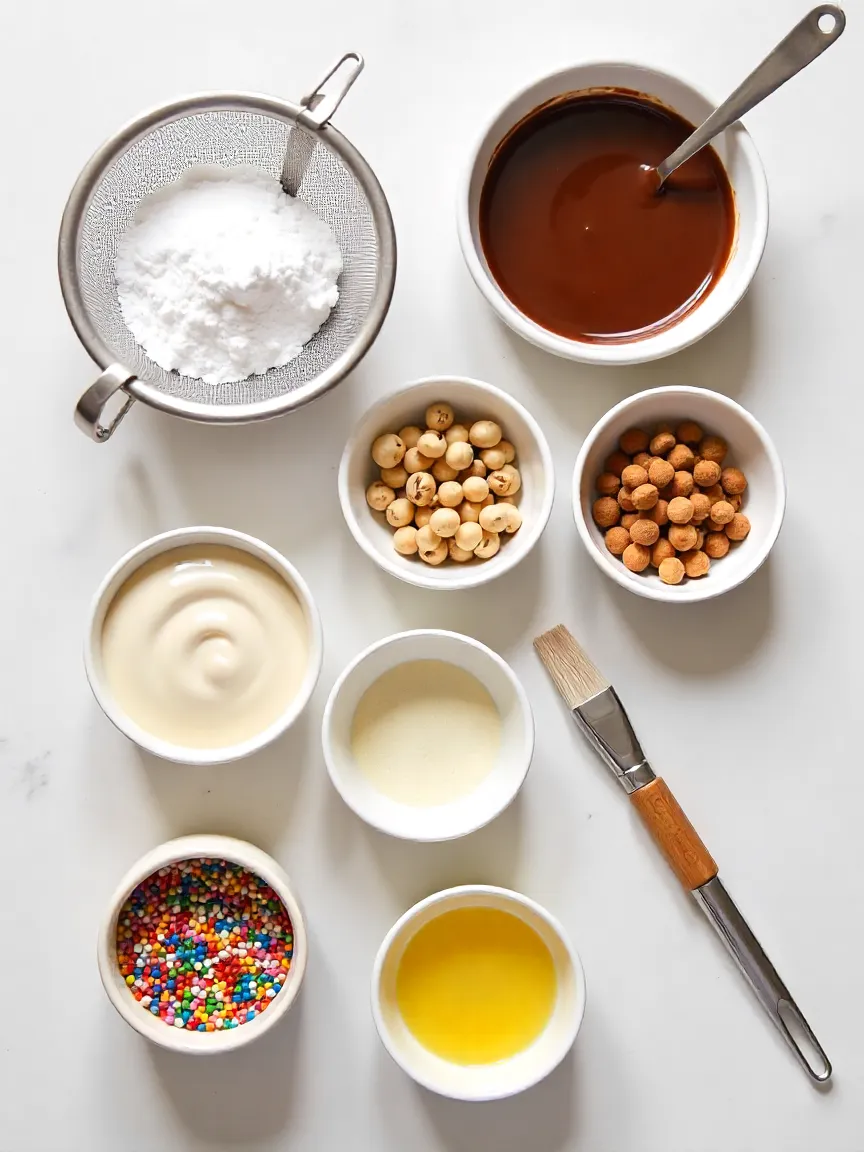
🍯 Finishing touches: The cherry on top (literally, if you want)
Here’s where you turn your cromboloni from “nice” to “absolutely irresistible.”
Some topping ideas:
- Powdered sugar for a classic bakery look
- Melted chocolate drizzle + chopped nuts
- Vanilla glaze + rainbow sprinkles (for the kid in you)
- Cinnamon-sugar coating brushed with butter (✨ churro vibes ✨)
Let the pastries cool slightly before glazing — warm, not hot, is the sweet spot for things to stick.
☕ Final thoughts: Worth every minute
Yes, making Cromboloni from scratch takes a bit of effort. It’s not a whip-it-up-on-a-whim kind of dessert. But the process — the kneading, folding, shaping — is surprisingly meditative. And when you bite into that flaky, buttery shell and hit the creamy, gooey center, you’ll get it.
These are show-stopper pastries. Bake them for a weekend brunch, gift them to friends, or just treat yourself. You deserve it.