Contents
- 🥔 Choosing the Best Potatoes for Crispy Homemade Chips
- 🥔 Selecting the Best Potatoes for Homemade Chips
- 🔪 Preparing the Potatoes — The First Step to Perfect Chips
- 🔪 Slicing & Soaking: The Key to Crispy, Evenly Cooked Chips
- 🍳 Cooking Your Chips — Frying vs. Baking for the Perfect Crunch
- 🧂 Flavoring & Serving — Turn Simple Chips into Irresistible Snacks
- 🍽️ Serving Suggestions — Make Chips the Star of the Table
Craving something crunchy, salty, and oh-so-satisfying? ✨ Instead of reaching for another store-bought bag, why not make your own crispy potato chips at home? With just a few basic ingredients—potatoes, oil, and salt—you can create golden, crunchy chips that rival your favorite brand.
The best part? Homemade chips are healthier, customizable, and surprisingly simple to prepare. Whether you’re team classic sea salt or love bold flavors like paprika or rosemary, this guide walks you through the process—from potato to perfect crunch.
Why Make Chips at Home?
✅ Fewer ingredients — no preservatives or artificial flavors
🔄 Fully customizable — from seasoning to thickness
🍽️ Satisfying and fun — perfect for movie nights or party snacks
🧂 Control the salt and oil levels to suit your diet
🥔 Choosing the Best Potatoes for Crispy Homemade Chips
When it comes to making potato chips at home, your choice of potato can make or break the crunch. Different varieties vary in starch content, moisture levels, and texture—all of which affect how your chips turn out.
The secret to that restaurant-level crisp? Use the right potato from the start. Let’s break down your best options.
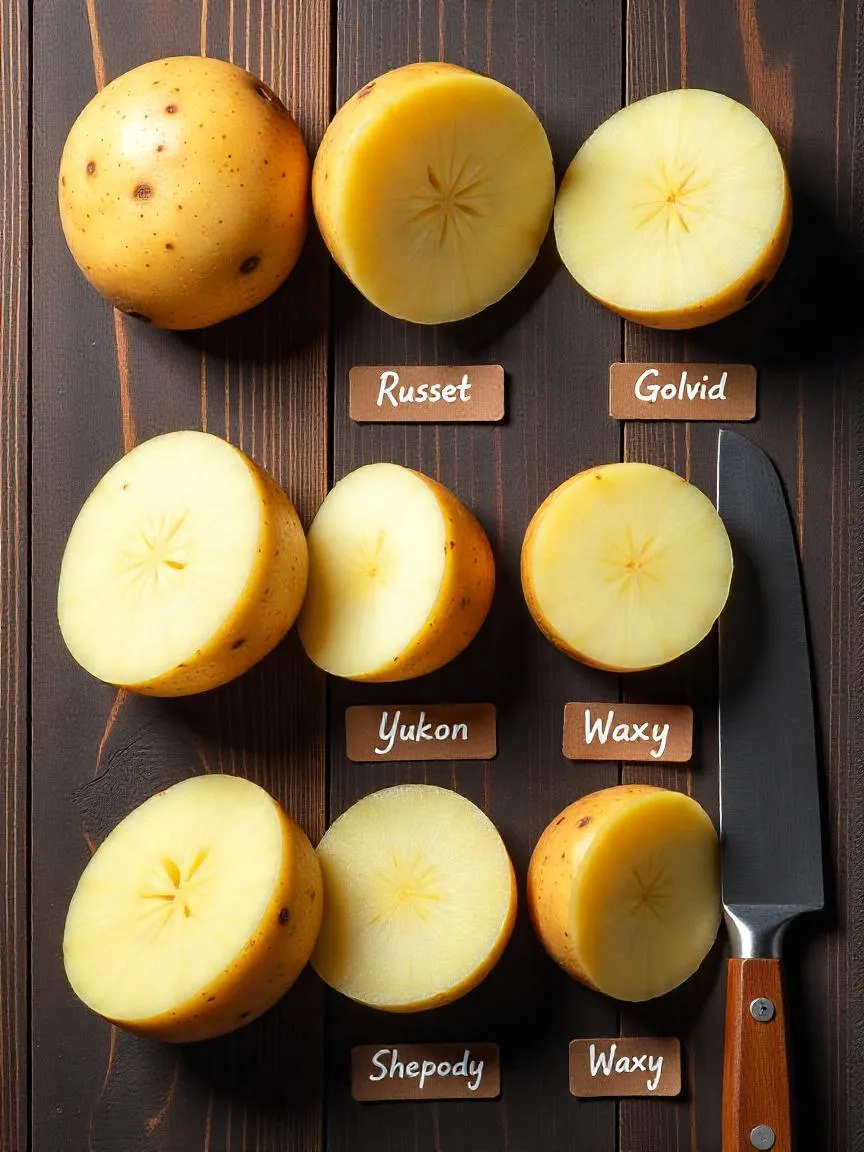
🥇 Top Potato Varieties for Crispy Chips
Not all potatoes are created equal—especially when air-frying, baking, or deep-frying.
🔶 Russet Potatoes
- Best for ultra-crispy chips
- High in starch, low in moisture
- Fluffy texture once cooked
- Classic go-to for deep-frying and baking
🟡 Yukon Gold Potatoes
- Slightly waxy with a buttery flavor
- Crisp nicely while retaining a richer bite
- Great balance between texture and taste
⚪ Shepody Potatoes
- Often used in commercial chip-making
- Light and fluffy inside
- Crisp well when sliced thin
🚫 Potatoes to Avoid for Chips
While tempting, waxy potatoes—like red, new, or fingerling varieties—are not ideal for chips.
- Higher moisture content
- Lower starch levels
- Results: Softer, less crisp texture
❗ If you do use waxy potatoes, slice extra thin and cook longer to draw out moisture.
💡 Pro Tip:
Always rinse and soak your potato slices (regardless of type) in cold water before cooking. This removes surface starch that can cause sogginess and helps achieve a cleaner, more even crisp.
🥔 Selecting the Best Potatoes for Homemade Chips
Great chips start with great potatoes. While cooking methods matter, the quality and type of potato you select can be the deciding factor between soggy slices and crispy perfection.
When browsing the produce section or farmers’ market, keep an eye out for potatoes that are fresh, firm, and high in starch.
🔍 What to Look For in a Perfect Potato
Here’s a quick checklist to help you pick the best spuds for chip-making success:
✅ Smooth, Clean Skin
Avoid potatoes with blemishes, bruises, or green spots.
✅ Firm Texture
Give the potato a gentle squeeze—it should feel solid and dense, not soft or rubbery.
✅ Medium Size
Uniform, medium-sized potatoes are easier to slice evenly, which leads to more consistent cooking.
✅ No Sprouts or Wrinkles
Sprouted potatoes may be old and starchy in the wrong way. Wrinkling is a sign of dehydration.
🥇 Best Varieties for Crispy Chips
- Russet potatoes — Classic choice: starchy, dry, and ideal for ultra-thin, super-crispy chips
- Yukon Gold — A bit creamier but still crisp up nicely
- Shepody — A commercial favorite for a light interior and good fry texture
❌ Avoid waxy varieties like Red or New potatoes—they tend to hold more moisture and produce softer chips.
💦 Bonus Tip: Soak Before You Fry
Before cooking, soak sliced potatoes in cold water for 1–2 hours (or even overnight). This helps:
- Remove excess surface starch
- Prevent sticking
- Enhance crunchiness
- Reduce browning too quickly
💡 Just remember to dry thoroughly after soaking to avoid oil splatter or uneven browning.
🔪 Preparing the Potatoes — The First Step to Perfect Chips
Before you even heat up your oil or air fryer, your potatoes need a bit of attention. Proper preparation—washing, peeling, slicing, and soaking—lays the foundation for crispy, evenly cooked homemade chips. 🧼🥔
This isn’t a step to rush. Each part of the process enhances texture, reduces bitterness, and brings out that golden-brown crunch we all crave.
🚿 Washing & Peeling: A Clean Start
Fresh, high-starch potatoes like Russet or Yukon Gold work best here. But even the best potato needs a proper prep.
🧽 Step-by-Step:
- Rinse under cold water to remove dirt and residual pesticides
- Use a vegetable brush for stubborn spots or soil
- Peel (optional) with a sharp vegetable peeler
- Leaving the skin on? Great for added texture, fiber, and a rustic finish.
💡 If keeping the skin on, scrub thoroughly—it adds flavor but needs to be clean.
⚖️ Why This Step Matters
- Removes surface debris and bitterness
- Allows for even slicing
- Helps seasonings stick better
- Prepares the potatoes for starch removal during soaking
Clean, well-prepared potatoes cook more evenly and produce chips that are crisp, light, and golden—never soggy or chewy.
🔪 Slicing & Soaking: The Key to Crispy, Evenly Cooked Chips
Perfect homemade chips begin with uniform slicing and proper soaking. These two simple but essential steps help ensure that your chips cook evenly and crisp up beautifully—without any burnt edges or soggy centers.
Whether you’re using a mandoline or slicing by hand, consistency is everything. And don’t skip the soak—it’s the secret to that crave-worthy crunch. 🧊🥔
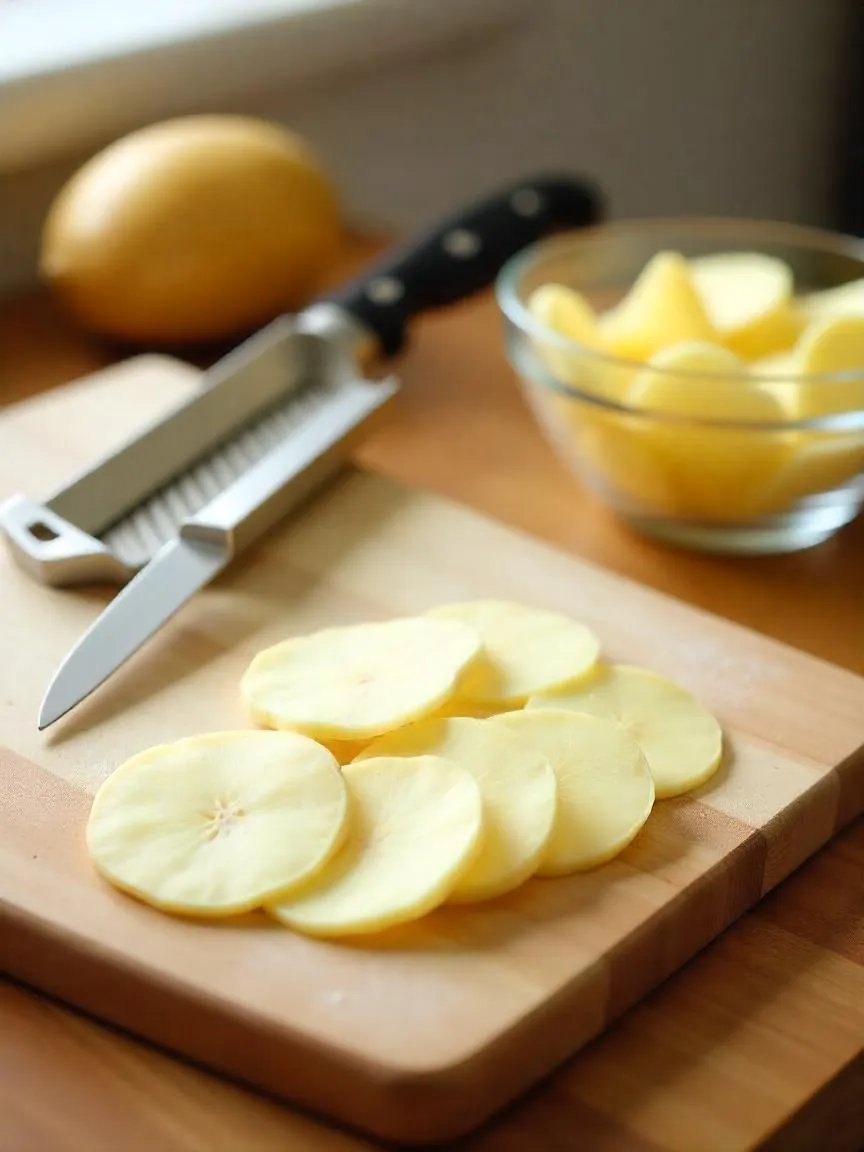
📏 Slicing Techniques: Get the Thickness Right
Aim for slices about 1/8 inch (3 mm) thick. This strikes the perfect balance between crispiness and structure.
🔪 Method 1: Sharp Knife
- Great for experienced cooks with steady hands
- Offers control, especially if you like varied thickness
- Be sure to slice slowly and evenly
⚙️ Method 2: Mandoline Slicer
- Fast and efficient
- Ensures all slices are the exact same thickness
- Always use a hand guard for safety!
💡 Uneven slices = uneven cooking. Thin parts may burn while thick parts stay soft.
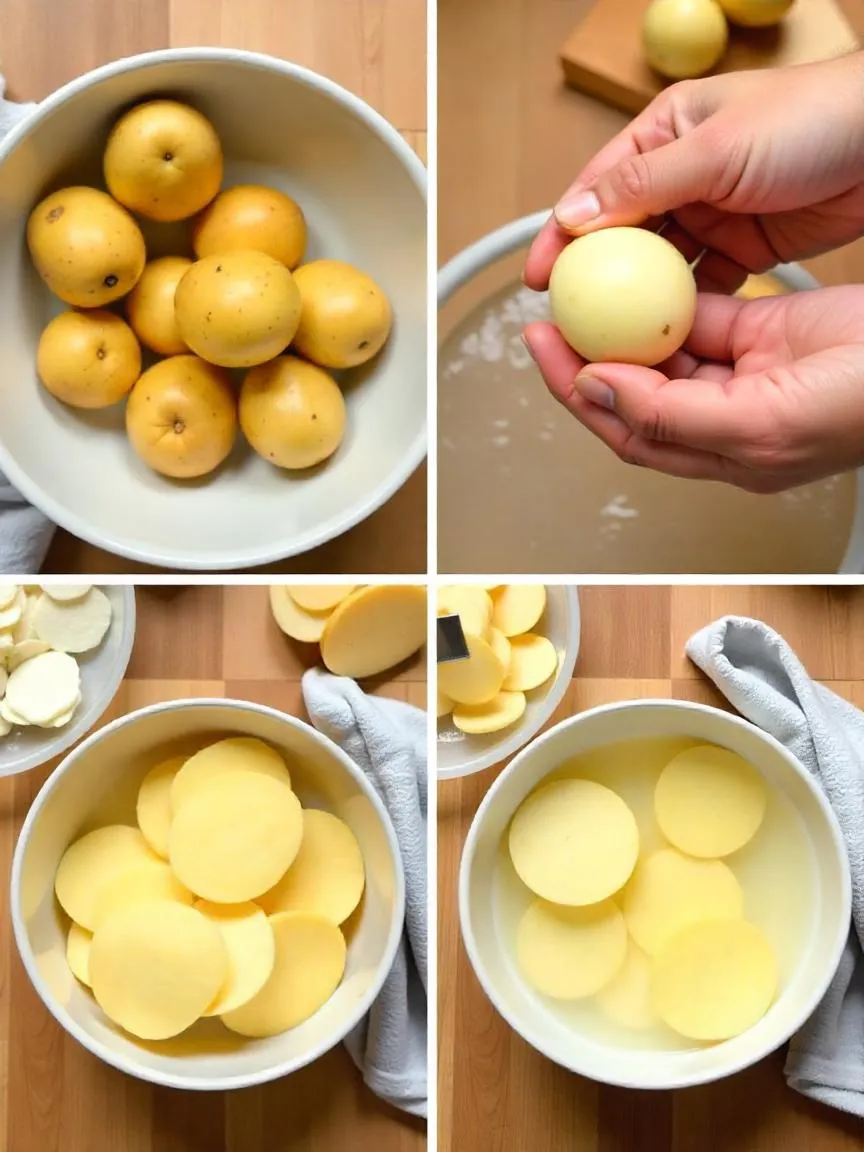
🧊 Soaking & Drying: The Crunch Booster
After slicing, soaking the potatoes in cold water helps draw out excess starch. This reduces gumminess and improves the crisp factor.
🧼 Step-by-Step Soaking Process:
- Submerge slices in a bowl of cold water for at least 30 minutes
- For even better results, soak overnight in the fridge
- Drain and rinse the slices to remove any remaining starch
- Dry thoroughly with a clean kitchen towel or paper towels
❗ Moisture is the enemy of crisp. The drier the slices, the better your chips will turn out.
✨ Why This Step Matters
- Promotes even browning
- Prevents sticking
- Delivers that satisfying crunch
- Helps seasonings cling better during cooking
🍳 Cooking Your Chips — Frying vs. Baking for the Perfect Crunch

Now that your potato slices are prepped and ready, it’s time to cook! The method you choose—frying or baking—will greatly influence the final flavor, texture, and health factor of your chips.
Each technique has its advantages, and with the right approach, both can deliver that golden, crispy bite you’re after. 🥔✨
🔥 Choosing Your Cooking Method
Your decision depends on two main factors:
- Your desired texture and flavor
- The tools and time you have available
Let’s explore both methods:
🍟 Method 1: Frying — Classic, Crisp & Indulgent
Best for: Rich flavor, maximum crunch, quick cooking
🔧 How to Fry Perfect Chips:
- Use a deep fryer or a heavy-bottomed pot with neutral oil (canola, sunflower, peanut)
- Heat oil to 350°F (175°C) and monitor with a thermometer for consistency
- Fry in small batches (don’t overcrowd) for 2–3 minutes, or until golden and crisp
- Drain on paper towels and season immediately
💡 Pro Tip: Double-frying (once at lower temp, then again hotter) creates extra crunch—just like in restaurants!
✅ Pros:
- Extra crispy texture
- Faster cooking time
- Classic flavor and appearance
⚠️ Cons:
- Uses more oil
- Slightly messier cleanup
- Less healthy than baking
🍽️ Method 2: Baking — Lighter, Cleaner, Still Crispy
Best for: Healthier option, minimal oil, easy cleanup
🔧 How to Bake Crispy Chips:
- Preheat oven to 400°F (200°C)
- Lightly coat slices in oil (olive, avocado, or spray)
- Arrange in a single layer on parchment-lined baking sheet
- Bake for 15–20 minutes, flipping halfway
- Watch closely in the last few minutes to avoid burning
🔁 Pro Tip: Rotate trays and space chips out for even browning.
✅ Pros:
- Less oil and fewer calories
- Easy to batch cook
- Oven-safe = less splatter
⚠️ Cons:
- Slightly longer cook time
- Can be less evenly crisp without careful monitoring
✨ Bonus Option: Air Frying
If you have an air fryer, you can get the best of both worlds:
- Crisp chips
- Minimal oil
- Short cook time
(We can add a full section for air frying if you’d like!)
🧂 Flavoring & Serving — Turn Simple Chips into Irresistible Snacks
Once your chips are hot, golden, and crispy, it’s time for the most creative (and fun!) part: flavoring and serving. 🌶️🌿
Unlike store-bought chips, homemade ones give you total control over seasoning and portioning. Whether you love it spicy, smoky, tangy, or herby—there’s a perfect flavor combo waiting to be sprinkled.
🔄 Seasoning Tips
- Season while chips are still warm — this helps spices stick better
- Use fine salt and powdered spices for even coating
- Toss chips gently in a large bowl, or lay them flat and sprinkle evenly
🌟 Flavor Ideas to Try
🧂 Classic Sea Salt
Sometimes simple is best. Let the flavor of the potato shine through with just a light dusting of fine sea salt.
🔥 Barbecue Blend
Smoky and sweet—great for movie night or party snacks!
Mix:
- Smoked paprika
- Chili powder
- Garlic + onion powder
- Sugar + salt
🌿 Herb Infusion
Aromatic and elegant.
Try:
- Dried rosemary, thyme, or oregano
- Sea salt + a tiny bit of lemon zest
🧄 Sour Cream & Onion Style
Tangy, savory, and addictive.
Use:
- Onion powder
- Garlic powder
- Buttermilk or powdered sour cream (optional)
🌶️ Spicy Kick
Love the heat? Go bold!
Blend:
- Hot paprika
- Ground cumin
- Garlic powder or cayenne
💡 Try sweet chips too! Toss with cinnamon and sugar for a dessert twist 🍯
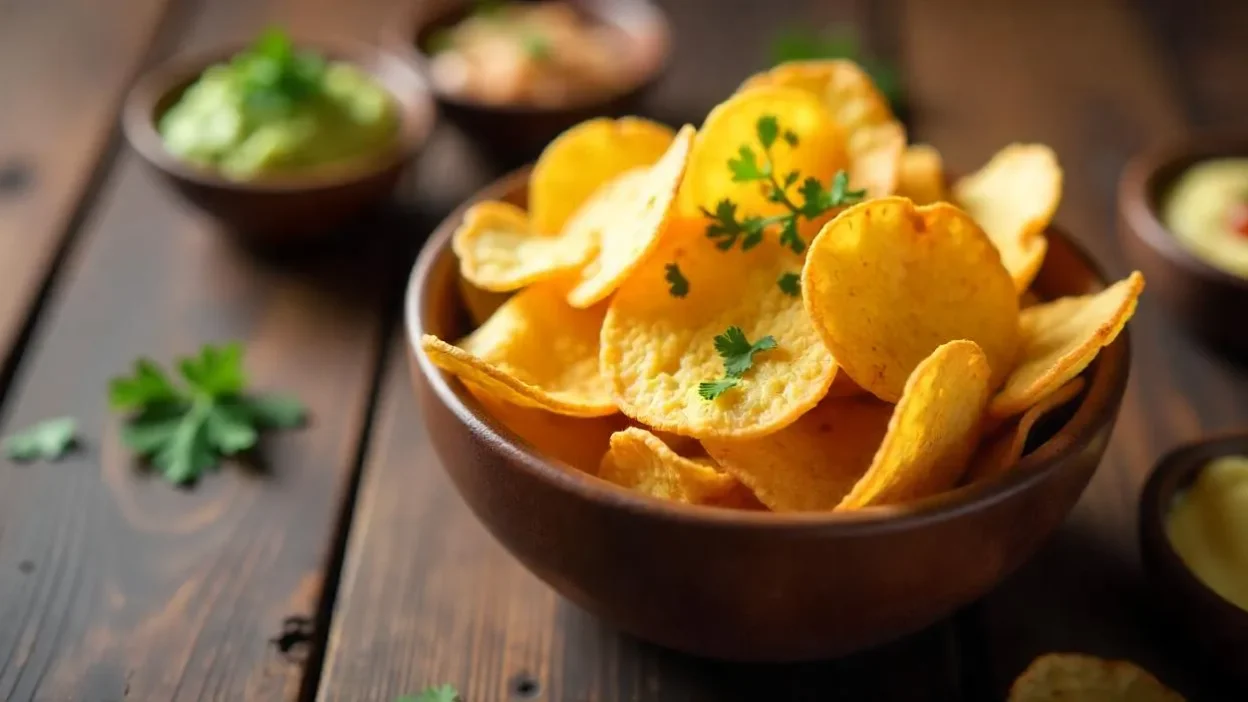
🍽️ Serving Suggestions
Homemade chips aren’t just snacks—they can be stars of the table. Try serving them:
- With homemade dips: guacamole, ranch, garlic aioli, or spicy yogurt
- As a side dish with sandwiches or burgers
- In party bowls with different flavor sections
- Or packed into lunch boxes as a crunchy surprise
✨ Store in an airtight container once fully cooled to maintain crispiness.
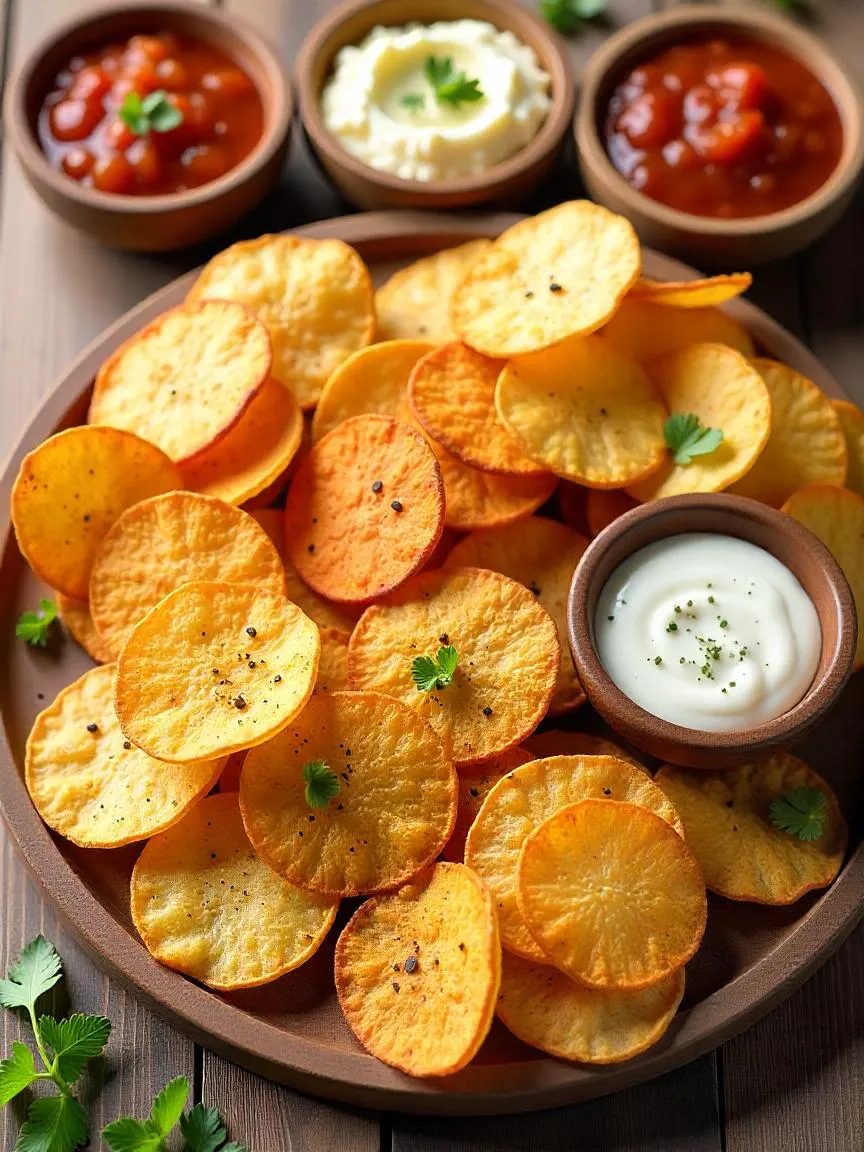
🍽️ Serving Suggestions — Make Chips the Star of the Table
Homemade chips are already delicious on their own—but how you serve them can take the experience from simple snack to shareable showstopper. With the right presentation, dips, and pairings, your crispy creations will feel extra special and satisfying. 🎉🥔
🥣 1. Serve with Flavorful Dips
No chip is complete without a dip (or three)! Offering a variety lets everyone enjoy their favorite flavors.
- 🥑 Guacamole – creamy and tangy
- 🍅 Fresh salsa – mild or spicy for contrast
- 🥛 Homemade ranch dressing – cooling and herby
- 🧄 Garlic aioli or spicy yogurt – for something bold
📝 Tip: Serve dips in small bowls so guests can mix and match!
🪵 2. Use Rustic, Natural Bowls
Presentation matters. Wooden, ceramic, or stoneware bowls or platters add a cozy, homemade aesthetic that elevates the look and feel of your chips.
- Use small ramekins for dips
- Arrange chips in wide, shallow bowls for easy grabbing
🥪 3. Pair with Main Dishes
Chips make a perfect crunchy sidekick for:
- Sandwiches (think BLT, grilled cheese, or club)
- Burgers and sliders
- Veggie wraps or grilled paninis
They’re lighter than fries and just as satisfying.
🌿 4. Garnish for Extra Flavor & Color
Before serving, sprinkle chips with:
- Chopped fresh herbs (parsley, cilantro, chives)
- A light squeeze of lemon or lime juice
- Zest or crushed red pepper for flair
These touches brighten flavor and give a gourmet feel with minimal effort.
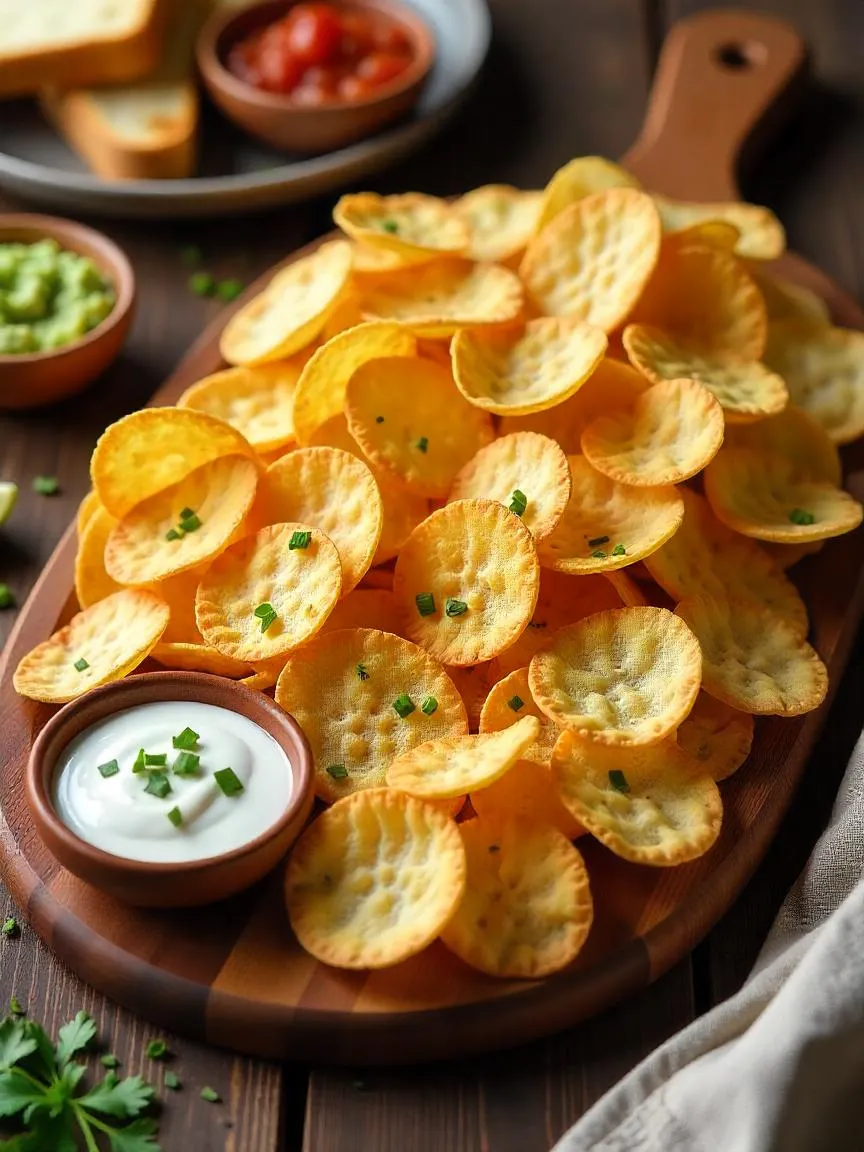
🧺 5. Share on a Big Platter
Turn snack time into a social experience:
- Use a large wooden board or serving tray
- Offer a few seasoning varieties (classic, spicy, herb, sweet)
- Let everyone dig in and build their own chip + dip combos
🍻 Perfect for movie nights, picnics, or casual get-togethers!


OMG, those salty, crunchy cravings are hitting me HARD right now! Forget the bags of chips – I’m totally inspired to make my own. Golden, crispy, and *healthy*? Sign me up! That sounds way easier than I thought, and the customization options are endless. Paprika and rosemary chips…yes, please! Let’s do this!
Pretty section of content. I just stumbled upon your web site and in accession capital to assert that I
acquire actually enjoyed account your blog posts.
Anyway I’ll be subscribing to your feeds and even I achievement you access consistently rapidly.
I like the helpful info you provide in your articles.
I will bookmark your weblog and check again here regularly.
I am quite certain I’ll learn many new stuff right
here! Good luck for the next!
My brother suggested I might like this web site. He was totally right. This post truly made my day. You cann’t imagine just how much time I had spent for this information! Thanks!
This really answered my problem, thank you!