
Contents
Looking for the perfect Valentine’s Day dessert that’s both romantic and easy to make? Chocolate-covered strawberries are a timeless classic! This sweet combination of rich, silky chocolate and juicy, fresh strawberries is not only a delicious treat but also a beautiful symbol of love and indulgence.
Unlike store-bought options, making chocolate-covered strawberries at home allows you to add a personal touch ✨. Whether you’re preparing them for your partner, friends, or even as a self-care dessert (because you deserve it!), this recipe guarantees smiles and sweet memories.
Why You’ll Love This Recipe ❤️
- Quick & Easy: Just a few ingredients and simple steps.
- Romantic Touch: Perfect for Valentine’s Day, anniversaries, or any date night.
- Customizable: Add sprinkles, nuts, drizzle, or even edible glitter for a gourmet look.
- Impressive Gift Idea: Wrap them in a beautiful box, and you’ve got a homemade luxury treat.
The Secret to Perfect Chocolate-Covered Strawberries 🍫🍓
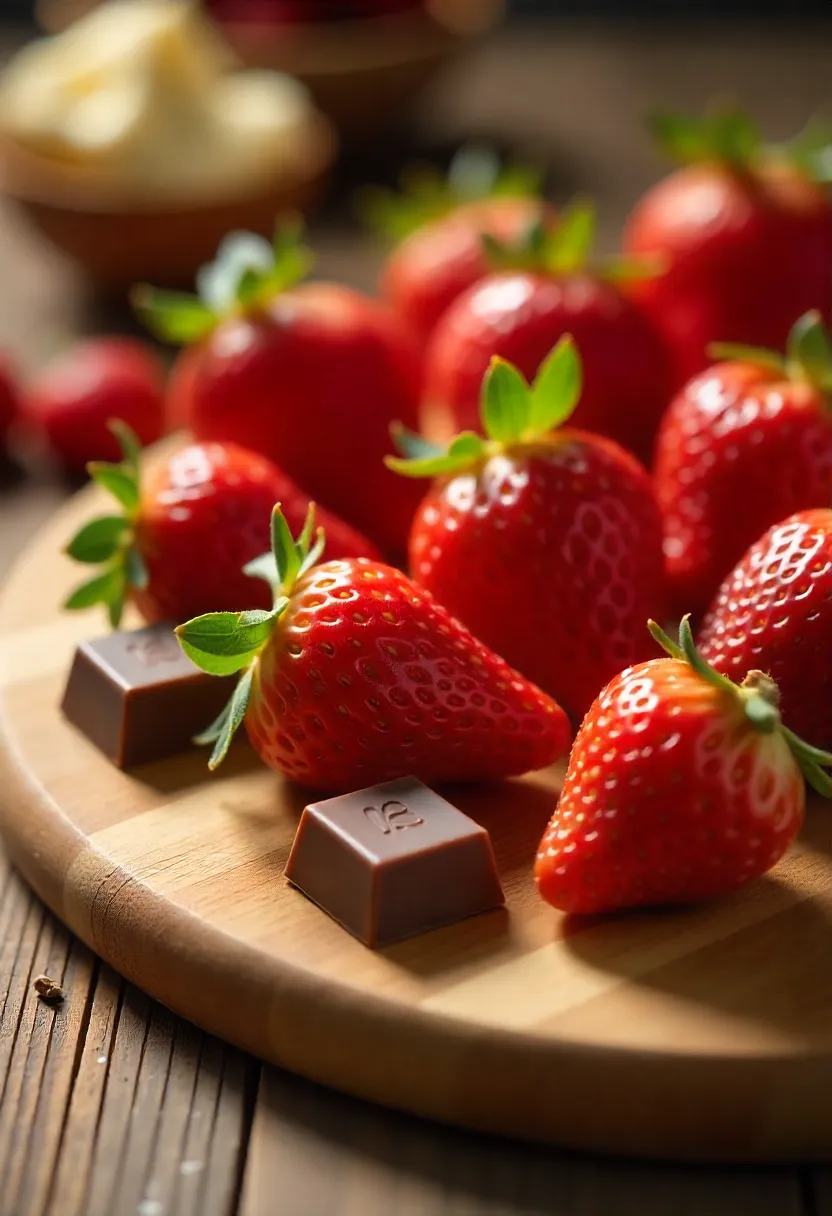
The two key ingredients matter most:
- Fresh, ripe strawberries – Look for bright red berries with green, perky leaves.
- High-quality chocolate – Choose dark, milk, or white chocolate depending on your taste. The better the chocolate, the more decadent the result.
Once you melt the chocolate to a smooth, glossy finish, dipping the strawberries becomes a fun (and romantic!) activity. Add your favorite toppings, let them set, and you’ll have an elegant dessert that looks like it came straight from a gourmet shop.
✨ Imagine a plate of shiny chocolate-covered strawberries next to champagne glasses, rose petals, and candlelight… the perfect setting for love.
✅ Key Takeaways
- Use only fresh strawberries for the sweetest flavor.
- Pick premium chocolate for a luxurious taste.
- Don’t forget to decorate – sprinkles, nuts, or drizzle make them irresistible.
Selecting the Best Ingredients 🍓🍫✨
When it comes to making irresistible chocolate-covered strawberries, the ingredients you choose make all the difference. The fresher the berries and the higher the quality of the chocolate, the more decadent your dessert will be. Think of it this way: your strawberries are the canvas, and the chocolate is the paint. Together, they create an edible masterpiece that’s perfect for Valentine’s Day or any romantic occasion.
🍓 Choosing the Perfect Strawberries
The secret to juicy, flavorful chocolate-covered strawberries starts at the market. Look for:
- Freshness: Strawberries should be firm, plump, and brightly colored.
- Size: Medium to large berries work best for dipping — they hold more chocolate and look elegant when served.
- Appearance: Avoid bruised, mushy, or dull berries. Glossy skin and vibrant green leaves are a sign of peak ripeness.
👉 Pro tip: Buy your strawberries the same day you plan to prepare the dessert. This ensures they stay firm and juicy. If possible, go for organic strawberries — not only are they free of pesticides, but they also tend to have a richer, sweeter flavor.
Before dipping, always wash the berries gently and let them dry completely. Even a single drop of water can cause the chocolate to seize or slide off. Patience here pays off in flawless presentation!
🍫 Choosing the Best Chocolate for Dipping
Your choice of chocolate determines whether your strawberries are simply tasty or truly unforgettable. Here are the top options:
- Dark Chocolate (70%+ cocoa): Bold, rich, and slightly bitter — the perfect contrast to sweet strawberries. Ideal for a more sophisticated flavor.
- Milk Chocolate: Smooth, creamy, and sweet. A classic choice that pleases almost everyone.
- White Chocolate: Though technically not chocolate, its buttery sweetness makes it perfect for decorative drizzles or a luxurious twist.
💡 For ease of preparation, you can use melting wafers (which melt into a glossy finish) or chocolate chips. However, nothing beats premium chocolate bars chopped into pieces — the flavor and texture are worth it.
⭐ Key Tips for Success
- Always choose high-quality chocolate — the kind you’d enjoy eating on its own.
- Melt slowly and gently to prevent burning.
- Mix and match chocolate types for a visually stunning presentation.
With the right ingredients, you’ve already won half the battle. Next, it’s all about the dipping technique and adding those special finishing touches. 💝
Preparing the Strawberries 🍓✨
Before you dip your strawberries into that luscious pool of melted chocolate, a little preparation goes a long way. Clean, dry berries and an organized dipping station will guarantee a smoother process and picture-perfect results.
🧼 Washing and Drying Strawberries the Right Way
Start with firm, bright red strawberries — free of blemishes, mushy spots, or dull skin. Place them in a colander and rinse gently under cold running water.
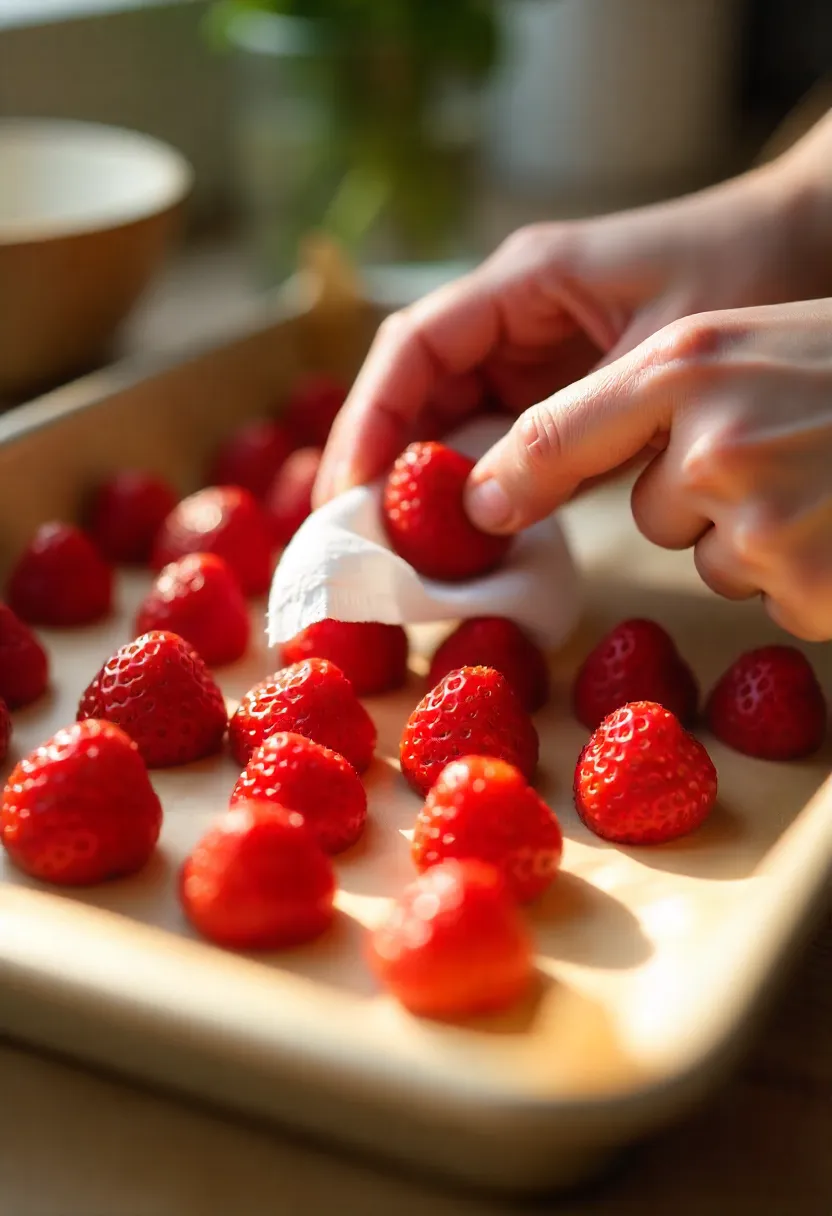
Now comes the most important step: drying. Any leftover moisture will cause the chocolate to seize up or slide right off the berry.
- Pat dry: Use a soft kitchen towel or paper towels to blot them carefully.
- Air dry: For best results, lay them out on a parchment-lined baking sheet and let them air dry for about 20–30 minutes. This ensures every berry is completely moisture-free and ready for dipping.
- Extra tip: If you’re short on time, you can also use a salad spinner lined with paper towels for a quick but gentle dry.
💡 Pro Tip: Make sure not to remove the green leafy tops — they not only look beautiful but also make handling easier.
🍫 Setting Up Your Dipping Station Like a Pro
An organized workspace = less mess and better-looking strawberries. Here’s how to set it up:
- Melt the chocolate: Place chopped chocolate or melting wafers in a microwave-safe bowl. Heat in 15–20 second bursts, stirring in between, until smooth and glossy. (You can also use a double boiler if you prefer more control.)
- Prepare the strawberries: Insert a toothpick or small skewer into the top of each berry. This makes dipping cleaner and more precise.
- Line your tray: Place a sheet of parchment or wax paper on a baking sheet. This prevents sticking and makes transferring your dipped strawberries effortless.
- Keep everything within reach: Strawberries, melted chocolate, and toppings (sprinkles, nuts, coconut, drizzle chocolate) should all be nearby for quick decorating before the chocolate hardens.
Once your station is set, you’re ready to dip, swirl, and decorate your strawberries like a chocolatier. 🍫👩🍳
✨ Imagine a plate of glossy chocolate-covered strawberries sprinkled with pink sugar crystals — the perfect homemade gift or centerpiece for a romantic evening.
Melting the Chocolate 🍫🔥
Perfectly melted chocolate is the heart of flawless chocolate-covered strawberries. Too thick, and it won’t coat evenly; overheated, and it becomes grainy or burnt. Luckily, with the right method and a little patience, you’ll get that silky-smooth, glossy finish every time.
You have two tried-and-true options: the quick microwave method or the more traditional double boiler method. Both work beautifully, so it comes down to preference and convenience.
⚡ Melting Chocolate in the Microwave
If you’re short on time, the microwave is your best friend. Here’s how to do it right:
- Place chopped chocolate or chocolate chips into a microwave-safe bowl.
- Heat in 15–20 second intervals at medium power.
- Stir after each burst to distribute the heat evenly.
👉 Stop when the chocolate is about 80–90% melted, then keep stirring until it becomes completely smooth and glossy. The residual heat will finish melting it.
⚠️ Be careful: chocolate burns easily in the microwave, and once scorched, it can’t be saved.
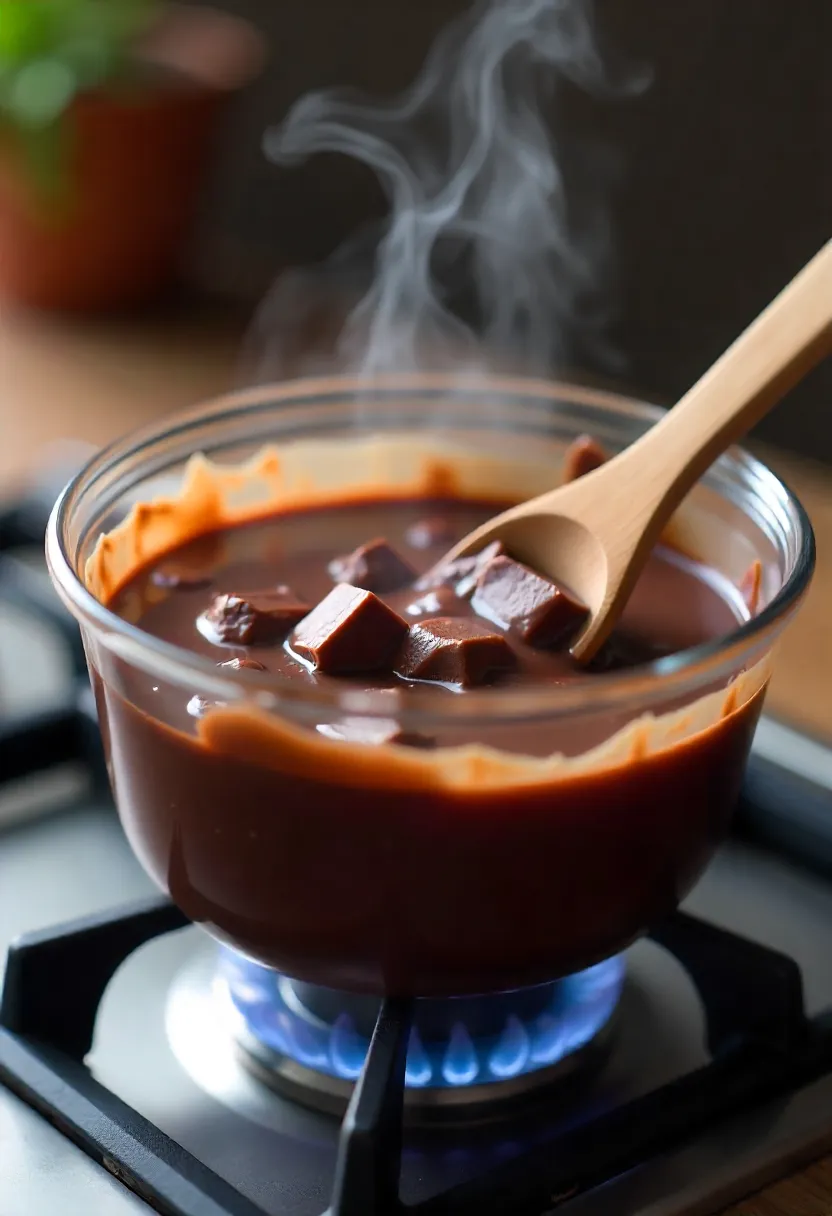
🥄 Melting Chocolate with a Double Boiler
For those who prefer more control, a double boiler is a foolproof method:
- Fill the bottom saucepan with about an inch of water and bring it to a gentle simmer.
- Place a heatproof bowl on top (it should not touch the water).
- Add your chocolate and stir frequently as the steam melts it slowly and evenly.
This method gives you more time to work, prevents overheating, and ensures a silky texture that’s perfect for dipping.
✨ Enhancing Texture with Coconut Oil or Shortening
Want that professional shine and smoothness? Add about 1 teaspoon of coconut oil or shortening per cup of chocolate before melting.
- Coconut oil → adds a light coconut aroma and creates beautifully glossy strawberries.
- Shortening → keeps the flavor neutral while improving fluidity.
This little trick makes your chocolate easier to work with — especially useful if you’re dipping large berries or adding decorative drizzles.
💡 Pro Tip: Always melt chocolate slowly and stir constantly. Patience is the secret ingredient to silky-smooth results.
✨ With your chocolate melted to perfection, you’re now ready for the most exciting part — dipping and decorating your strawberries like a pro chocolatier! 🍓🍫👩🍳
Decorating and Storing Your Chocolate-Covered Strawberries 🍫🍓✨

You’ve dipped your strawberries into rich, silky chocolate — now it’s time to make them look as irresistible as they taste! Decorating adds that wow factor, while proper storage ensures they stay fresh and picture-perfect until it’s time to serve.
🎨 Adding Toppings, Textures & Elegant Drizzles
The beauty of chocolate-covered strawberries is how customizable they are. You can keep them simple and classic, or dress them up for a gourmet look.
Here are some delicious topping ideas:
- 🌈 Sprinkles: Perfect for Valentine’s Day, birthdays, or festive occasions.
- 🥜 Crushed nuts: Almonds, pistachios, or hazelnuts add crunch and elegance.
- 🥥 Coconut flakes: A tropical twist with a soft, snowy look.
- 🍪 Cookie crumbs: Crushed Oreos or graham crackers make them extra indulgent.
✨ Pro Tip: Always add toppings immediately after dipping, before the chocolate sets. This way, they stick securely and look neat.
For a more sophisticated touch, try drizzles:
- Fill a piping bag (or a plastic sandwich bag with a tiny corner snipped) with melted white or dark chocolate.
- Gently zigzag over the strawberries for a bakery-style finish.
- Combine different chocolates (dark + white, milk + dark) for contrast and a designer look.
If you prefer a rustic style, dip only half of the strawberry in chocolate and leave the other half bare. It’s simple, chic, and lets the vibrant red fruit shine.
❄️ Refrigeration and Storage Tips
Once your strawberries are decorated, proper storage keeps them fresh, glossy, and ready to impress.
- Place them in a single layer on a parchment-lined tray and let the chocolate harden.
- Once set, transfer them to an airtight container.
- If stacking is necessary, add sheets of parchment paper between layers to prevent sticking.
🍓 How long do chocolate-covered strawberries last?
- In the refrigerator: up to 2 days (best enjoyed within 24 hours for maximum freshness).
- At room temperature: only for a few hours — chocolate may soften, and strawberries can release juice.
💡 Pro Tip: Serve your strawberries slightly chilled for the best bite — cool chocolate that snaps, paired with juicy, sweet fruit inside.
✨ With toppings, drizzles, and smart storage, your chocolate-covered strawberries will look like they came straight from a luxury chocolatier. Perfect for gifting, date nights, or treating yourself to something truly indulgent. 💝
Frequently Asked Questions About Chocolate-Covered Strawberries 🍫🍓❓

Even simple desserts can raise questions! Here are answers to the most common concerns about making chocolate-covered strawberries at home, so you can dip and decorate with confidence.
🍫 What is the best type of chocolate to use for dipping strawberries?
The best results come from high-quality chocolate — whether dark, milk, or white. Each has a unique flavor profile:
- Dark chocolate: rich, slightly bitter, pairs beautifully with sweet berries.
- Milk chocolate: smooth, creamy, and universally loved.
- White chocolate: sweet and buttery, perfect for drizzles or colorful designs.
👉 Tip: Choose chocolate specifically labeled for melting or couverture chocolate. It contains extra cocoa butter, which melts smoothly and coats evenly.
⏳ Can chocolate-covered strawberries be prepared in advance? How long do they last?
Yes! You can prepare them ahead of time, but for best freshness, enjoy them within 24 hours. Properly stored in the refrigerator, they’ll last up to 48 hours.
- Store in a single layer in an airtight container.
- Use parchment paper between layers if stacking.
- Avoid room temperature storage — chocolate softens and berries lose freshness quickly.
🍓 How do I prevent flat sides on my strawberries when drying?
That dreaded “flat bottom” happens when berries rest directly on parchment paper. To avoid it:
- Place dipped strawberries on a cooling rack to let excess chocolate drip.
- Or stick a toothpick into the top and rest it across a plate or glass, so the strawberry dries suspended.
This way, your strawberries look perfectly rounded and professional.
🧴 How do I make sure the chocolate sticks to the strawberries?
Moisture is the enemy of melted chocolate. To ensure proper adhesion:
- Wash berries gently, then dry them thoroughly — air dry for at least 20–30 minutes.
- Add 1 teaspoon of coconut oil per cup of chocolate before melting for extra smoothness and a glossy finish.
🎨 What are some creative decorating ideas for multi-colored strawberries?
Unleash your inner chocolatier! Here are some fun ideas:
- Dip in one chocolate (e.g., white), then drizzle with another color (e.g., dark).
- Use colored candy melts or tinted white chocolate for vibrant designs.
- Sprinkle with edible glitter, gold dust, or holiday sprinkles for a festive finish.
💰 Is it cheaper to make chocolate-covered strawberries at home?
Absolutely! Store-bought versions can be pricey, especially around Valentine’s Day. By making them yourself:
- You can buy ingredients in bulk and prepare dozens for the price of one fancy box.
- You control the quality of chocolate, toppings, and presentation.
- Plus, homemade adds a personal, heartfelt touch that money can’t buy.
✨ With these FAQs answered, you’re now ready to melt, dip, decorate, and store your chocolate-covered strawberries like a pro!